










Traditional laser engravers always seem to leave the same old flat gray or black mark, no matter what material you're working with. But a MOPA fiber laser color engraving setup is a whole different story - it can actually transform ordinary stainless steel into stunning, iridescent artwork, and the best part is, it doesn't need any ink or dye to do it.
A MOPA fiber laser engraver makes color on stainless steel by changing how long and how often the laser pulses. This creates a really thin layer of oxide that you can see, but it doesn't add any ink or coating. People also call this process fiber laser color marking, especially when they're talking about using it for industrial or business-to-business things - it's all the same basic idea.

For a lot of creators, that first colorful sample looks like a magic trick. It isn't. Understanding why traditional fiber lasers struggle to produce color, and why MOPA technology can, is what separates reliable, repeatable results from hours of frustrating trial and error. This guide breaks down how MOPA color engraving actually works, walks through the settings that matter, and answers the most common material questions creators run into.
What Is MOPA Fiber Laser Color Engraving and How Does It Work?
MOPA stands for Master Oscillator Power Amplifier — a fiber laser architecture that allows independent control over pulse width and frequency, unlike a standard Q-switched fiber laser, which fires at one fixed pulse setting. MOPA is not a different laser wavelength or a separate category of laser; it's a pulse-control technology used within fiber laser systems, which is why you'll see it discussed as "MOPA vs fiber laser" even though MOPA is technically a type of fiber laser itself. That extra control is the entire reason color engraving is possible in the first place.
Here's the part that surprises most people: the laser isn't painting the metal. There's no ink, dye, or pigment involved anywhere in the process. Instead, a mopa fiber laser marking machine heats the metal's surface just enough to form a microscopic oxide layer — and light reflecting through that thin layer produces color through thin-film interference, the same physical phenomenon behind the rainbow sheen on a soap bubble or an oil slick. Change the oxide layer's thickness by adjusting pulse width and frequency, and the color shifts along with it — blue, gold, purple, red, and shades in between, all from the same base metal.
Compatible materials. Stainless steel — both 304 and 316 grades — is the most popular substrate for color engraving, thanks to its clean, consistent oxide response. Titanium is the other standout, prized for producing especially vivid, saturated color due to its own distinct oxidation behavior. A quick test grid across a few laser engraved colorful metal samples on stainless steel is usually all it takes to see the full range a given setup can produce.
mopa-fiber-laser-marking-machine
This is why MOPA laser engravers have become popular among tumbler businesses, jewelry makers, knife customizers, and personalized gift shops — stainless steel tumblers, custom knives, wedding gifts, and EDC products are some of the most common products built around this exact capability.
If you're still deciding whether MOPA is the right technology for your shop before diving into settings, our guides on what a MOPA laser engraver is and MOPA vs fiber laser cover the foundational differences in more depth.
Step-by-Step: How to Achieve Vibrant Colors on Stainless Steel

Step 1: Material Preparation
Good color starts before the laser fires. Mirror-polished, oil-free stainless steel gives you the most predictable results. Fingerprints, dust, manufacturing residue — any of that shows up later as dull patches or blotchy color. Wipe every piece down with isopropyl alcohol before you run it. Make it a habit, not an afterthought.
Step 2: Create a Color Test Grid
Rather than guessing at settings on your final piece, build a parameter matrix in your design software (LightBurn is the standard choice here) — a grid of small test squares, each running a different combination of speed and frequency or pulse width. Run it once on a scrap piece of the exact steel grade and finish you'll actually be using, and you'll have a visual reference to pull from instead of re-testing blind on every project.
Step 3: Understand How the Core Settings Affect Color
This is where things get technical. Don't chase one "correct" number — learn the relationships instead.
Pulse width affects heat distribution and oxidation. Combined with frequency, speed, and power, it shifts your color range. No single dial gets you a color by itself.
|
Color |
General Adjustment Direction |
|
Blue |
Often achieved with shorter pulse widths and specific frequency/energy combinations |
|
Gold |
Longer pulse width, adjusted heat input |
|
Black |
Higher energy absorption, slower speed |
|
Rainbow / multi-tone |
Multiple parameter layers across one design |
Treat that table as a starting map, not a formula. Your machine, your laser source, your steel batch — all of it changes the exact numbers.
- Frequency (kHz) and speed (mm/s). These two control how much energy hits the surface and how it's spread out. Small tweaks here can turn a clean, saturated color into something duller and less consistent.
- Line interval / hatching. Tighter spacing between passes gives you more even oxidation. On larger fill areas, that's the difference between a smooth color field and a patchy one.
One more thing. Any specific settings you find online — including ones we publish elsewhere — are a starting point. Not a guarantee. Run your own test grid.
Step 4: Assigning Colors to Design Layers
For multi-color pieces, organize your vector artwork into separate layers in your design software, one per intended color, before engraving. Each layer gets its own speed, frequency, and pulse width settings from your test grid, and the software runs them in sequence — which is how a single design ends up with several distinct colors across different sections rather than one uniform tone.
Can a MOPA Laser Engrave Glass?
Short answer: not directly, and it's worth understanding why before you try.
A standard MOPA fiber laser marking machine emits at 1064nm. Clear glass doesn't absorb that wavelength — the beam just passes through. Nothing to mark, nothing happens.
There are workarounds. Coated or painted glass works well, since the laser strips away a marking spray, dark paint, or back-coating and leaves a visible design through contrast. Some creators push this further with color etching — combining laser marking paper or sprays with oil-based paint that settles into the etched texture.
But if glass or crystal is a regular part of your lineup, get a UV or CO2 laser. Both interact directly with glass, no coating or workaround needed. And if you need metal color marking and glass engraving in one shop, a dual-laser system pairing MOPA fiber with UV can cover both — instead of forcing you to pick one capability over the other.
Why Choose a MOPA Fiber Laser Marking Machine for Your Shop?
Color gets all the attention, but it's not the only reason MOPA shows up in serious metal shops.
Versatility beyond color: High-contrast black marking on anodized aluminum and dark plastics. High-precision deep engraving. Fine detail work for jewelry and commercial serialization. All of it draws on the same pulse-width control that makes color possible in the first place. Jewelry color marking benefits especially — small pieces leave no room for error, and the same fine control that produces clean color also protects delicate settings and thin metal from excess heat.
Business ROI: A blank stainless tumbler or keychain is a cheap commodity. Finish it with vivid, repeatable color engraving, and it becomes a higher-margin product. That's a big part of why MOPA machines tend to pay for themselves faster than the sticker price suggests — at least for shops already selling metal goods.
Why Creators Choose a MOPA + UV Laser System
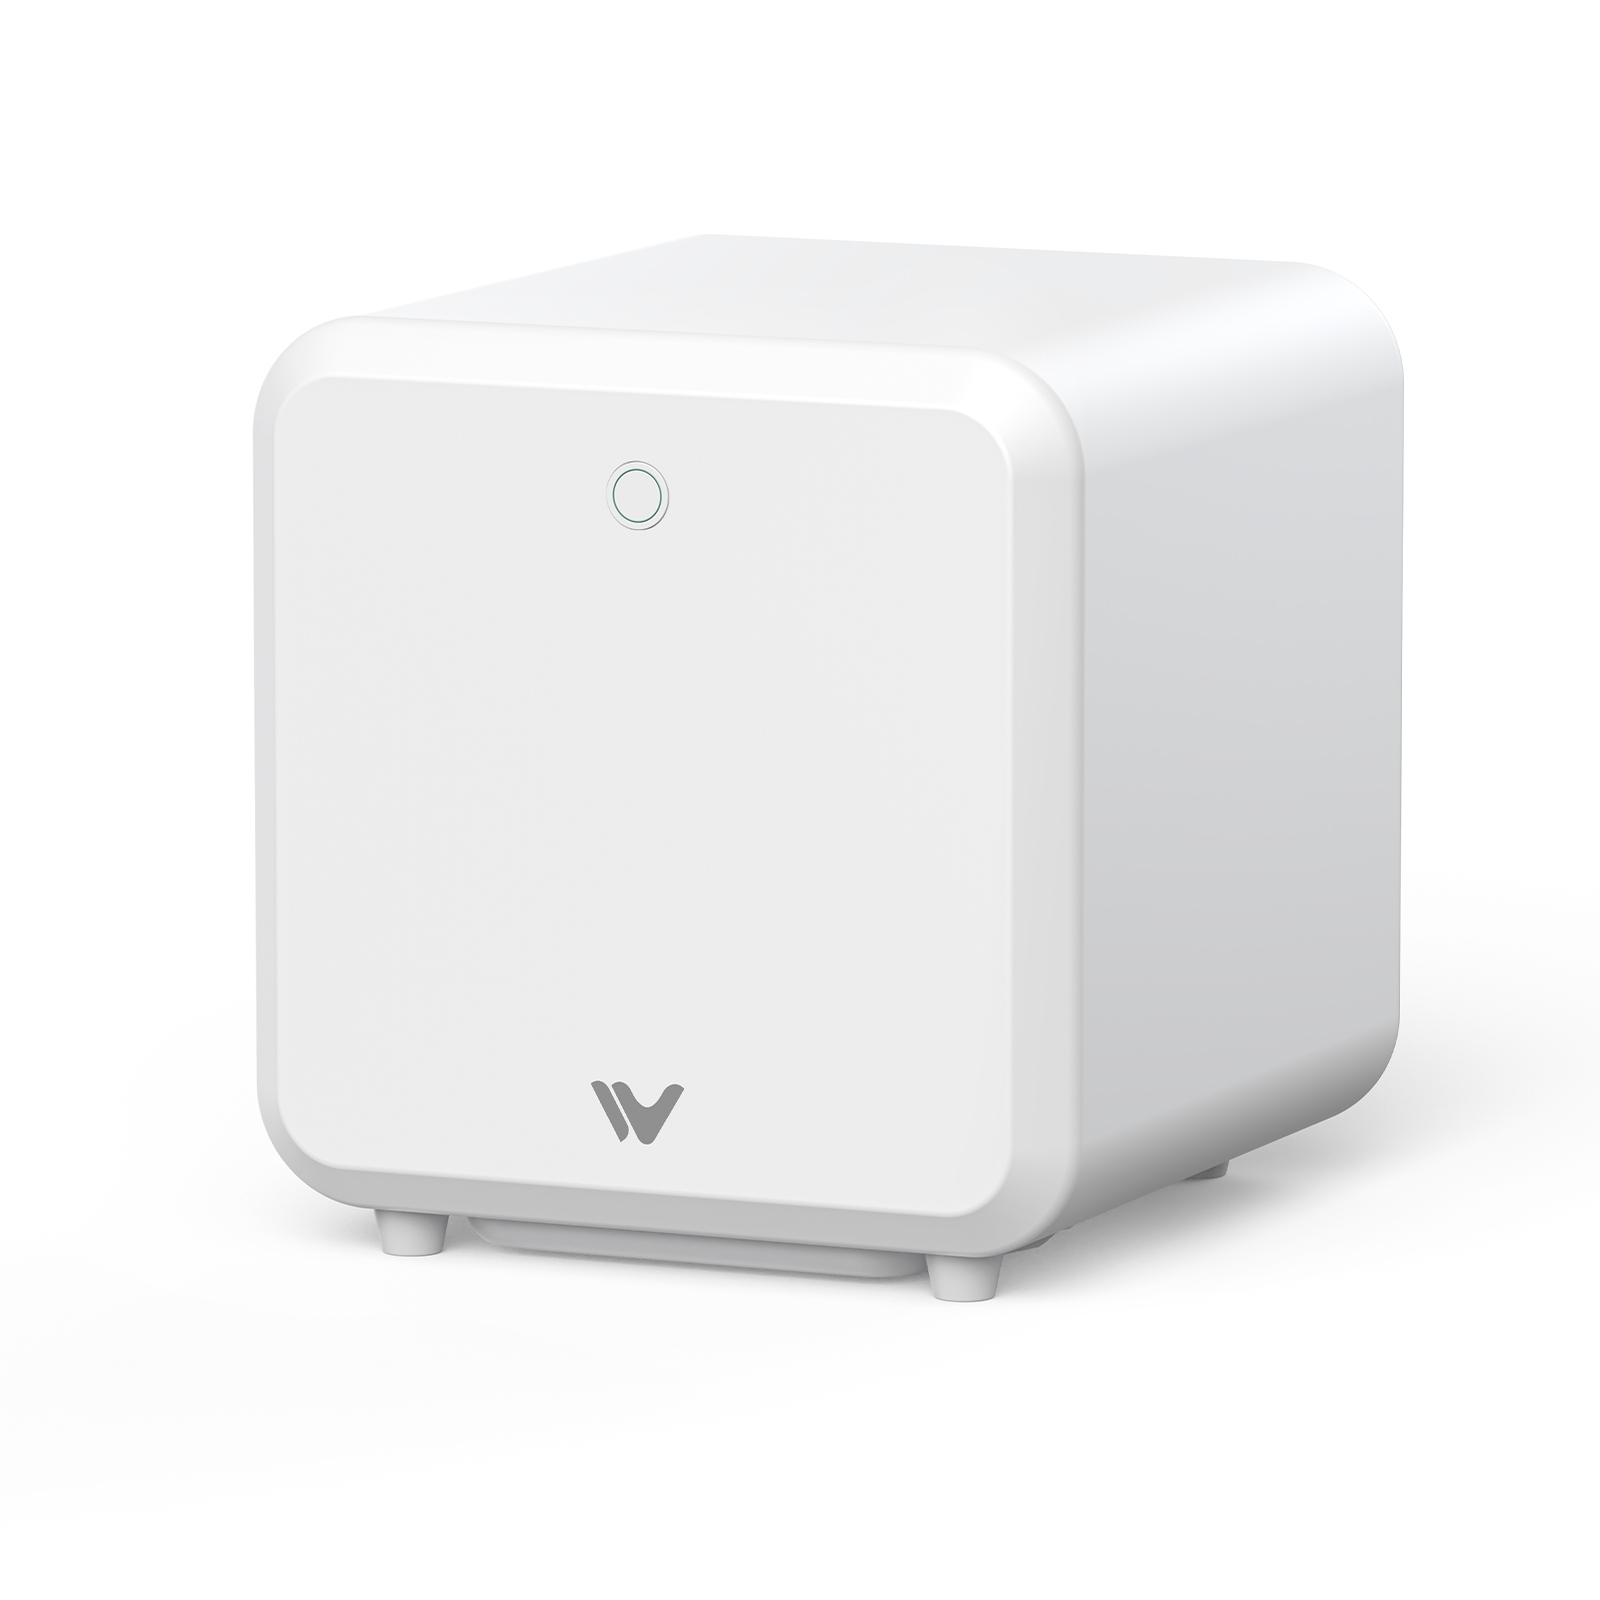
WeCreat Lumos Ultra pairs a 60W or 100W JPT MOPA module with a 6W UV laser in the same desktop system. Instead of choosing between metal color engraving and glass engraving, creators can use one system for both workflows:
- MOPA handles the color engraving and metal work covered throughout this guide.
- UV extends into glass, crystal, and leather, covering the exact gap described in the glass section above.
- A 50MP camera with automatic field-lens detection, plus a guided 3-step color workflow, aimed at getting new users to consistent results faster than manual parameter tuning alone.

Conclusion & Next Steps
MOPA fiber laser color engraving comes down to one idea: precise control over heat and oxidation. No special ink, no trick material. That control is what turns a plain metal blank into repeatable, full-spectrum color work — something a standard fiber laser was never built to do.
Ready to upgrade your setup? Explore the latest WeCreat laser lineup to find the right machine for your shop.
Frequently Asked Questions
Q1. Can a MOPA laser engrave glass?
Not directly — glass doesn't absorb the 1064nm wavelength MOPA and standard fiber lasers emit. Coated glass, marking sprays, and paint-fill techniques can produce a design, but a UV or CO2 laser is the more direct tool for uncoated glass and crystal.
Q2. Why does MOPA produce color but standard fiber lasers don't?
Color comes from precisely controlling the thickness of an oxide layer formed on the metal's surface, which requires independently adjusting pulse width and frequency. Standard Q-switched fiber lasers typically have less pulse-width control, making consistent color marking much more difficult.
Q3. What's the best metal for MOPA color engraving?
Stainless steel (304 or 316 grade) is the most popular and consistent choice. Titanium is the other strong option, known for particularly vivid, saturated color results.
Q4. Can a MOPA laser engrave aluminum?
Yes, though color results depend heavily on the surface treatment — anodized aluminum in particular takes MOPA's high-contrast black marking especially well, while bare aluminum behaves differently and generally isn't the go-to choice for vivid color work.
Q5. Is a MOPA laser worth it compared with a regular fiber laser?
It depends on what you're making. If your work is limited to basic black marking or deep engraving, a standard fiber laser is usually sufficient and more affordable. If color engraving, jewelry work, or delicate and plastic materials are part of your product line, MOPA's added control is generally worth the higher cost.