










The custom drinkware market has exploded over the past few years — Stanley, Yeti, Hydro Flask, and generic powder-coated tumblers have become one of the most popular (and most profitable) laser engraving niches around. But there's a catch: standard flat laser engraving doesn't translate well to curved surfaces. Get the settings wrong, or try to engrave a $45 insulated cup without the right setup, and you can end up with a scorched, off-center, or permanently ruined tumbler.

After engraving dozens of powder-coated tumblers, one thing becomes obvious pretty quickly: rotary alignment matters far more than raw laser power. This guide walks through how to choose the right machine, the settings that actually matter, and the mistakes that ruin the most cups — whether you're engraving Stanley, Yeti, or anything else with a curve.
Quick Answer: What Should You Actually Buy?
If you're engraving insulated drinkware — Stanley, Yeti, Hydro Flask, or generic powder-coated tumblers — here's the short version before we get into the details:
For coated stainless steel tumblers (the vast majority of Yeti/Stanley-style cups): a 10–20W diode laser with a chuck-style rotary attachment is the most cost-effective, beginner-friendly setup.
For glass, acrylic, or painted mugs: a CO2 laser handles these materials more directly, though it needs extra prep for bare metal.
For high-volume raw metal work: a fiber laser offers industrial speed and precision, at a higher price point.
If you're doing handled cups (Stanley-style) regularly: check whether your rotary uses external clamping (you'll likely need to remove the handle) or internal expansion (which typically avoids that step entirely) — this matters more than most beginners realize.
The rest of this guide breaks down why, with the actual settings and setup details behind each recommendation.
Before Buying: Ask Yourself These Five Questions
Before comparing specific machines, it's worth being honest about what you actually need. The right answers here will save you from buying either too little machine or way more than you need.
1. What materials will you engrave?
Powder-coated steel, glass, painted ceramic, and bare metal all call for different laser types.
2. How many tumblers per week?
Occasional gifts versus daily batch orders changes how much you should spend on automation (auto-lifting, camera alignment, rotary speed).
3. Do you need to engrave glasses or acrylic too?
If yes, a CO2 laser becomes more relevant alongside — or instead of — a diode setup.
4. Will you engrave handled mugs like Stanley cups?
If yes, rotary type matters more than almost any other spec.
5. What's your budget?
Entry-level diode setups, mid-range enclosed machines, and professional CO2 systems sit at very different price points, and it's easy to overspend on features you won't use.
A Simple Decision Path
Budget under $800?
Need to engrave bare/raw metal (not just powder-coated)?
Need rotary engraving for cylindrical items?
What Makes a Good Tumbler Laser Engraver?
Whatever brand or model you're considering, a genuinely good setup for engraving insulated drinkware tends to share a few traits. Height adjustment is one people underestimate. Switching between a tall Stanley cup and a short espresso tumbler shouldn't mean stopping to manually recalibrate every single time — auto-lifting or another form of easy height adjustment handles that in the background.
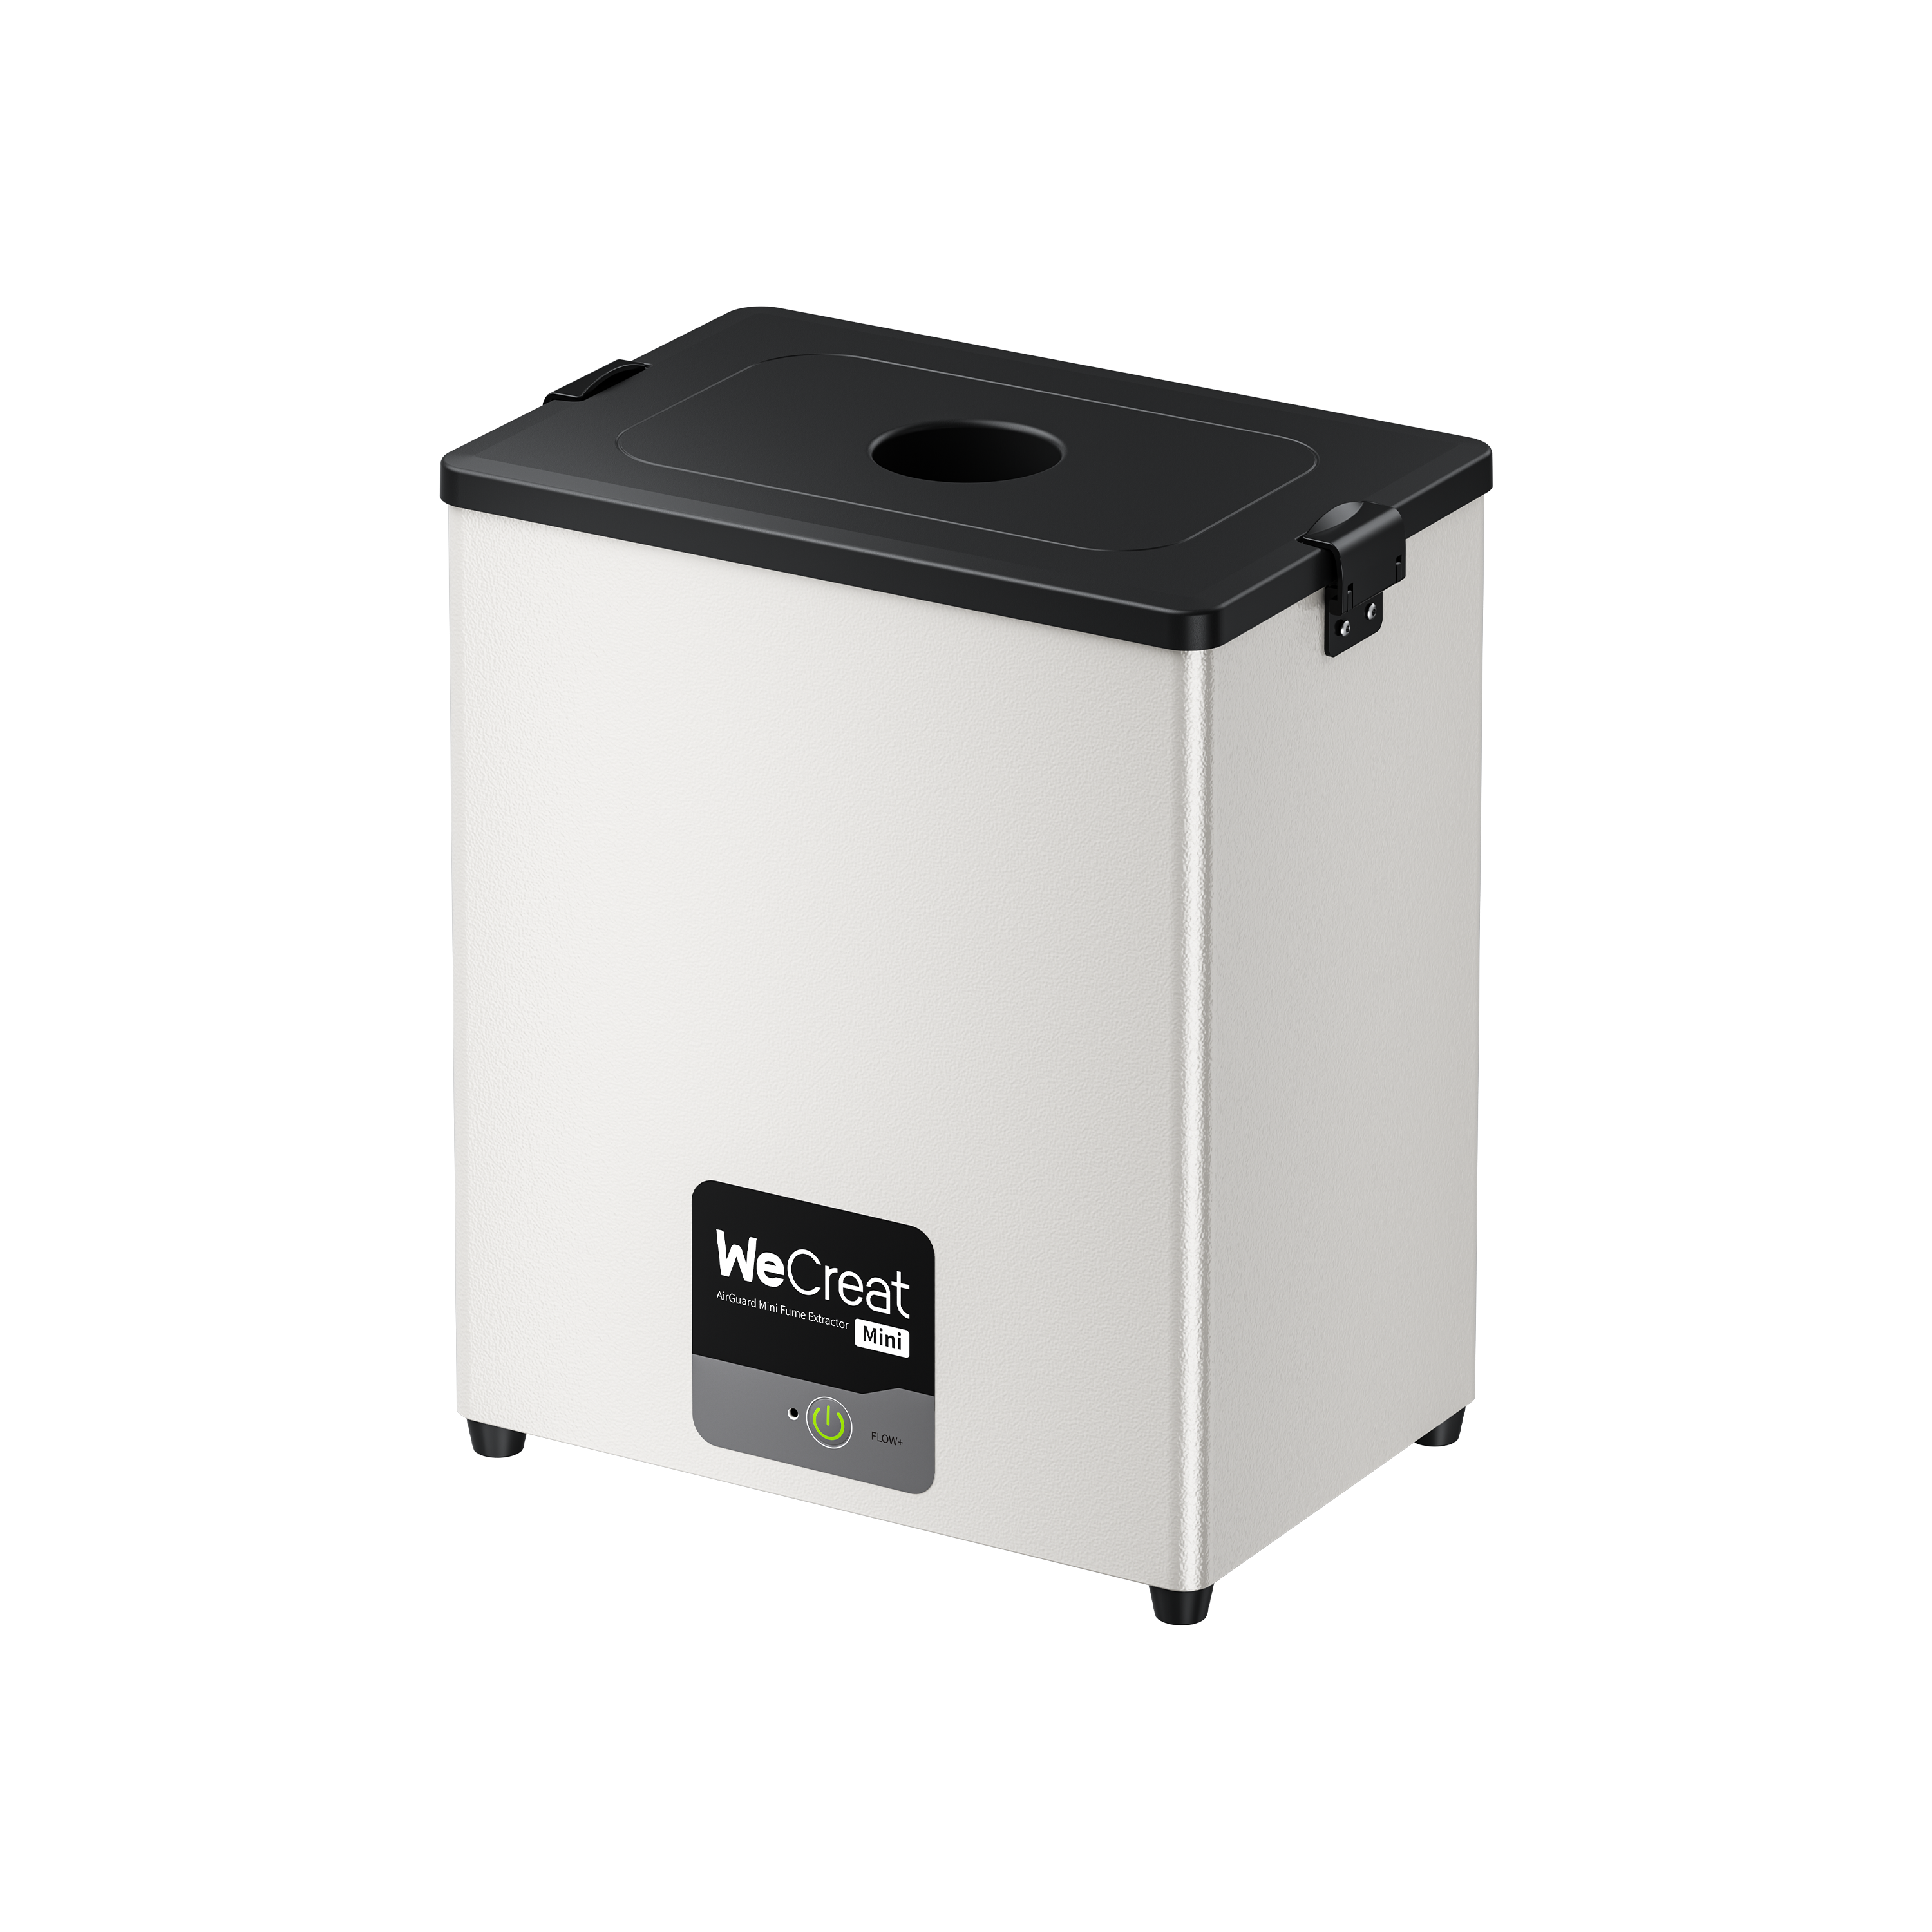
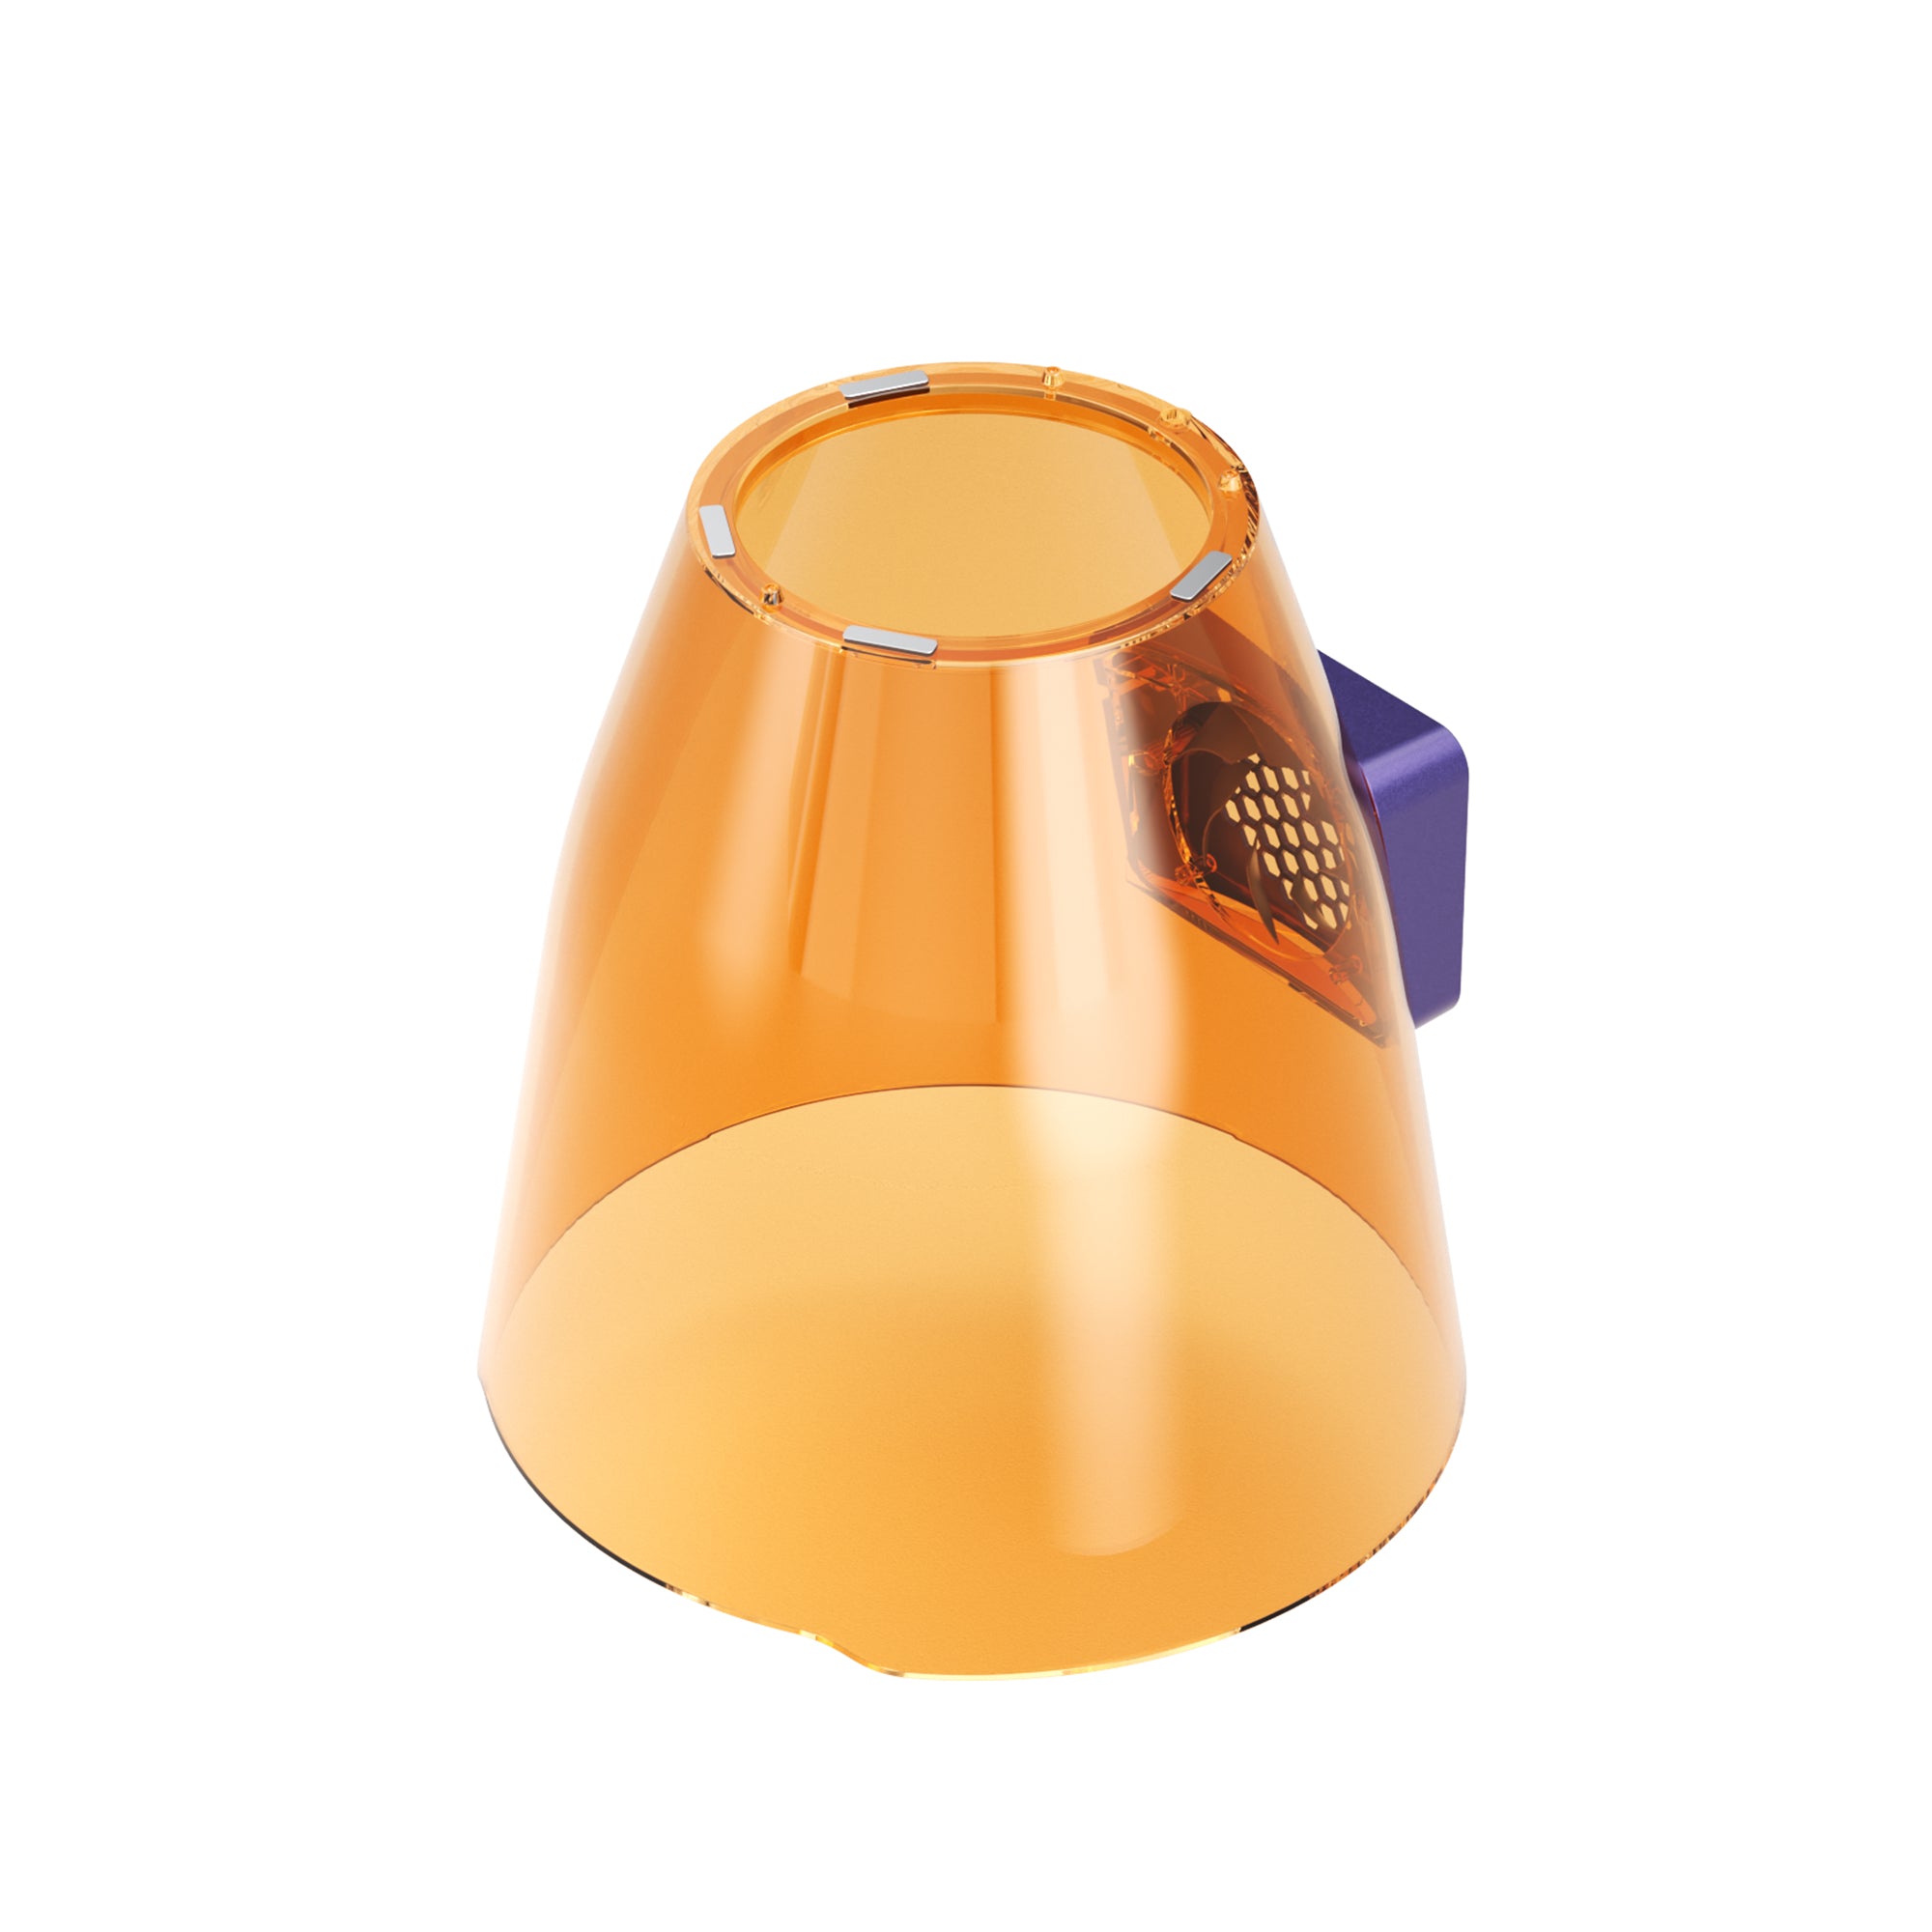
Enclosure matters more than beginners expect, too. Powder coating gives off smoke and fine particulate when it's being ablated, and containing that indoors is worth prioritizing rather than treating as optional.
Then there's alignment. Curved surfaces are genuinely harder to eyeball than flat ones — a live camera preview removes a surprising amount of the guesswork that would otherwise go into guessing where a design will actually land once the cup starts spinning.
And finally, rotary type. If you're working with handled cups — which typically get their handle removed before mounting — or you just want a secure grip that won't slip mid-engrave on longer jobs, chuck-style rotary compatibility isn't really optional. It's the difference between a clean result and a ruined one.
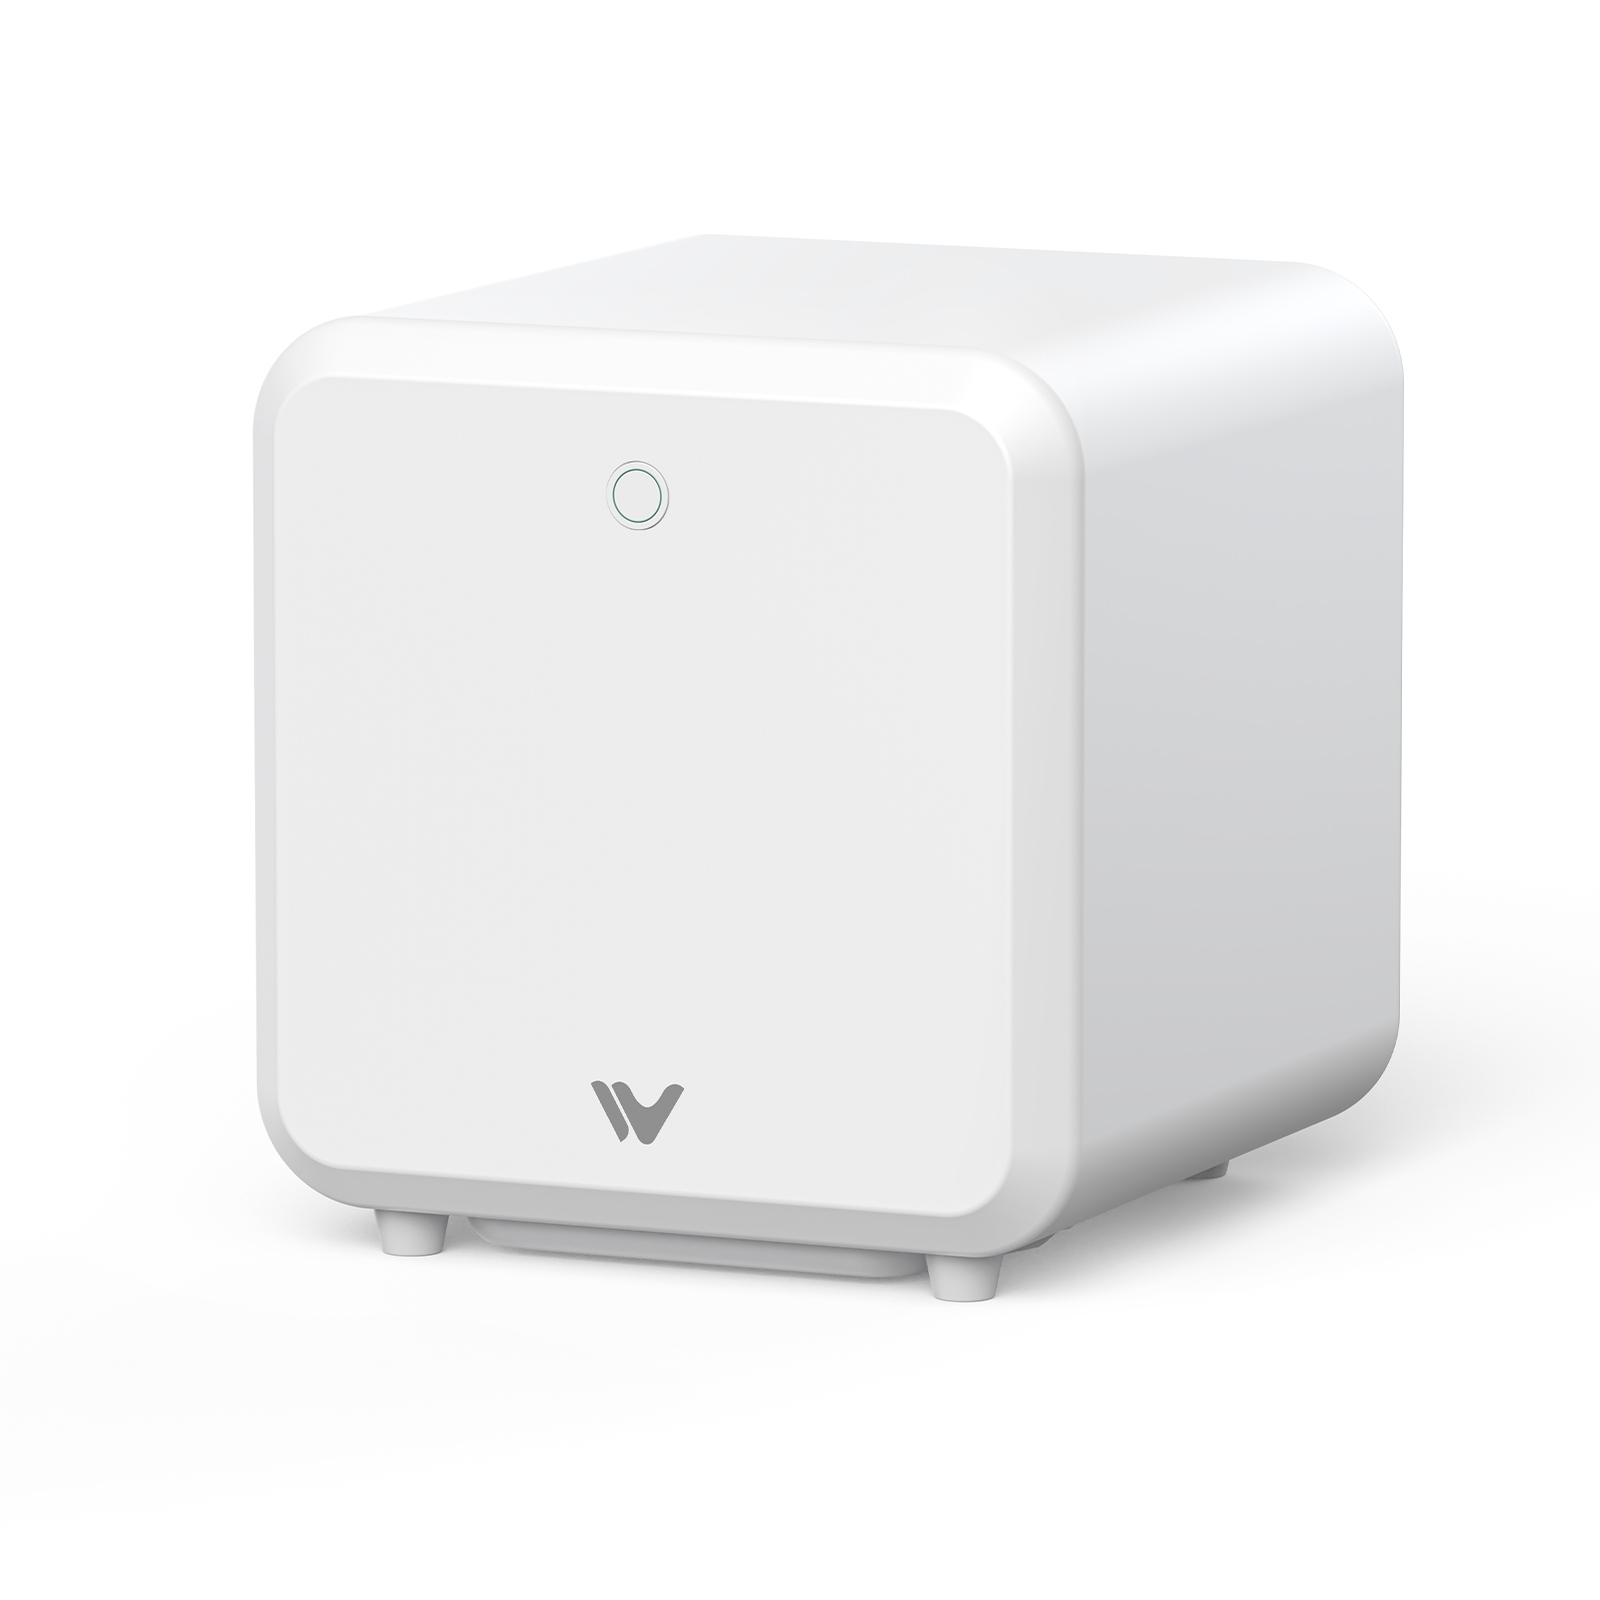
One example that checks all four boxes is the WeCreat Vision, which pairs a motorized auto-lifting bed with the WeCreat Rotary Pro attachment — an internal-expansion rotary that mounts from inside the cup rather than clamping the outside, enabling a full top-to-bottom wrap on large handled tumblers without removing the handle or adding a separate riser base. It's one option worth looking at if those four criteria matter to you — but the criteria above apply no matter which brand you end up comparing.


Do You Need a Rotary Attachment?
Short answer: yes, almost always, if you're engraving anything cylindrical.
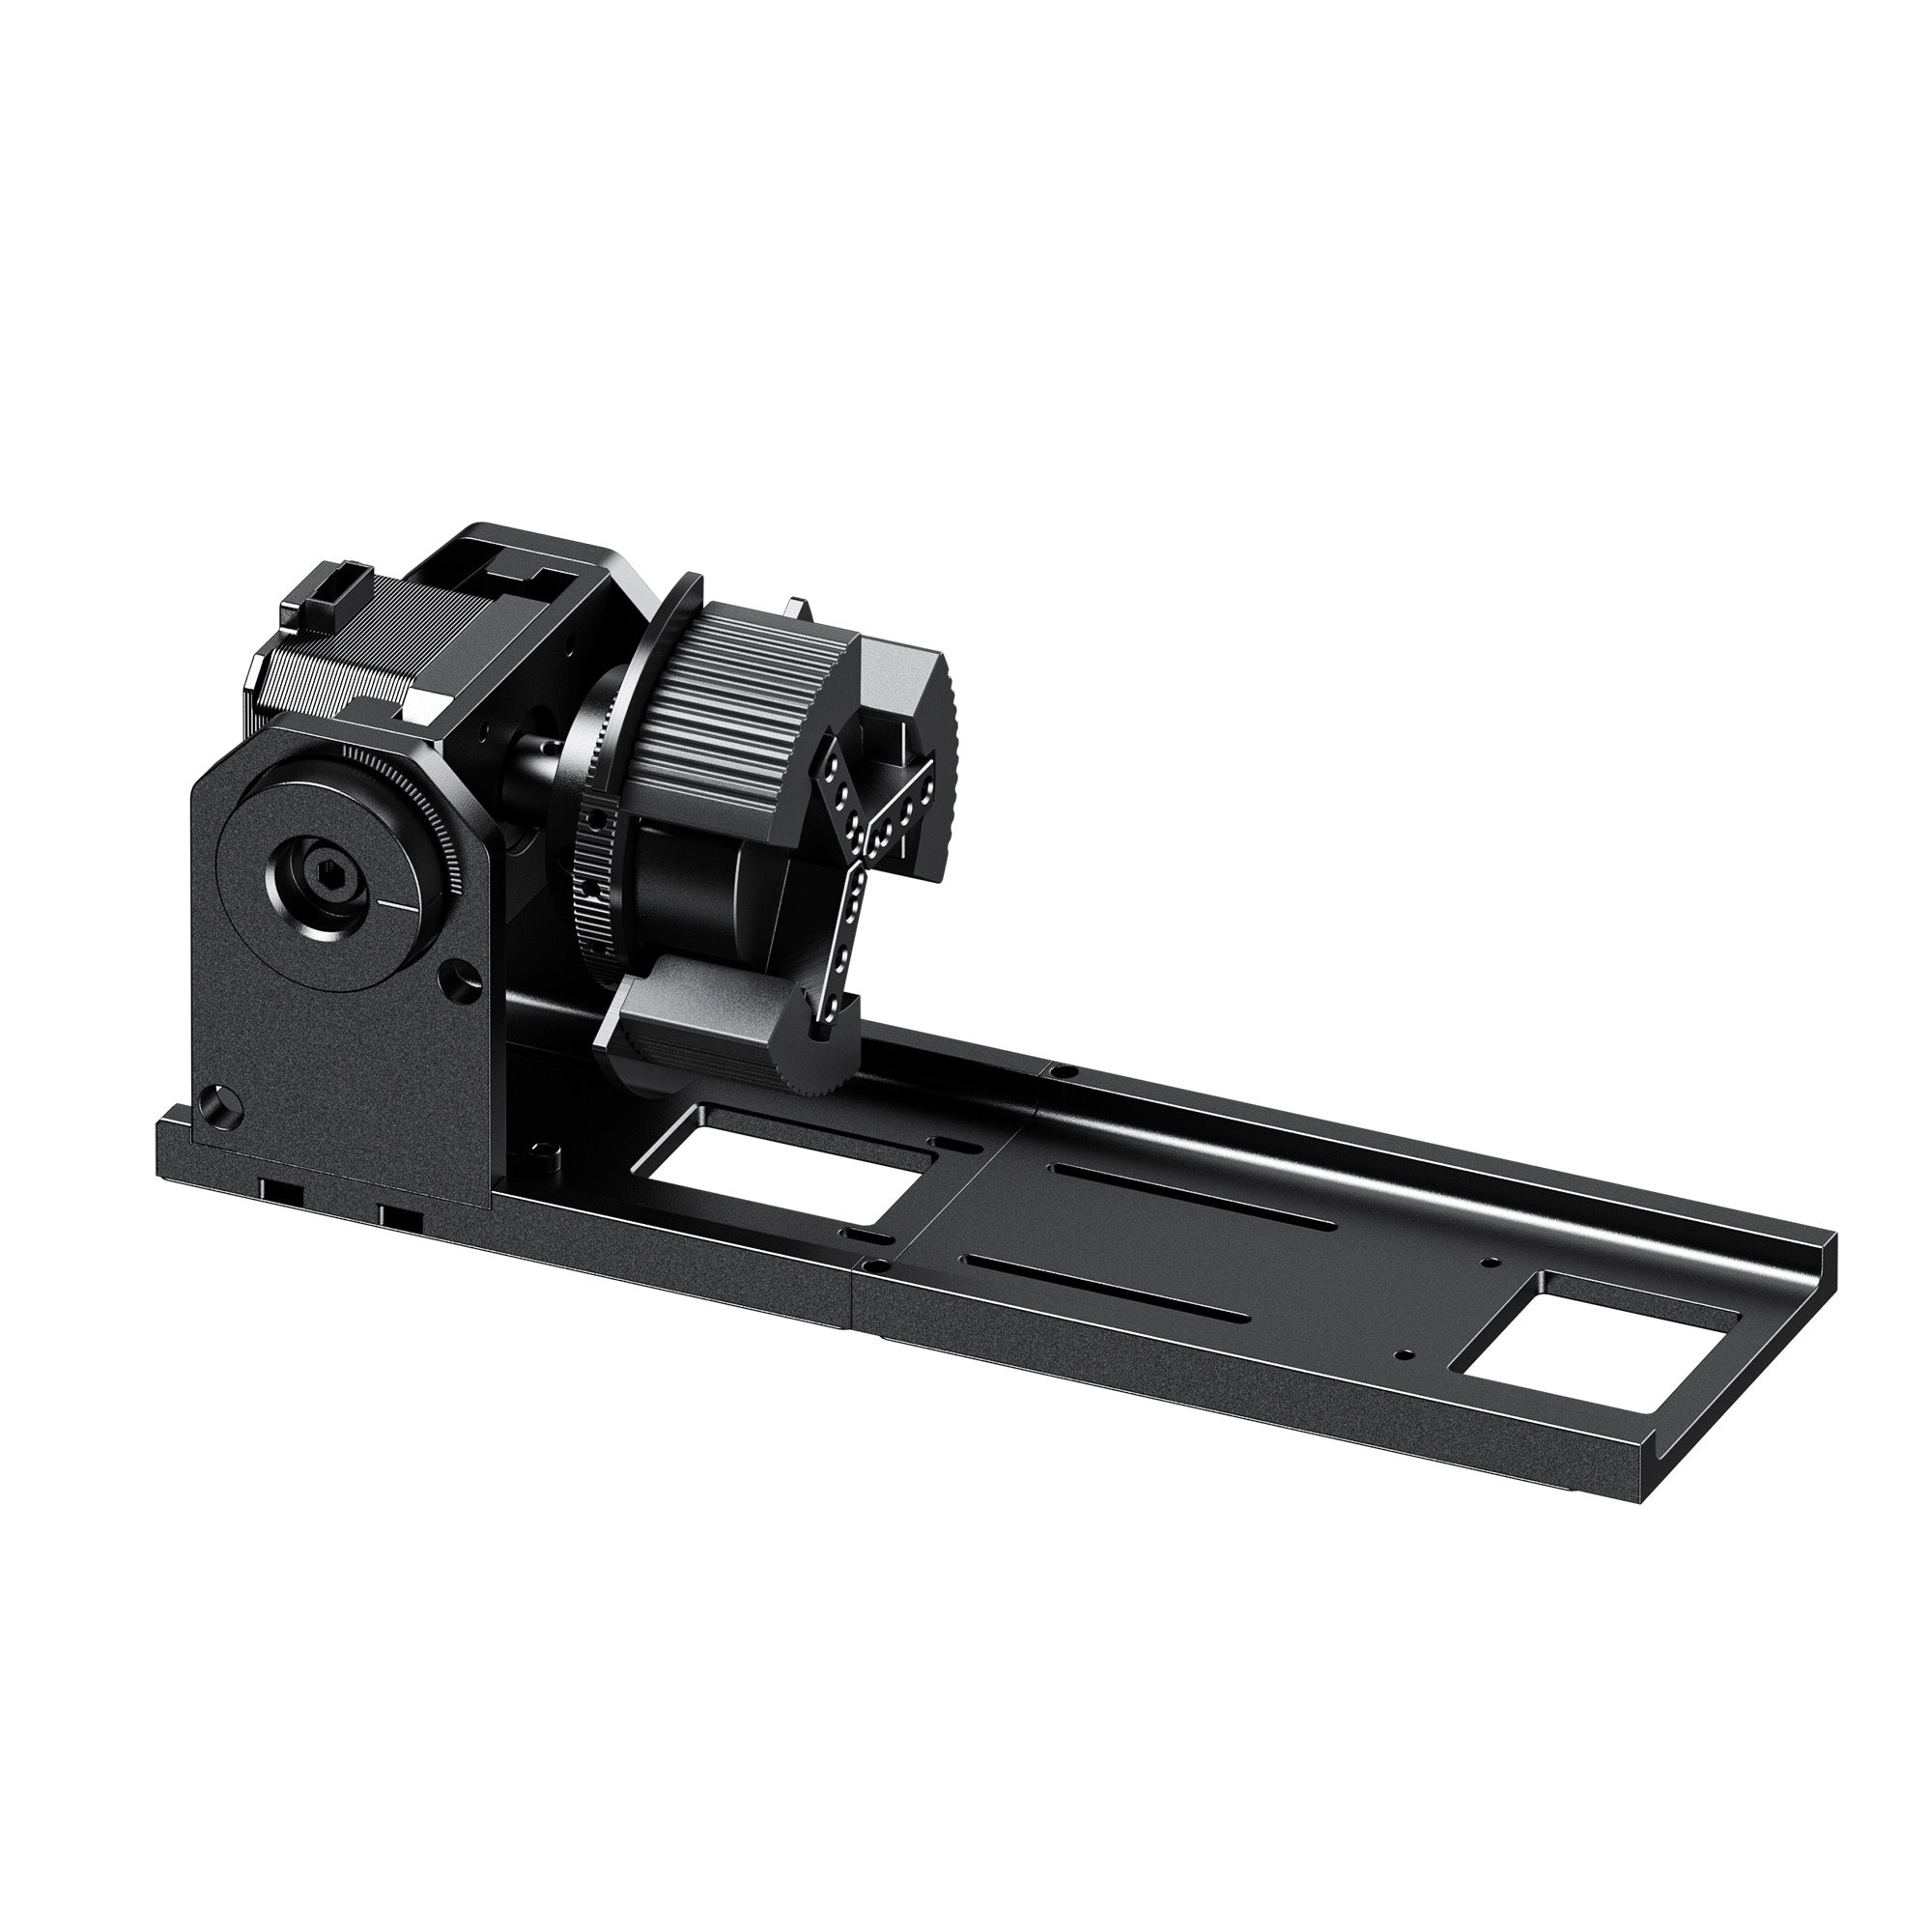
Cylinders can't be engraved the same way as flat wood or acrylic. To keep a design in focus and properly proportioned as it wraps around a curved surface, a tumbler engraving setup needs a rotary attachment (or, on higher-end setups, a 3D dynamic focus system) that spins the cup in sync with the laser head.
There are three main types of rotary attachments on the market, and the difference matters more than most beginners expect.
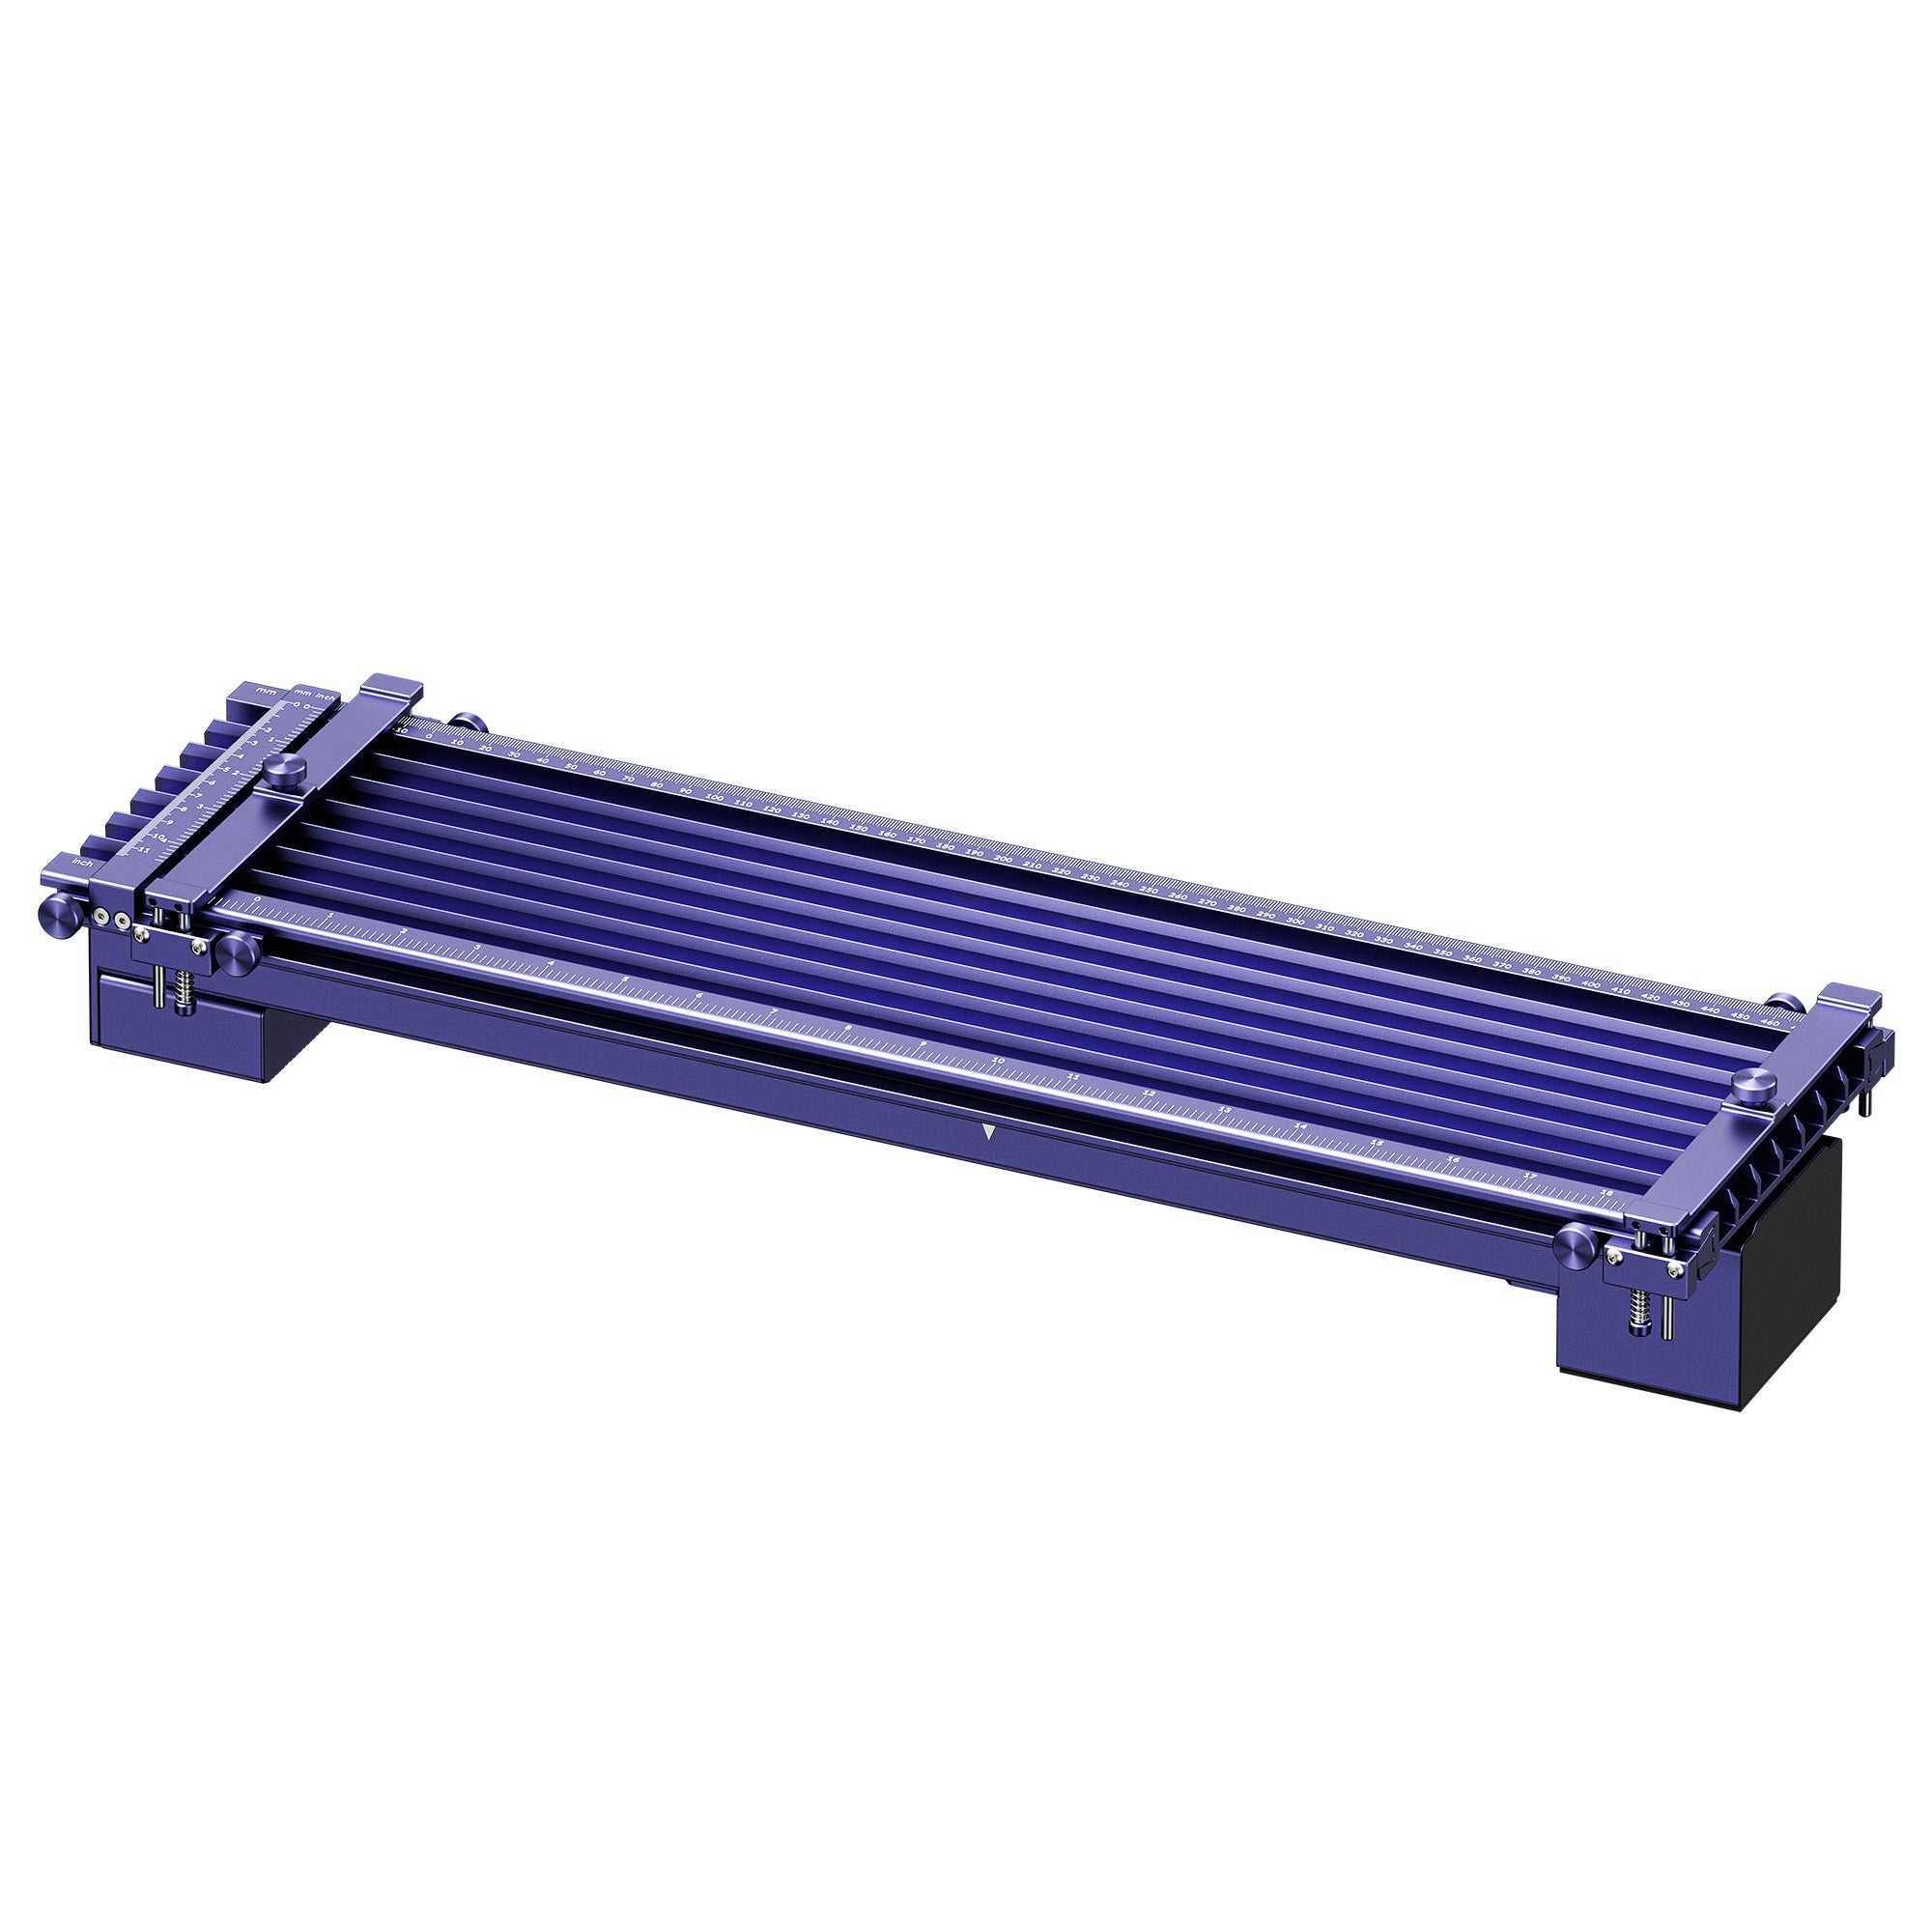
Roller rotaries are the simplest and cheapest — the cup just sits on top of spinning rollers. Fine for a lot of jobs, but cups can slip slightly on longer engraves, especially anything smooth like stainless steel.
Then there's external clamping, sometimes just called chuck rotaries. Jaws grip the cup from the outside at both ends, lathe-style. More secure than rollers, no question — but those jaws take up real estate near the base, which is exactly why handled cups often get engraved with the handle off on this type of setup.
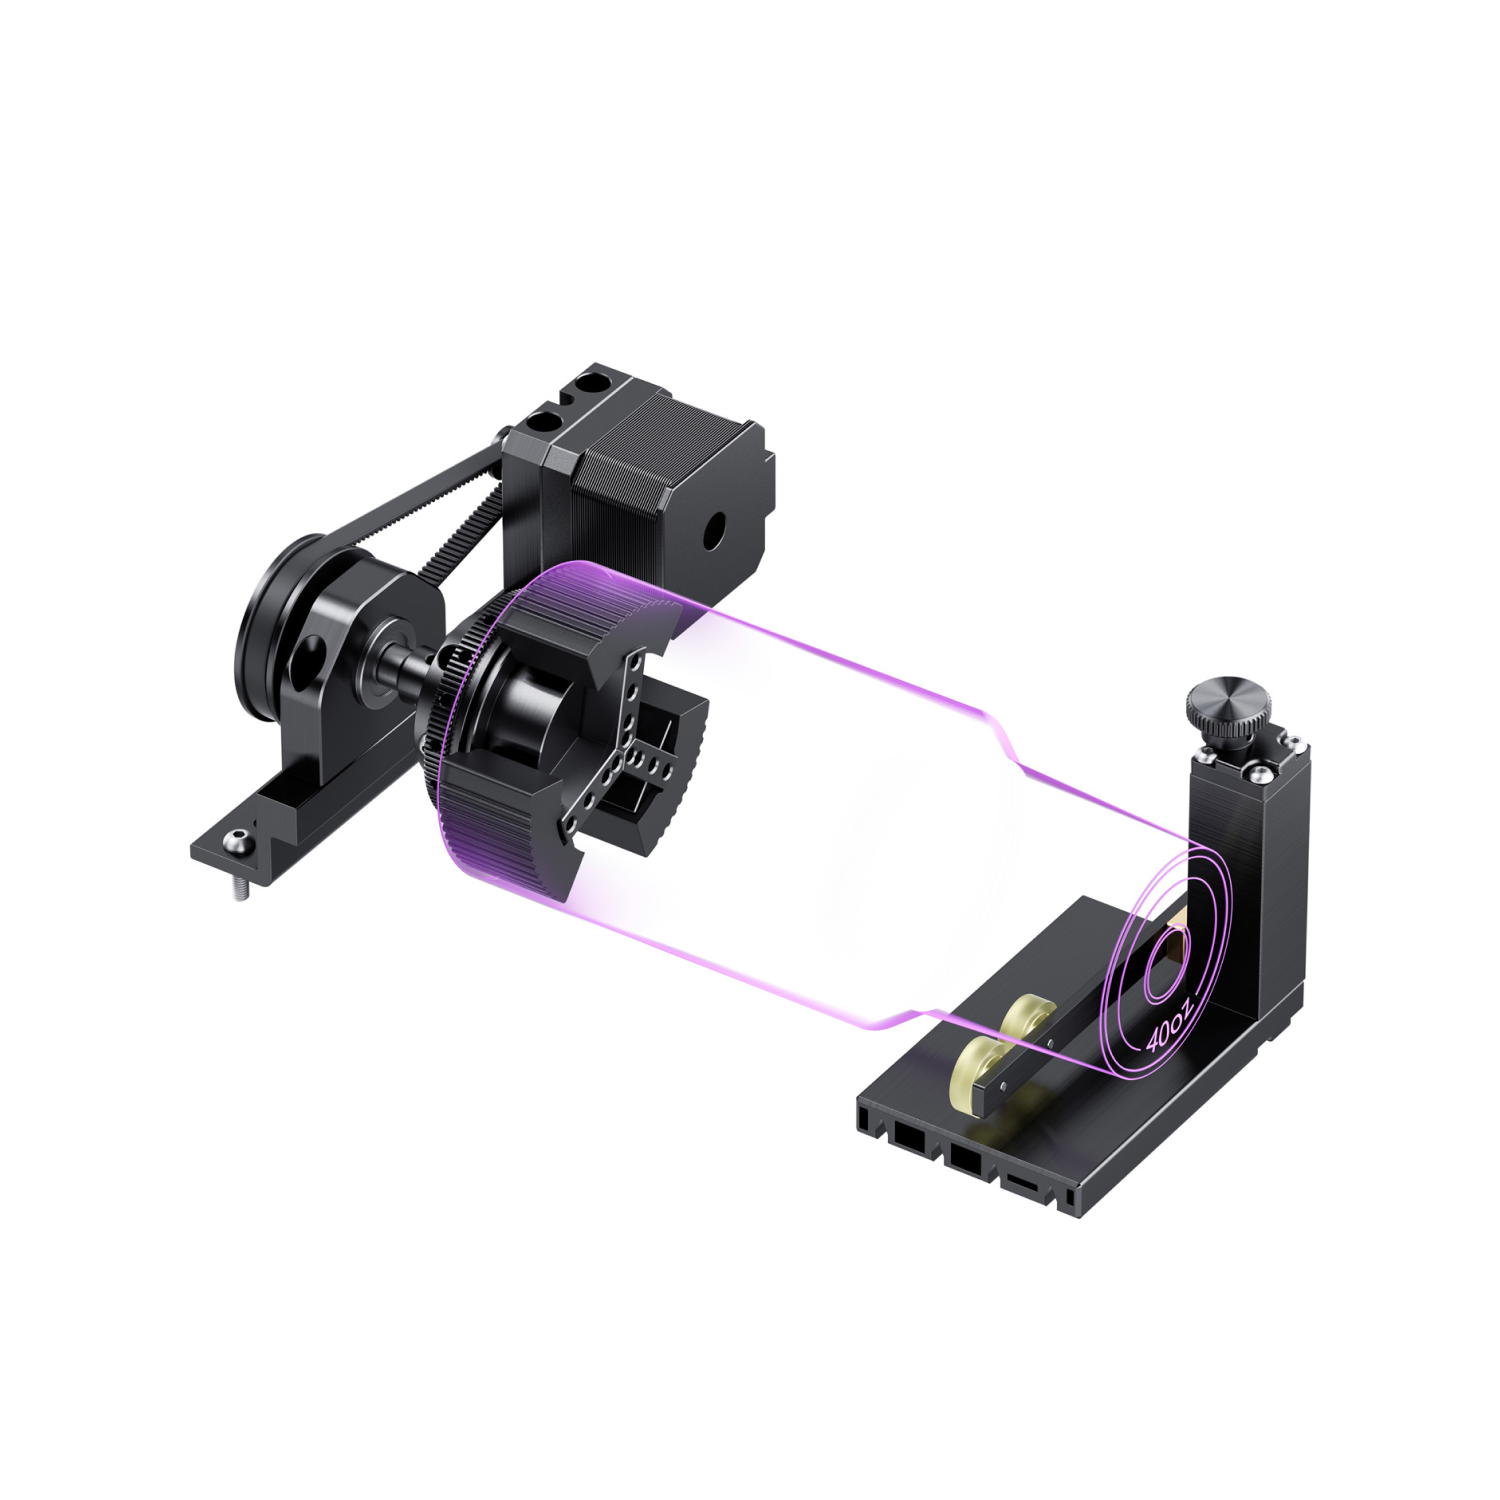
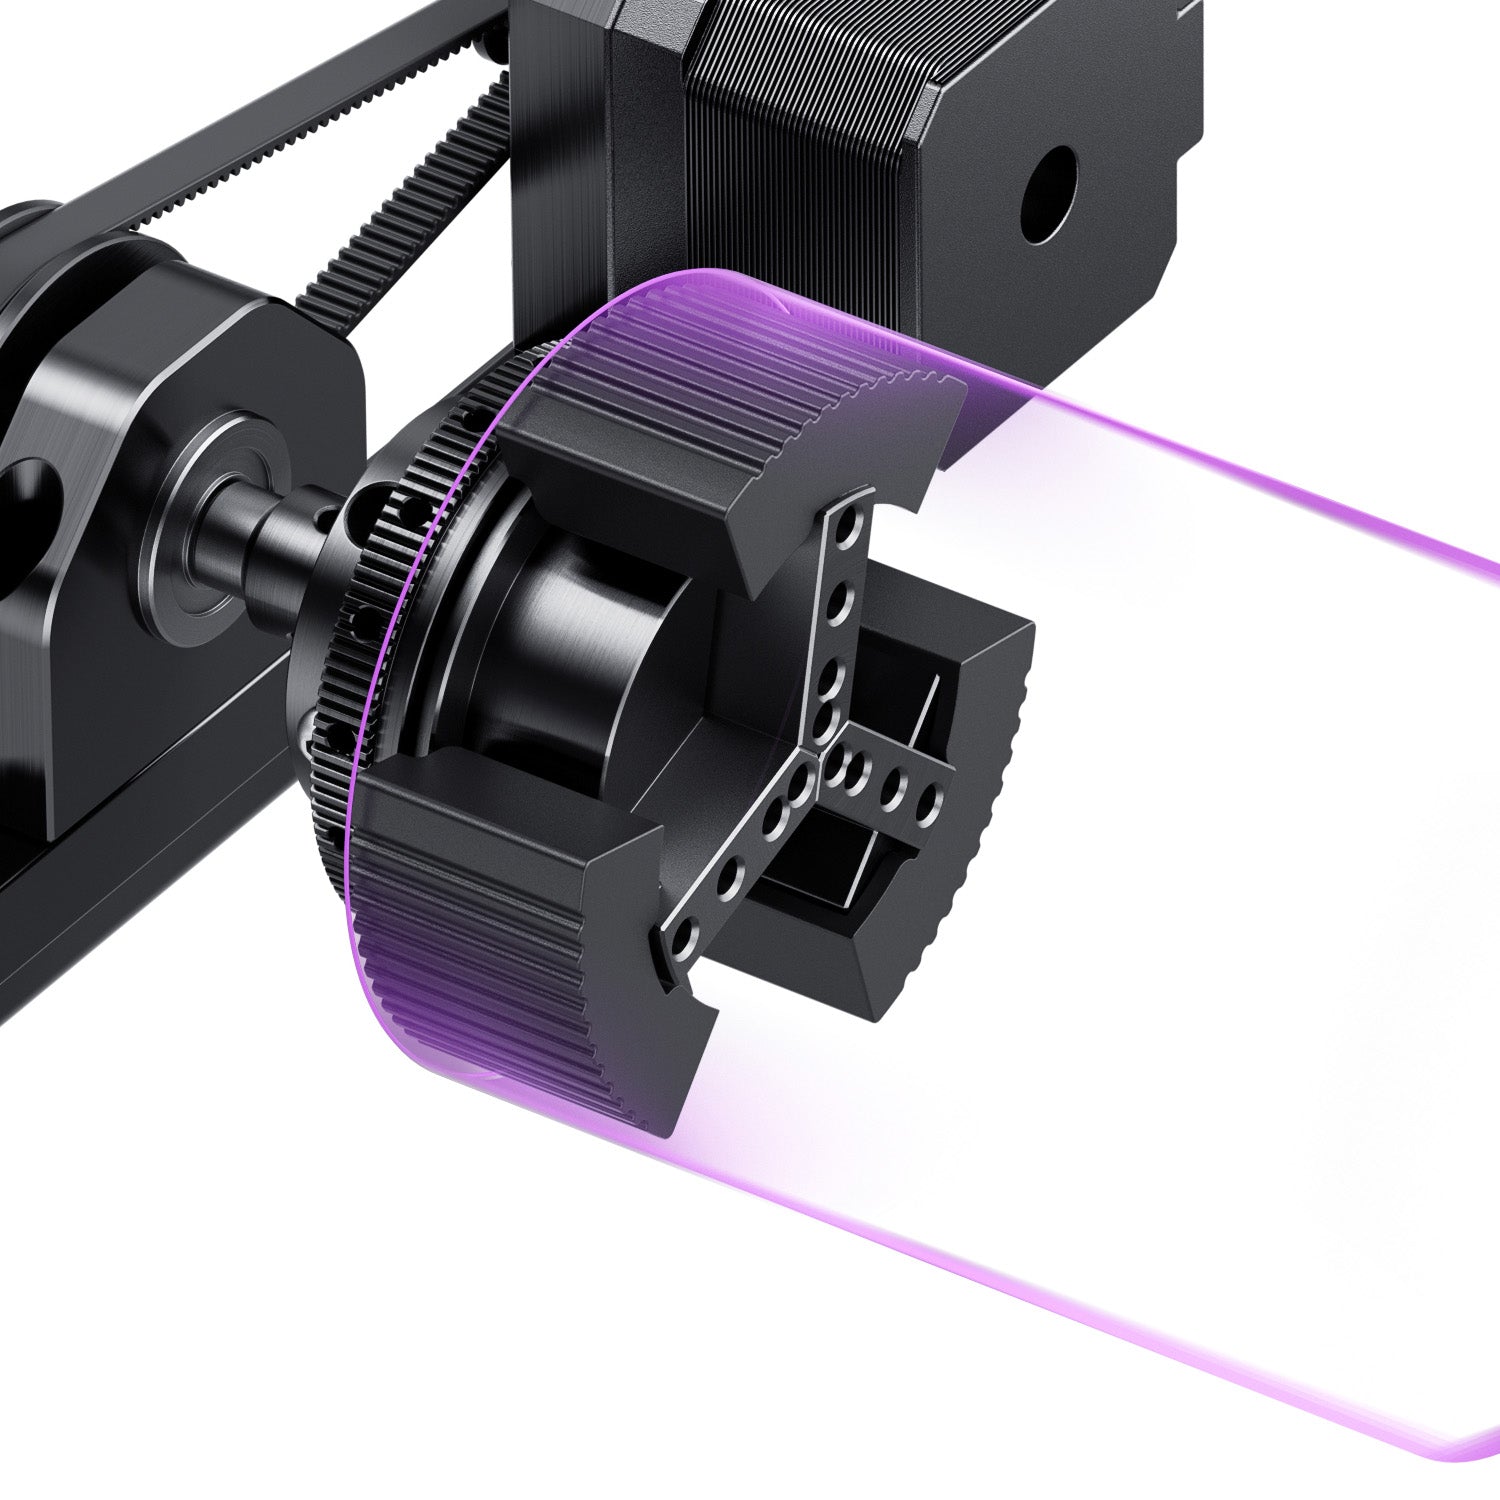
Internal expansion flips that around. Instead of clamping the outside, a mandrel expands inside the cup through the open top, so the entire exterior — handle and all — stays completely clear of any hardware. This is the type that makes handle-on, top-to-bottom full wraps actually possible on cups like Stanley tumblers.

Trying to engrave a cylindrical cup on a standard flatbed setup without any rotary attachment is one of the most common beginner mistakes — without synchronized rotation, the design comes out stretched, blurry, or focused only on the section of the cup closest to the laser.
Diode vs CO2 vs Fiber: Choosing Your Laser Source
Before buying any machine, it's worth understanding which laser type actually works with the materials you plan to engrave.
|
Laser Type |
Best For |
Interaction With Stainless Steel / Powder Coats |
|
Diode Laser (455nm) |
Beginners, coated tumblers |
Vaporizes powder coating to expose bare steel — works well on most insulated drinkware |
|
CO2 Laser (10600nm) |
Glass, acrylic, painted mugs |
Cannot engrave bare metal directly; requires a marking spray or coating removal first |
|
Fiber Laser (1064nm) |
Bare metals, industrial speed |
Engraves directly into raw stainless steel with fine detail |
If you're shopping specifically for engraving powder-coated stainless steel — which covers the vast majority of insulated tumbler brands — a diode laser is typically the most cost-effective and beginner-friendly starting point. CO2 machines shine on glass and painted surfaces but need extra prep work for bare metal, while fiber lasers are the industrial-grade option for high-volume raw metal engraving.
The first mistake many beginners make is assuming higher power automatically produces a cleaner result. In practice, lower power paired with a slower pass speed often produces smoother, less charred edges than cranking the wattage up and rushing the pass.
A Note on Settings: Why There's No Universal Formula
It's tempting to look for one clean table of "correct" settings by wattage, but real-world results from hobbyists and shops running different machines make it clear that no such universal formula exists. Reported settings for engraving powder-coated tumblers vary enormously — even among users running similar-wattage diode lasers, recommended power percentages and speeds have been reported anywhere from roughly 10% to 100% power, and from a few millimeters per second up to 70mm/s or more, depending on the specific laser module, lens condition, coating thickness, and even the coating color (darker coatings generally absorb more energy and need less power than lighter ones).
Instead of chasing a specific number, use this process, which works across machines:
1. Start conservatively. Begin at the lower end of your laser's power range rather than assuming you need maximum output.
2. Test on a scrap section or a cheap cup first — never run a new material or coating type directly on your final piece.
3. Increase power in small increments (roughly 5% steps) until the coating clears completely in a single pass, rather than jumping straight to high power.
4. Watch the result, not just the settings. A hazy mark with coating still visible means you need more power or a slower pass; a charred or discolored mark means you've gone too far.
5. Save your working settings once dialed in — coating and finish can vary between manufacturers and even between production batches of the same tumbler model, so what worked on one order may need a small adjustment on the next.
The core mistake to avoid: many beginners assume higher power automatically produces a cleaner result. In practice, a slower, lower-power pass often produces a smoother, less charred edge than a fast, high-power one.
Engraving Stanley & Yeti: Handles & Powder Coats Solved!
Want to engrave Stanley and Yeti tumblers like a pro? This guide cracks the two biggest challenges in cup customization: dodging the Stanley handle and cleanly laser-engraving Yeti’s tough powder coating. Get ready for flawless results every time!
How to Engrave Stanley Cups (The Handle Dilemma)
The main complication with Stanley-style cups is the handle. How much of a headache it actually is depends on which type of rotary attachment you're working with.
Most tutorials online tell you to take the handle off first. That advice comes from external clamping setups, where jaws squeeze the cup from the outside at both ends — and yes, on that kind of rig, the handle really can bump into the clamp or the gantry mid-spin. Some Stanley handles just pull off; others are screwed in and need a small key or hex tool. Either way, off it comes, engrave, then screw or snap it back on.
There's a workaround, though. Internal expansion rotaries mount from the inside instead — an expanding mandrel goes in through the open top and holds the cup from within, so the outer surface never touches any hardware at all. Handle included. WeCreat's Rotary Pro works this way, which is how it manages a genuine top-to-bottom, zero-dead-zone wrap on a 40oz Stanley-style tumbler in one pass, handle still attached, no riser base needed.

Short version: external clamping, take the handle off. Internal expansion, you probably don't have to.
Stanley cups also taper slightly from base to rim, which is worth planning for — more on that in the mistakes section below.
How to Engrave Yeti Cups (Powder-Coated)
The goal with most Yeti-style tumbler projects is stripping away the thick, durable powder coating to reveal the shiny, food-grade stainless steel underneath — that's what creates the classic clean, two-tone engraved look.
A 10W or 20W diode laser tends to be the sweet spot here: enough power for clean ablation of the coating without generating enough heat to warp the cup's vacuum-insulation seal, which is a real risk if you push the power too high or run too many passes.
3 Common Mistakes to Avoid When Engraving Cups
Even with the right machine, a few avoidable mistakes account for most ruined tumblers.
The first one is almost embarrassingly simple: not measuring the cup. Before designing anything, calculate the exact circumference using C = π × d (circumference equals pi times diameter). Skip this step and the design comes out stretched, or doesn't wrap around evenly — it's the single most common reason a first attempt looks off.
A second mistake shows up specifically on tapered cups. Stanley's shape is the classic example — narrower at the base, wider at the rim — and a flat rotary setup can throw the laser out of focus partway through the engrave as a result. There's a fairly simple fix. A rotary leveling attachment that tilts a few degrees keeps the tapered surface level with the laser beam, handling the whole cup in one pass instead of splitting it into two separate runs.
Then there's power. More isn't better here. Push it too high and you'll vaporize the underlying steel instead of just removing the powder coating, which leaves a charred, messy logo instead of the clean two-tone finish most customers actually want.
Final Thoughts
If you're buying your first tumbler laser engraver, prioritize rotary compatibility over raw laser power. Reliable, slip-free rotation and accurate focusing will improve your engraving quality far more than upgrading from a 10W to a 20W laser alone. Get the fundamentals right — the right rotary type for your cups, focal distance, and conservative power settings — and the rest of the process gets a lot more forgiving.
What machine are you currently considering for your tumbler engraving setup? Drop a comment below, or check out our rotary attachments and enclosed laser engravers to see what fits your workflow.
FAQs
Q1.Can a diode laser engrave stainless steel tumblers?
Yes, for powder-coated tumblers. A diode laser vaporizes the powder coating to reveal the bare steel underneath, which is how most engraved Stanley- and Yeti-style cups get their two-tone look. Diode lasers generally can't mark bare, uncoated stainless steel with the same contrast — that's more of a fiber laser task.
Q2. Do I need a rotary attachment?
For any cylindrical tumbler, yes. Without a rotary attachment keeping the cup synchronized with the laser head as it spins, the design will come out distorted or only partially engraved.
Q3. Can you engrave a Stanley Cup?
Yes. If your rotary attachment uses external clamping, the handle is typically removed before mounting — either it pulls off directly, or it's unscrewed with a small key on models with a fixed handle — then reattached once engraving is done. If your rotary uses internal expansion instead, the handle can usually stay on, since nothing is clamping the outside of the cup.
Q4. Can CO2 engrave Yeti cups?
Not directly on the bare or powder-coated steel — CO2 lasers don't interact well with metal without a marking spray or pre-treatment. A diode laser is generally the more direct option for powder-coated tumblers.
Q5. What's the best laser wattage for tumblers?
10W to 20W diode lasers cover most powder-coated tumbler engraving comfortably. Higher wattage isn't necessary for coating removal and can actually increase the risk of warping the vacuum seal or leaving scorch marks if the settings aren't dialed in.