










Try engraving clear glass with a typical diode laser and you may get very little visible marking, or excessive heat buildup that can lead to cracking. CO₂ lasers can engrave glass effectively and are a well-established option, especially for surface work on glassware and coated glass — but they rely on thermal interaction with the surface, and getting fine detail or consistent results on clear glass can mean extra settings work or surface treatment depending on the material.
UV lasers offer another approach. A 355nm UV laser is often described as using "cold processing," because its shorter wavelength allows more efficient absorption and minimizes heat-affected areas compared with many infrared or visible-light lasers. That doesn't mean zero heat — but it does greatly reduce the risk of thermal cracking, chipping, and heat-related surface damage when the laser is properly calibrated.

This guide has two parts. First, the general technique — steps and principles that apply to UV glass and crystal engraving regardless of which machine you own. Then, a specific walkthrough using the WeCreat Lumos Ultra, covering the exact hardware and software steps for its subsurface crystal engraving feature.
Quick answer: A UV laser engraver is one of the most precise options for direct glass engraving and specialized crystal engraving. A 355nm UV laser can mark many glass surfaces with relatively low thermal impact, while compatible systems such as the WeCreat Lumos Ultra can also focus the beam inside K9 crystal for 2.5D and 3D subsurface engraving.
Why Choose a UV Laser for Glass Engraving?
This section applies to UV laser engraving in general.
The physics, briefly. UV laser energy is absorbed efficiently by many glass and crystal surfaces, allowing precise material interaction with a relatively small heat-affected area. That's a large part of why UV has become a preferred choice for glass and crystal work, where excess heat is the main cause of cracking.
No pre-coating needed in most cases. Wine glasses, bottles, optical glass — a UV laser marks these directly on many types of glass. No tempera paint, no thermal paste, no marking spray required in most cases. That's a real time savings if you're running batch orders, not just a convenience.
Fine enough for detailed graphics. A tightly focused UV beam spot is what makes crisp micro-text, detailed vector logos, and photo-style greyscale engraving possible on glass — the kind of detail that gets lost or blurs out with a wider, heat-based beam.
General Technique: Glass Surface Engraving & Rotary Workflows
These steps apply to UV laser glass engraving broadly — the core sequence is the same across machines, even though exact software menus and hardware names will differ by brand.
Step 1: Surface prep. Clean the glass with a lint-free microfiber wipe and isopropyl alcohol. Fingerprints and dust show up in the final engrave more than you'd expect — this step is easy to skip and easy to regret skipping.
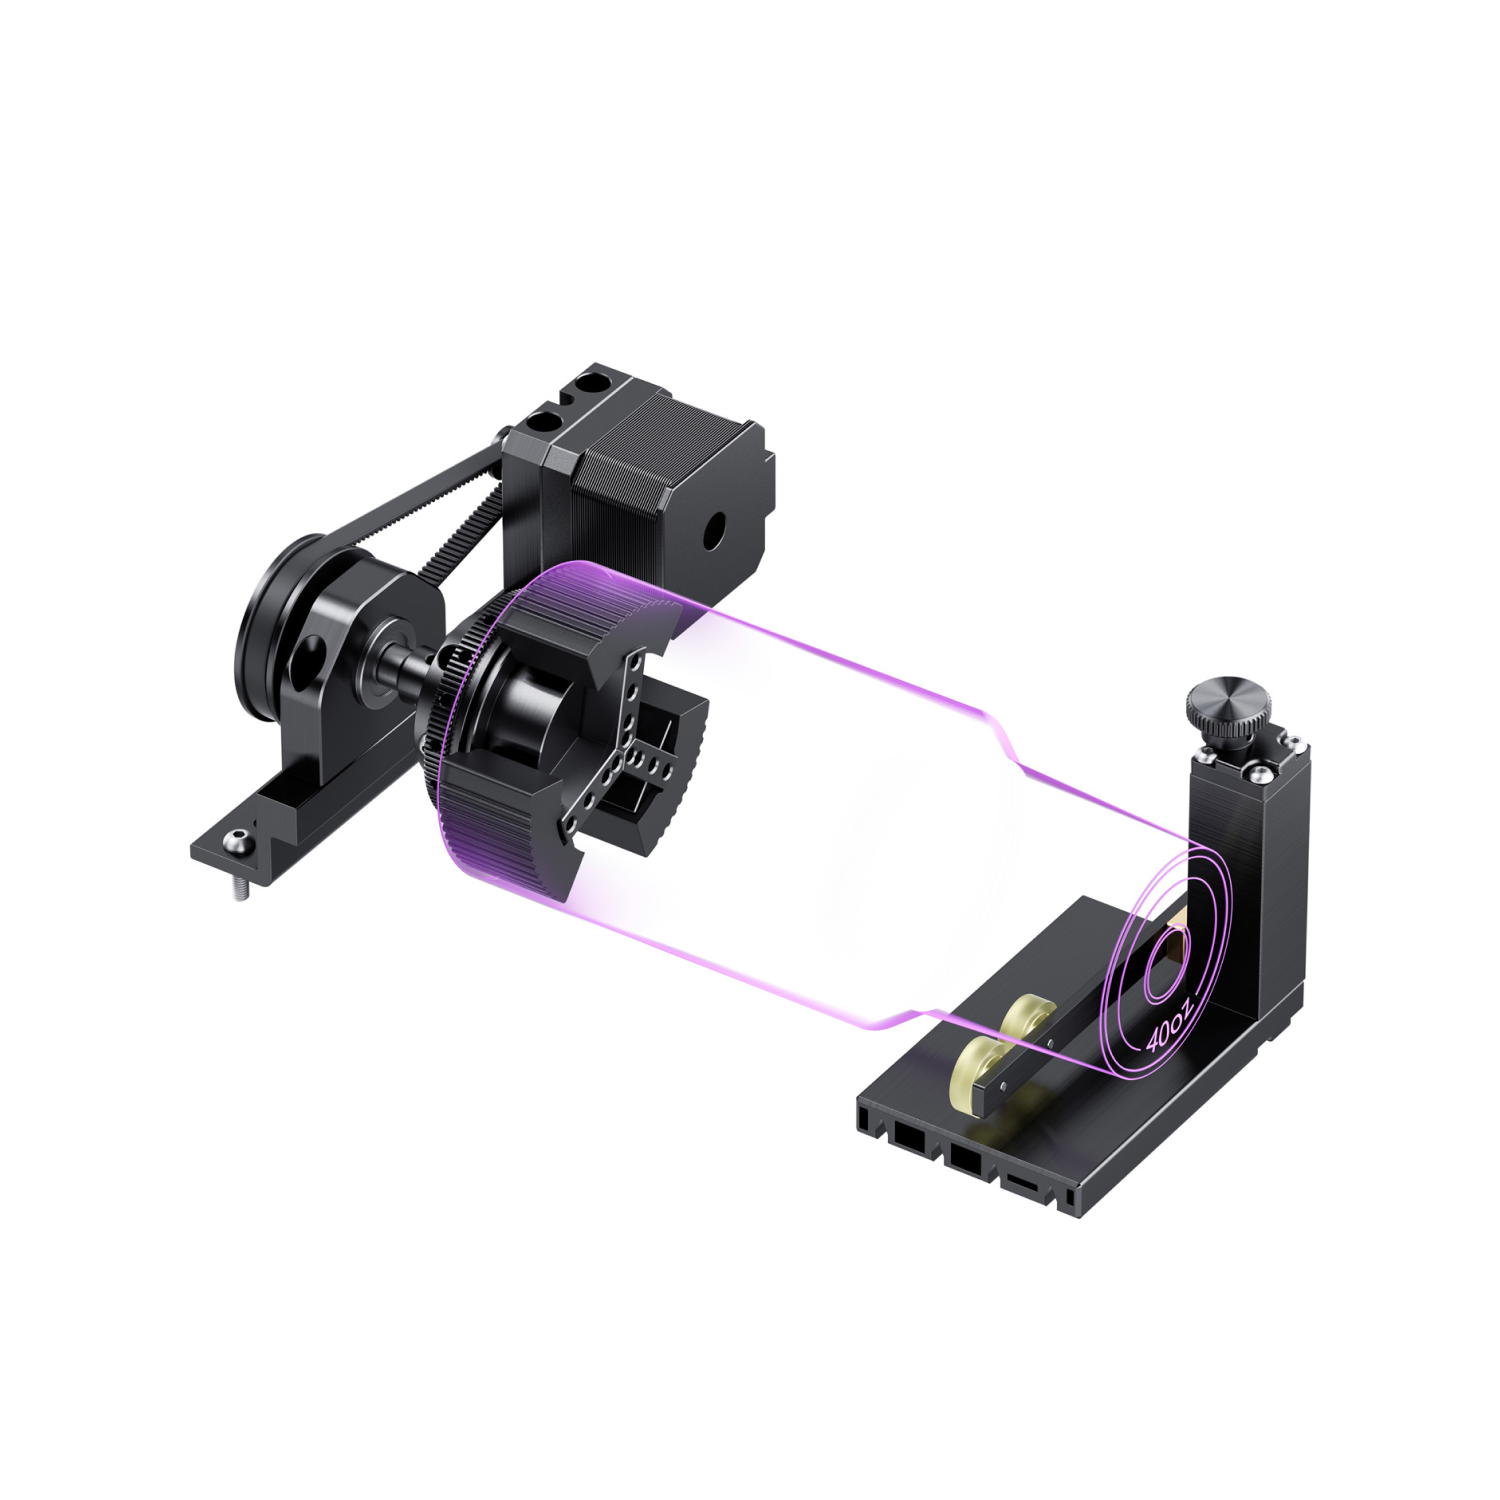
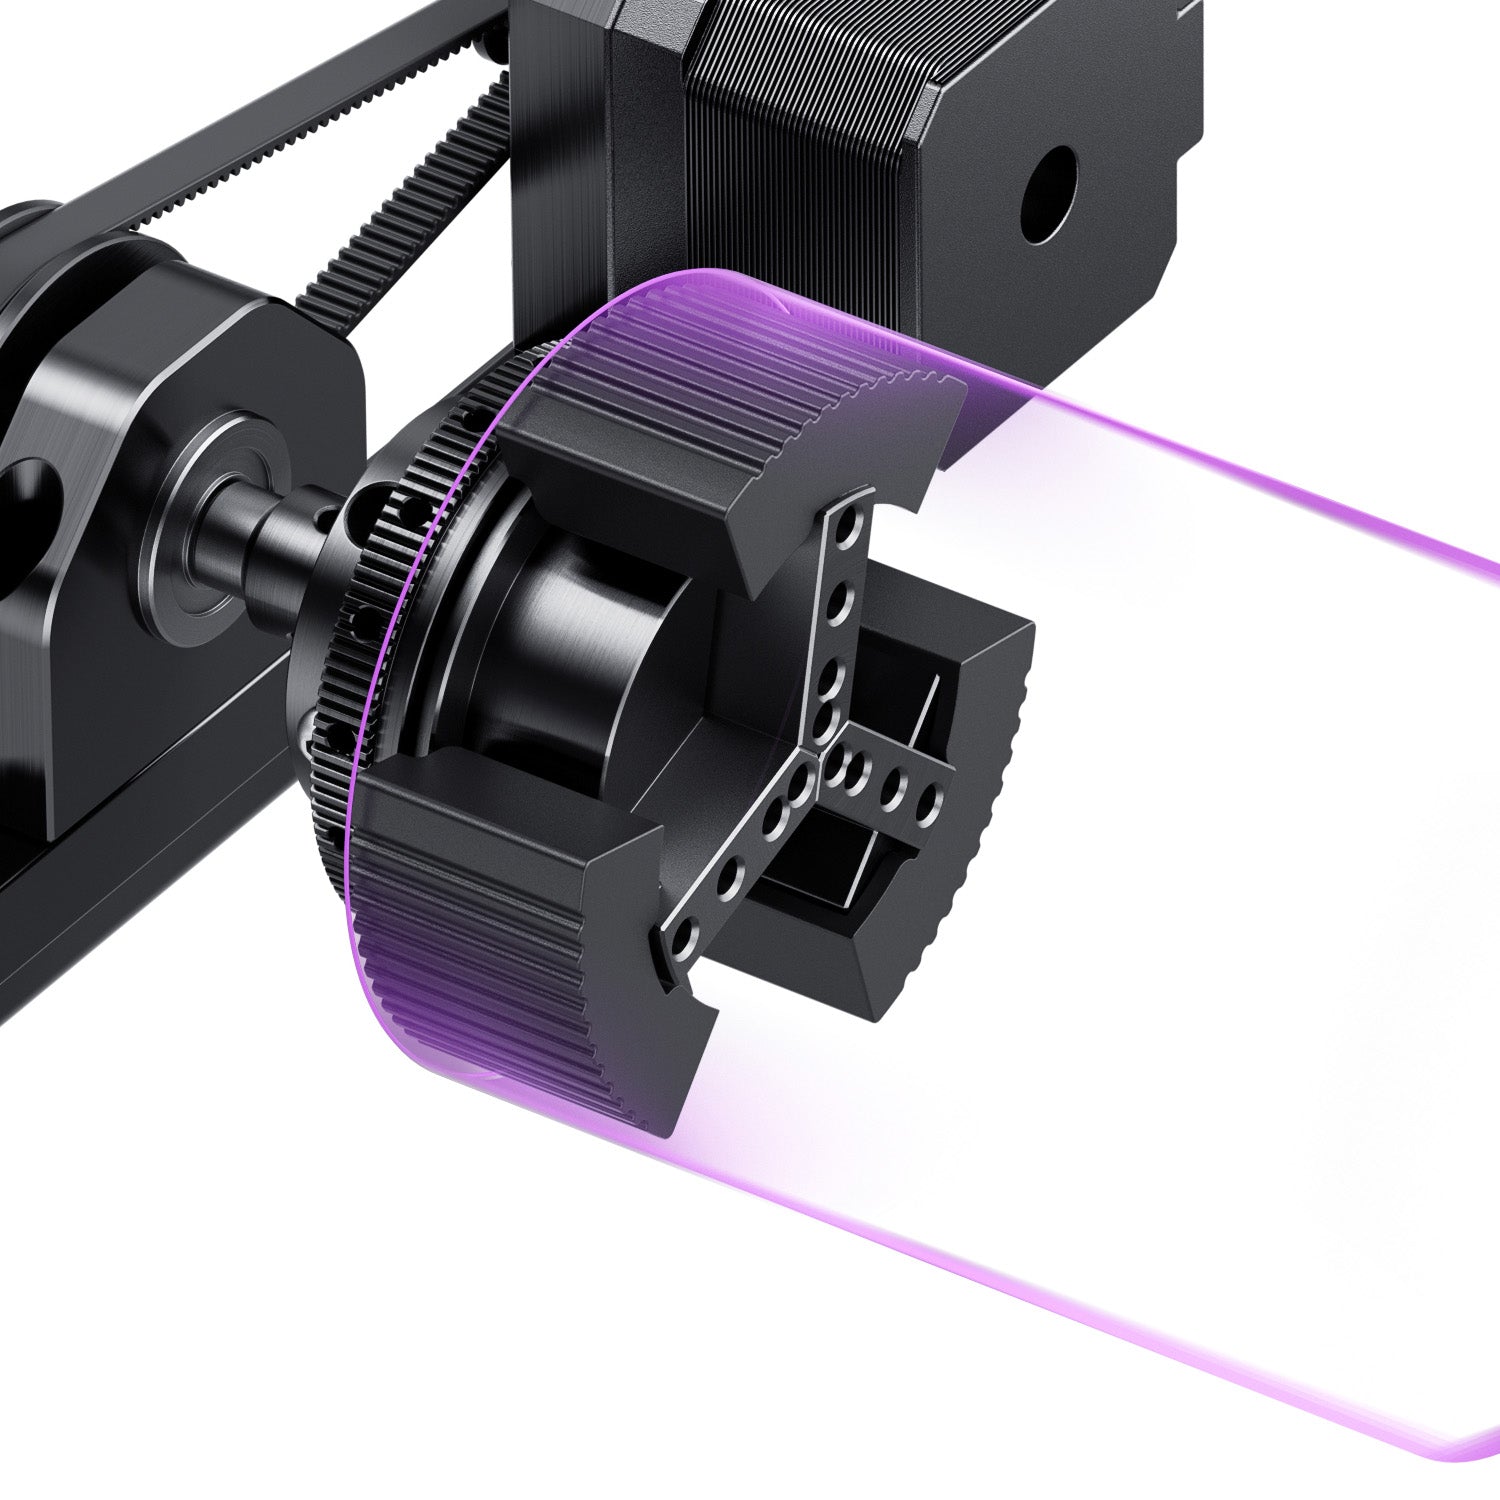
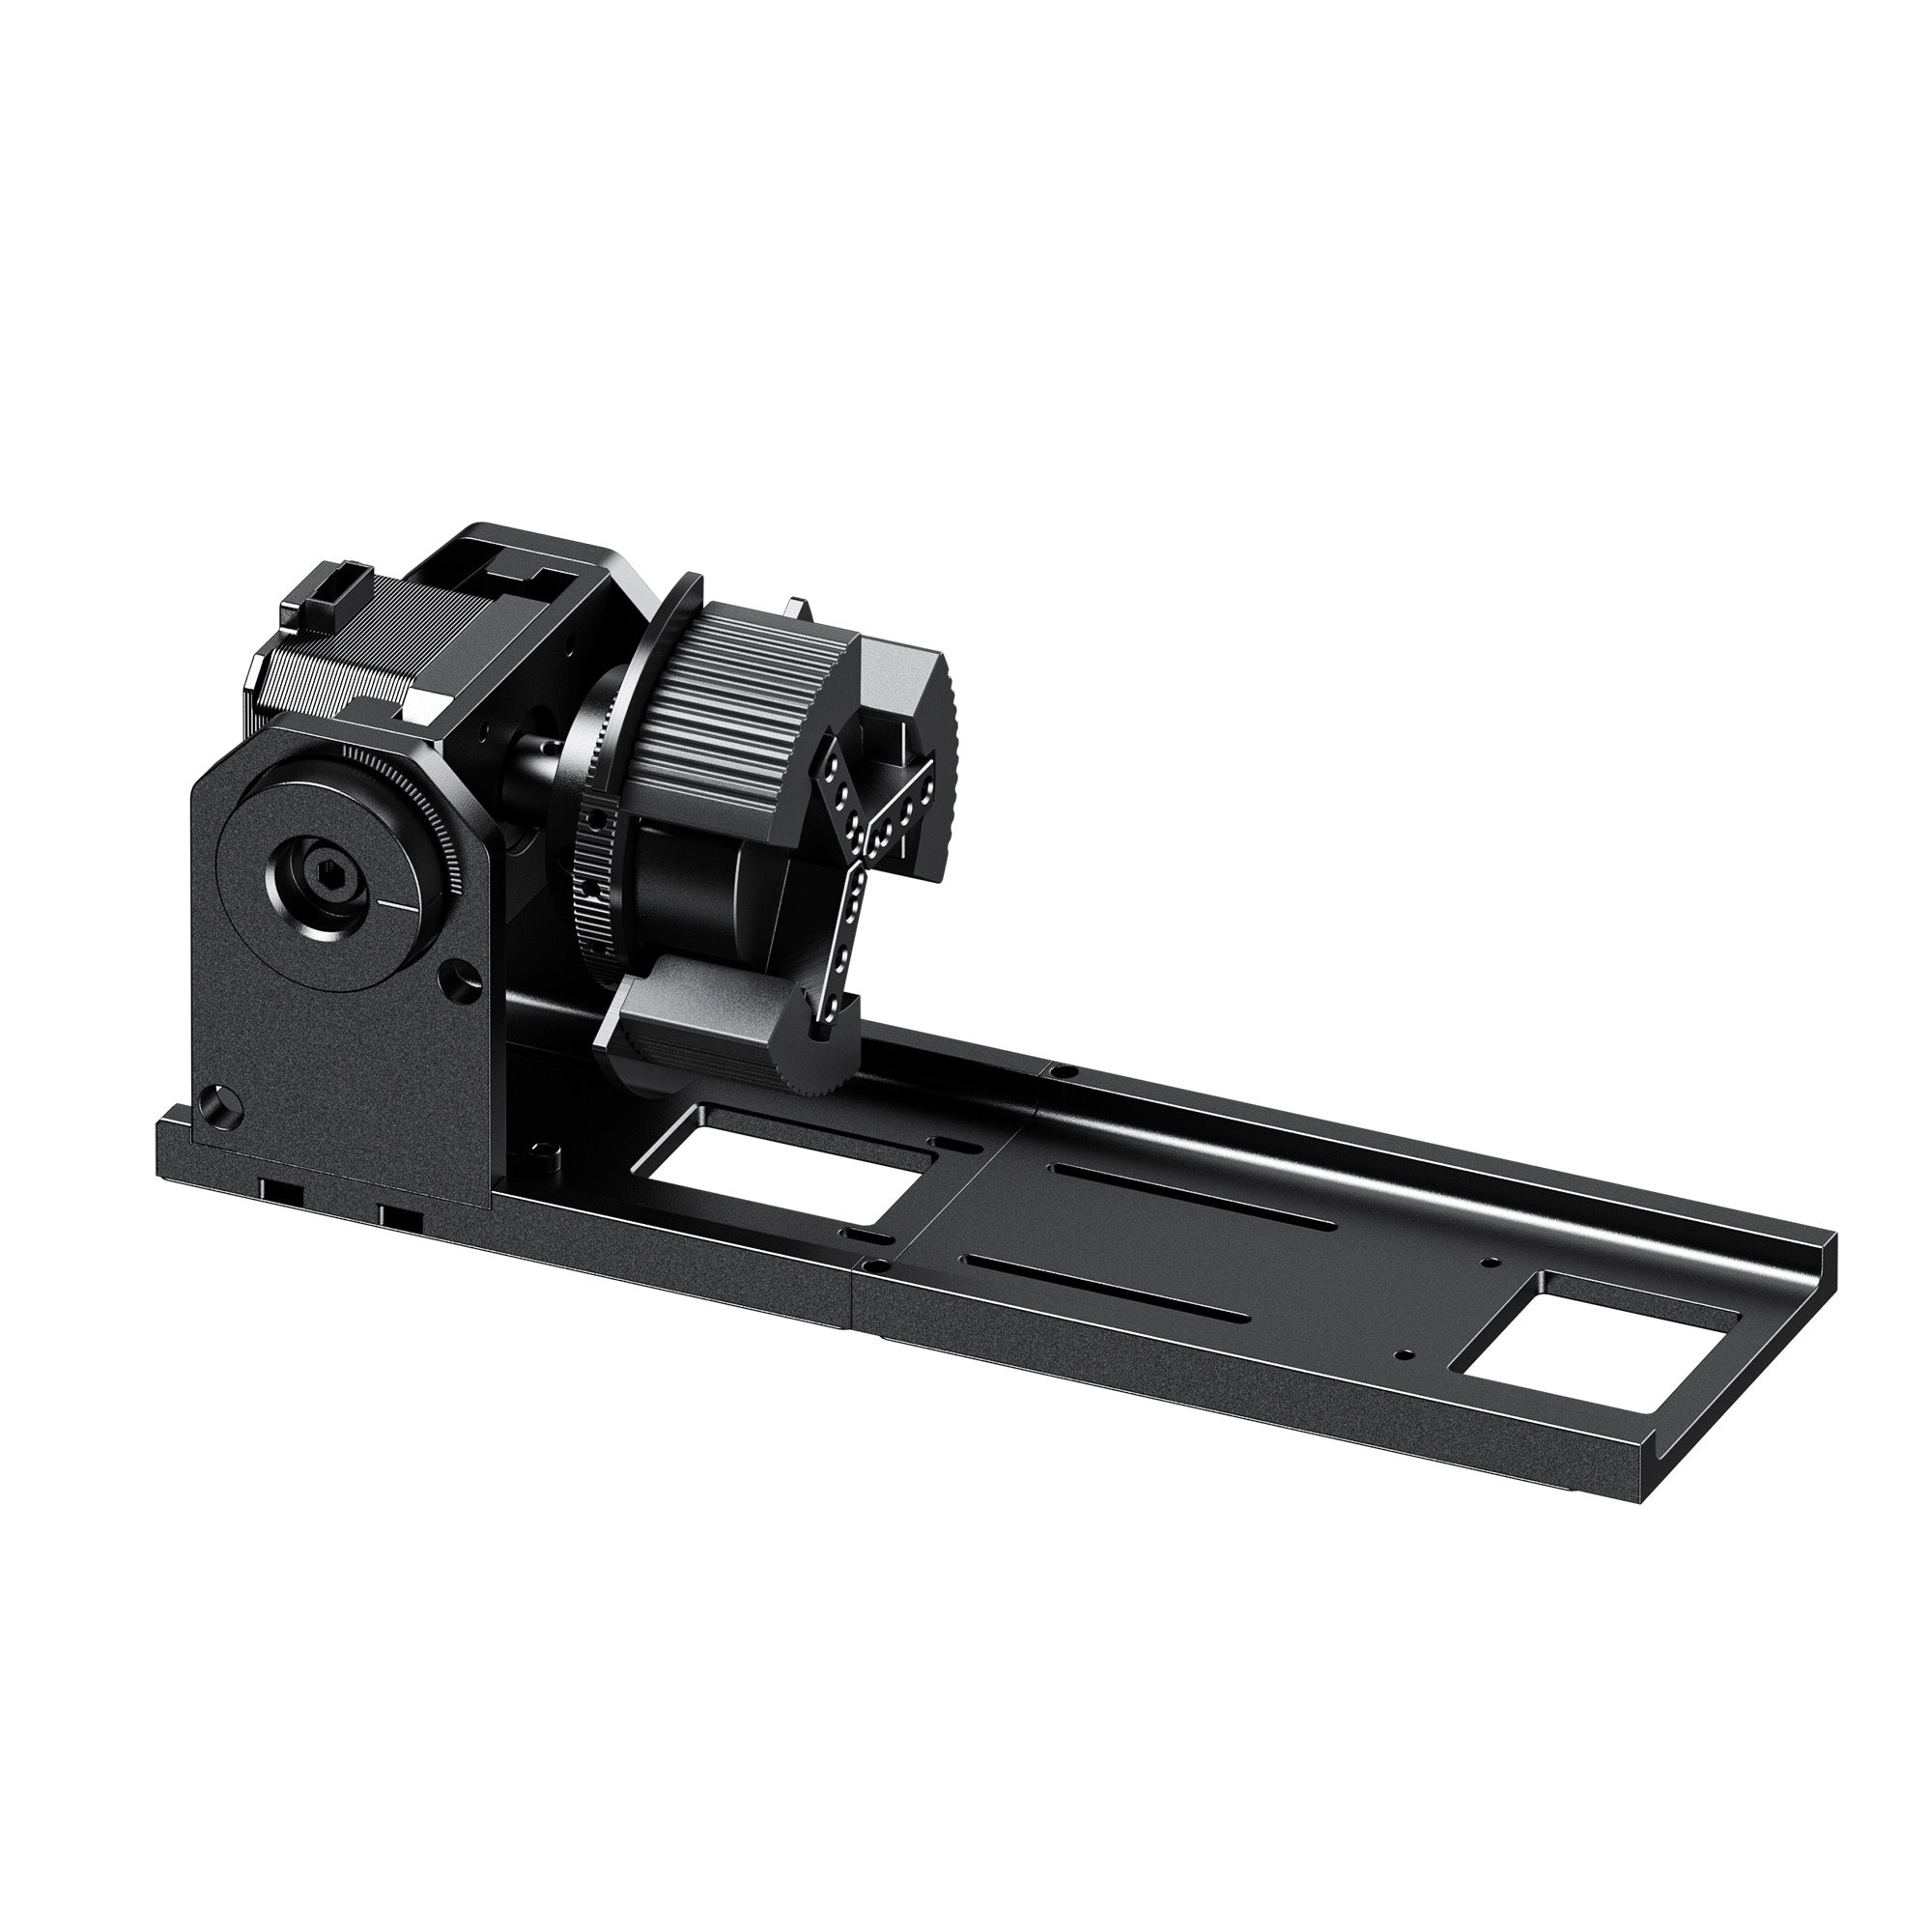
Step 2: Mount for curved surfaces. For wine glasses, bottles, or anything with a curved or 360° surface, mount the piece on a rotary attachment. This is what makes wrapping a design around a glass or bottle possible instead of engraving one flat-on angle. Rotary hardware design varies by machine, but the underlying goal — letting the laser track a curved surface accurately — is universal.
Step 3: Frame and calibrate. Preview the design's bounding box on the material before committing to the job, using whatever visual framing or preview tool your machine's software offers. On curved glassware especially, this preview step catches alignment issues before they become a ruined piece.
Step 4: Run and finish. Execute the job at the recommended power and speed settings for your specific glass type, then wipe away any minimal residual dust.
Recommended UV Laser Settings for Glass and Crystal
There's no single universal setting that works across every machine, glass type, and design. Glass composition, coating, thickness, and even the specific crystal grade all shift what "correct" settings look like. The reliable starting point is your machine manufacturer's material profile, followed by a small test grid on scrap material before you commit to a production piece.
A few parameters worth understanding, since they interact with each other:
- Power — higher power increases material interaction but also raises the risk of chipping if pushed too far for the material.
- Speed — faster travel speed generally reduces heat buildup and pulse overlap at a given frequency.
- Frequency — how often the laser pulses; combined with speed, this determines how much pulse overlap occurs.
- Pulse overlap — the amount neighboring laser pulses overlap as the beam moves across the surface. Too much overlap concentrates energy in one spot and is a common cause of micro-chipping on glass.
- Passes — multiple lighter passes can sometimes produce cleaner results than one aggressive pass, depending on the material.
- Focus — for subsurface work especially, focus accuracy directly determines where inside the material the effect occurs.
Common troubleshooting: If you're seeing small chips or rough edges on surface engraves, reduce pulse overlap by increasing scan speed, lowering frequency, or adjusting the power and pulse combination according to your machine's recommended settings — overlap isn't caused by frequency alone.
The Bigger Challenge: Subsurface Crystal Engraving
Concept overview — universal to any UV laser advertising this capability.
Surface engraving is one thing; putting a design inside a solid crystal block without touching its outer surface is a different challenge. This generally falls into two categories, and it's worth keeping them distinct:
2.5D crystal engraving builds a layered, relief-like image using multiple depth planes inside the crystal — closer to a stacked or dimensional surface effect than a true volumetric object.
3D crystal engraving uses a volumetric point cloud — individual points placed at specific X/Y/Z coordinates throughout the material — to represent a full 3D object or portrait suspended inside the block.
Both approaches generally require machine-specific hardware (often a dedicated lens for focusing inside the material rather than on its surface) and software that accounts for the crystal's refractive index, since light bends differently once it enters a denser transparent material. The concept is consistent across brands; the exact hardware and calibration steps are not. That's where the rest of this guide gets specific.
Product Spotlight: WeCreat Lumos Ultra
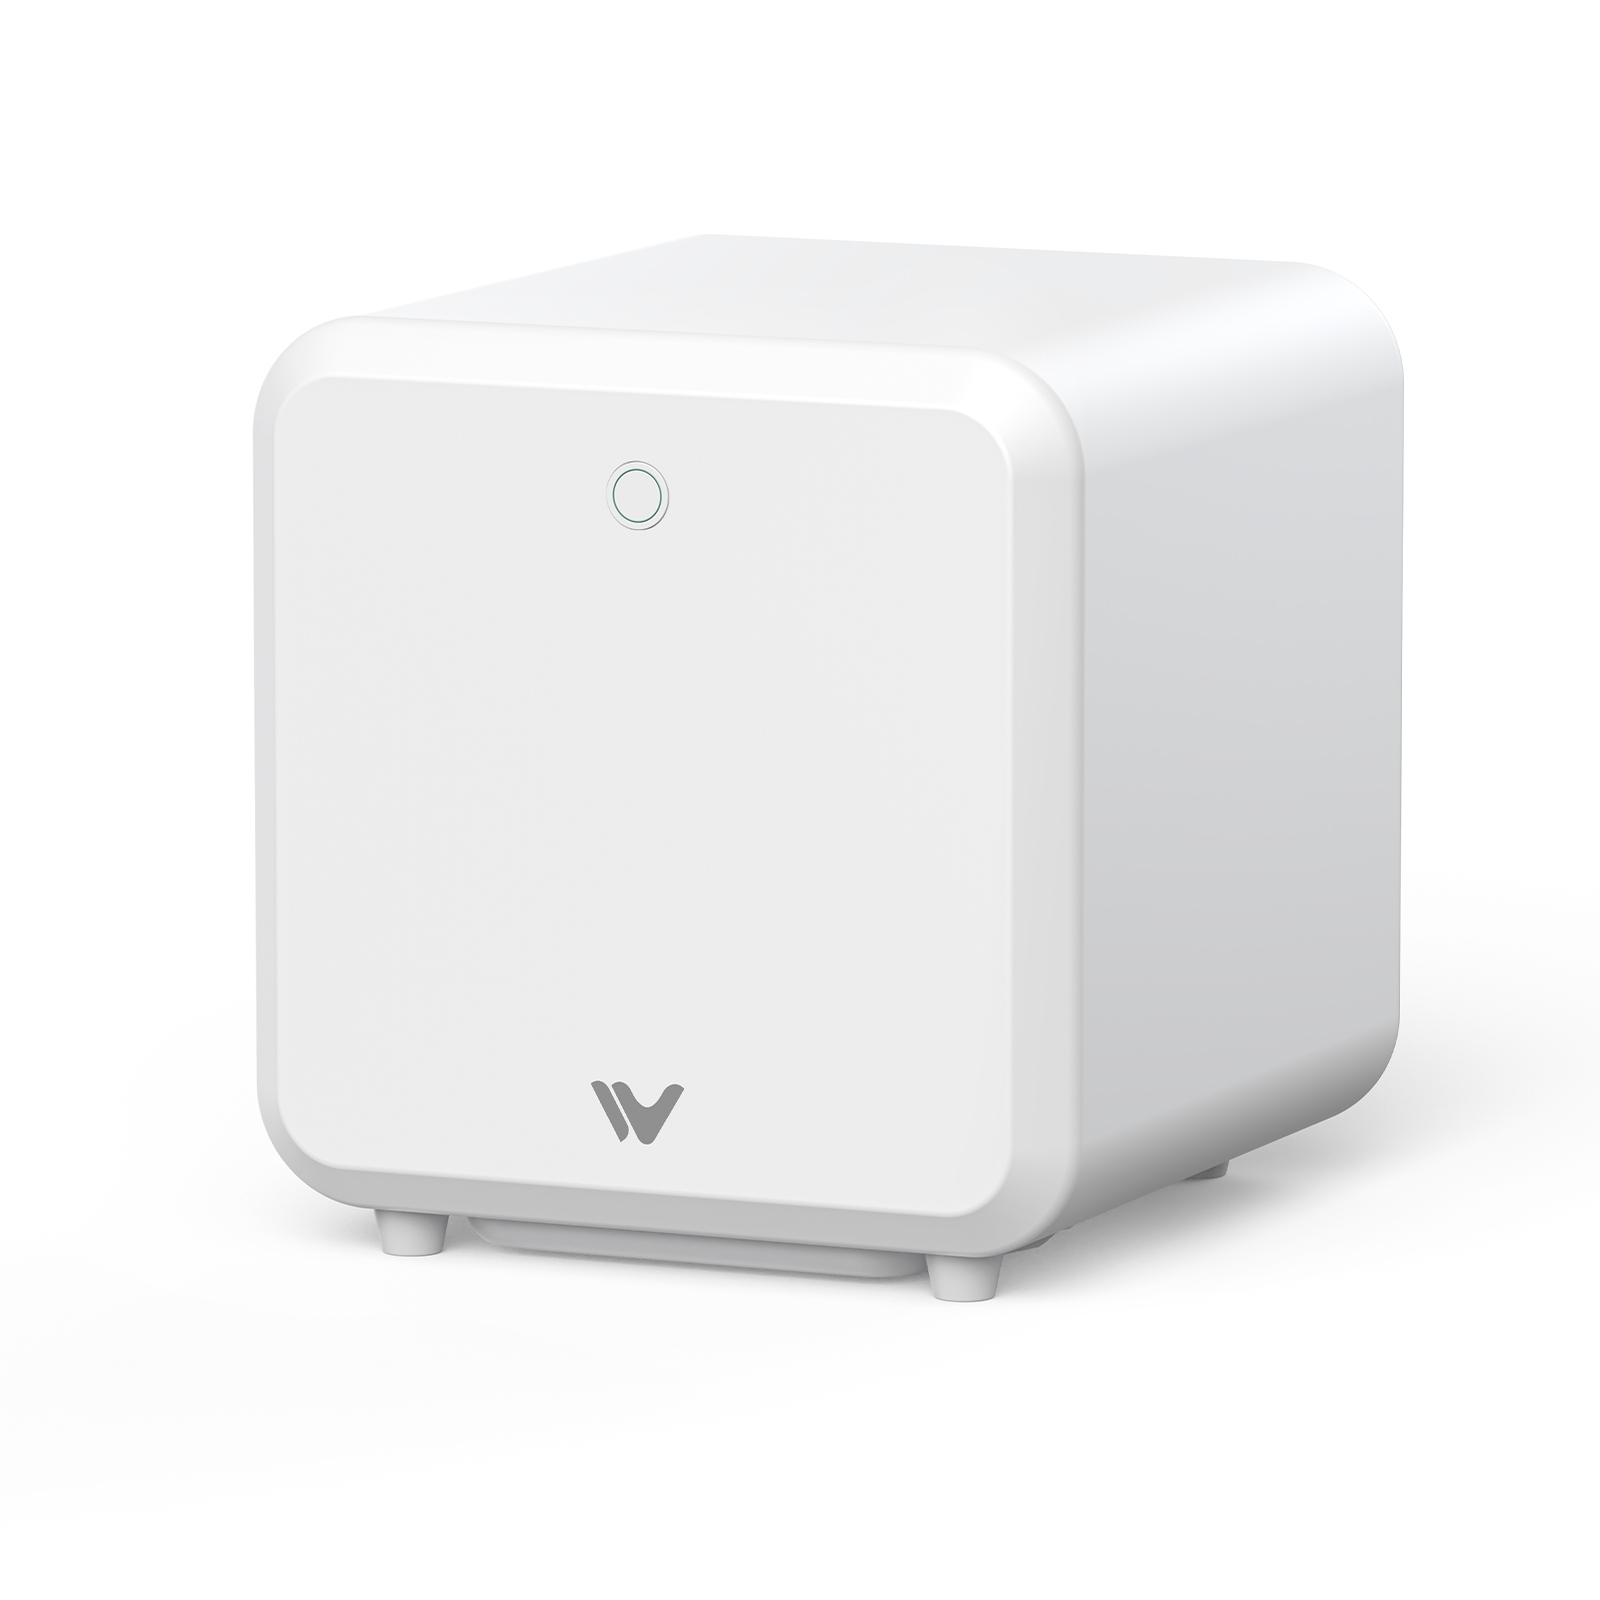
The Lumos Ultra pairs a 6W UV laser — tuned for glass, crystal, and heat-sensitive plastics — with an optional 60W or 100W MOPA fiber laser for deep metal engraving and color marking. For glass and crystal work specifically, a few things matter most:
A dedicated inner-engraving lens setup. Subsurface work inside crystal uses a swap to a dedicated green field lens, since projecting a design inside a transparent block needs different optics than marking its surface.
Software built around the material, not just the file. The included software carries material profiles for refractive index compensation, 3D point-cloud processing for volumetric work, and camera-assisted alignment.
The general surface-engraving steps above apply directly to the Lumos Ultra. For its subsurface crystal capability specifically, here's the exact workflow.

Lumos Ultra Workflow: 2.5D and 3D Inner Crystal Engraving
The steps below are specific to the WeCreat Lumos Ultra's hardware and software. If you're using a different UV laser, the general concept above still applies, but your machine's exact lens, calibration tool, and software menu names will differ.
2.5D Subsurface Crystal Engraving
1. Lens and hardware setup.
Subsurface work starts with swapping the standard UV field lens for the green field lens, then attaching the working panel to the Y-shaped alignment jig and support legs, which hold the crystal steady during engraving. The exact assembly involves several small screws and adjustments — WeCreat's tutorial (video below) walks through this hardware setup visually, and it's a good idea to watch it once before your first attempt.
2. Green lens offset calibration.
Power on the machine, connect it to your computer, and open the software to start a new project. Switch to crystal internal engraving 2D/2.5D mode, open settings, and select green lens offset calibration. Using the included transparent calibration sheet and the on-screen guidance, align the reference markers and confirm the offset. Accurate lens-offset calibration is critical for keeping the engraving aligned with the intended position inside the crystal — it's worth doing carefully rather than rushing through it.
3. Placing the crystal and entering material settings.
Place your crystal block in the center of the panel and secure it with the alignment jig. Enter the crystal's dimensions — the Lumos Ultra's crystal inner engraving area supports up to 70 × 70 × 135mm, depending on the crystal's shape and setup. Then enter the refractive index required by the selected material profile, since this is what the software uses to compensate for how the focal point shifts once the laser enters the crystal. Currently, only K9 crystal is supported for inner engraving on the Lumos Ultra — worth confirming before you buy crystal blanks for a project.
4. Preparing and running the design.
Import your design file, select the top view, and use the scale and move tools to size and position it correctly on the crystal. Choose 2.5D inner engraving as the processing mode, and leave the default processing parameters unless you have a specific reason to adjust them. Use the framing tool to check the processing area against the crystal with the colored preview block before running the job, then start, send the file to the machine, and press the physical start button to begin.
3D Volumetric Crystal Photo Engraving
The hardware setup mirrors the 2.5D process — same lens swap, same Y-shaped alignment jig and panel assembly. In WeCreat's 3D workflow demonstration, the crystal is placed and secured on the panel before opening the software, then the same crystal dimension and refractive index settings apply (again, up to 70 × 70 × 135mm depending on shape, and currently K9 crystal only).
1. From flat photo to volumetric point cloud.
After importing your design file, the software converts a 2D photo into a high-density point cloud rather than a flat engraved pattern — this is what produces the volumetric, suspended-in-crystal look rather than a layered relief effect. Use the rotate tool to adjust the design's orientation via the on-screen rotation axis, and switch between views to check it from multiple angles before committing.
2. Choosing a projection mode.
You'll be asked to choose between Uni3D and Omni3D projection. WeCreat's own tutorial calls out reviewing the difference between the two carefully before selecting — they produce different results depending on your design and how you want it to read from different viewing angles, so it's not a setting to pick at random.
3. Finishing up.
Set your processing parameters (defaults are fine unless you have a specific reason to change them), use the framing tool with the colored preview block to confirm the processing area and size are correct, then start the job, send it to the machine, and press the physical start button.
Lumos Ultra-Specific Troubleshooting
Off-center subsurface marks. If your 3D or 2.5D work is landing off-target inside the crystal, re-run the green lens offset calibration. This drifts more easily than people expect, especially after changing lenses or moving the machine.
Material quality matters more than people assume. Use high-purity K9 optical crystal where possible. Lower-grade crystal blocks with air pockets or internal impurities distort how the laser beam converges inside the material, which shows up as blurry or distorted subsurface results no amount of calibration will fix. This applies to subsurface engraving on any machine — it's mentioned here specifically because it's the most common cause of disappointing results once the hardware setup itself is correct.
Conclusion
For glass and crystal engraving, a 355nm UV laser offers a strong combination of fine detail, direct marking, and relatively low thermal impact. Surface engraving is relatively straightforward once you've dialed in settings for your material; subsurface crystal engraving is a bigger step up, requiring specialized optics, careful calibration, and software that accounts for the material's optical properties.
If you're looking for a machine that supports both direct glass marking and subsurface crystal engraving, the WeCreat Lumos Ultra combines a 6W UV laser with dedicated crystal-engraving hardware and software — explore the WeCreat Lumos Ultra to see its current UV configurations and crystal engraving capabilities.
Explore the WeCreat Lumos Ultra >>
Frequently Asked Questions
Q1. Is a UV laser engraver good for glass?
Yes. A UV laser engraver is well suited to direct surface marking on many types of glass, because the 355nm wavelength is well absorbed by many glass surfaces and can produce precise marks with relatively low thermal impact when properly calibrated.
Q2. Can a UV laser engrave crystal?
Yes. UV lasers can be used for surface engraving, and with compatible optics and software, subsurface engraving inside optical crystal as well.
Q3. Is UV laser engraving better than CO₂ for glass?
It depends on the application. CO₂ lasers are well established for glass engraving, especially larger surface marks, while UV lasers are often preferred when fine detail, direct marking without coatings, or lower thermal impact matters more.
Q4. Can a UV laser engrave inside crystal?
Yes, if the machine supports subsurface engraving and has the appropriate optics and software for controlling focal depth and accounting for the crystal's optical properties.
Q5. What crystal is best for 3D laser engraving?
High-quality optical crystal such as K9 crystal is commonly used, since its optical consistency lets the laser focus more predictably inside the material.