







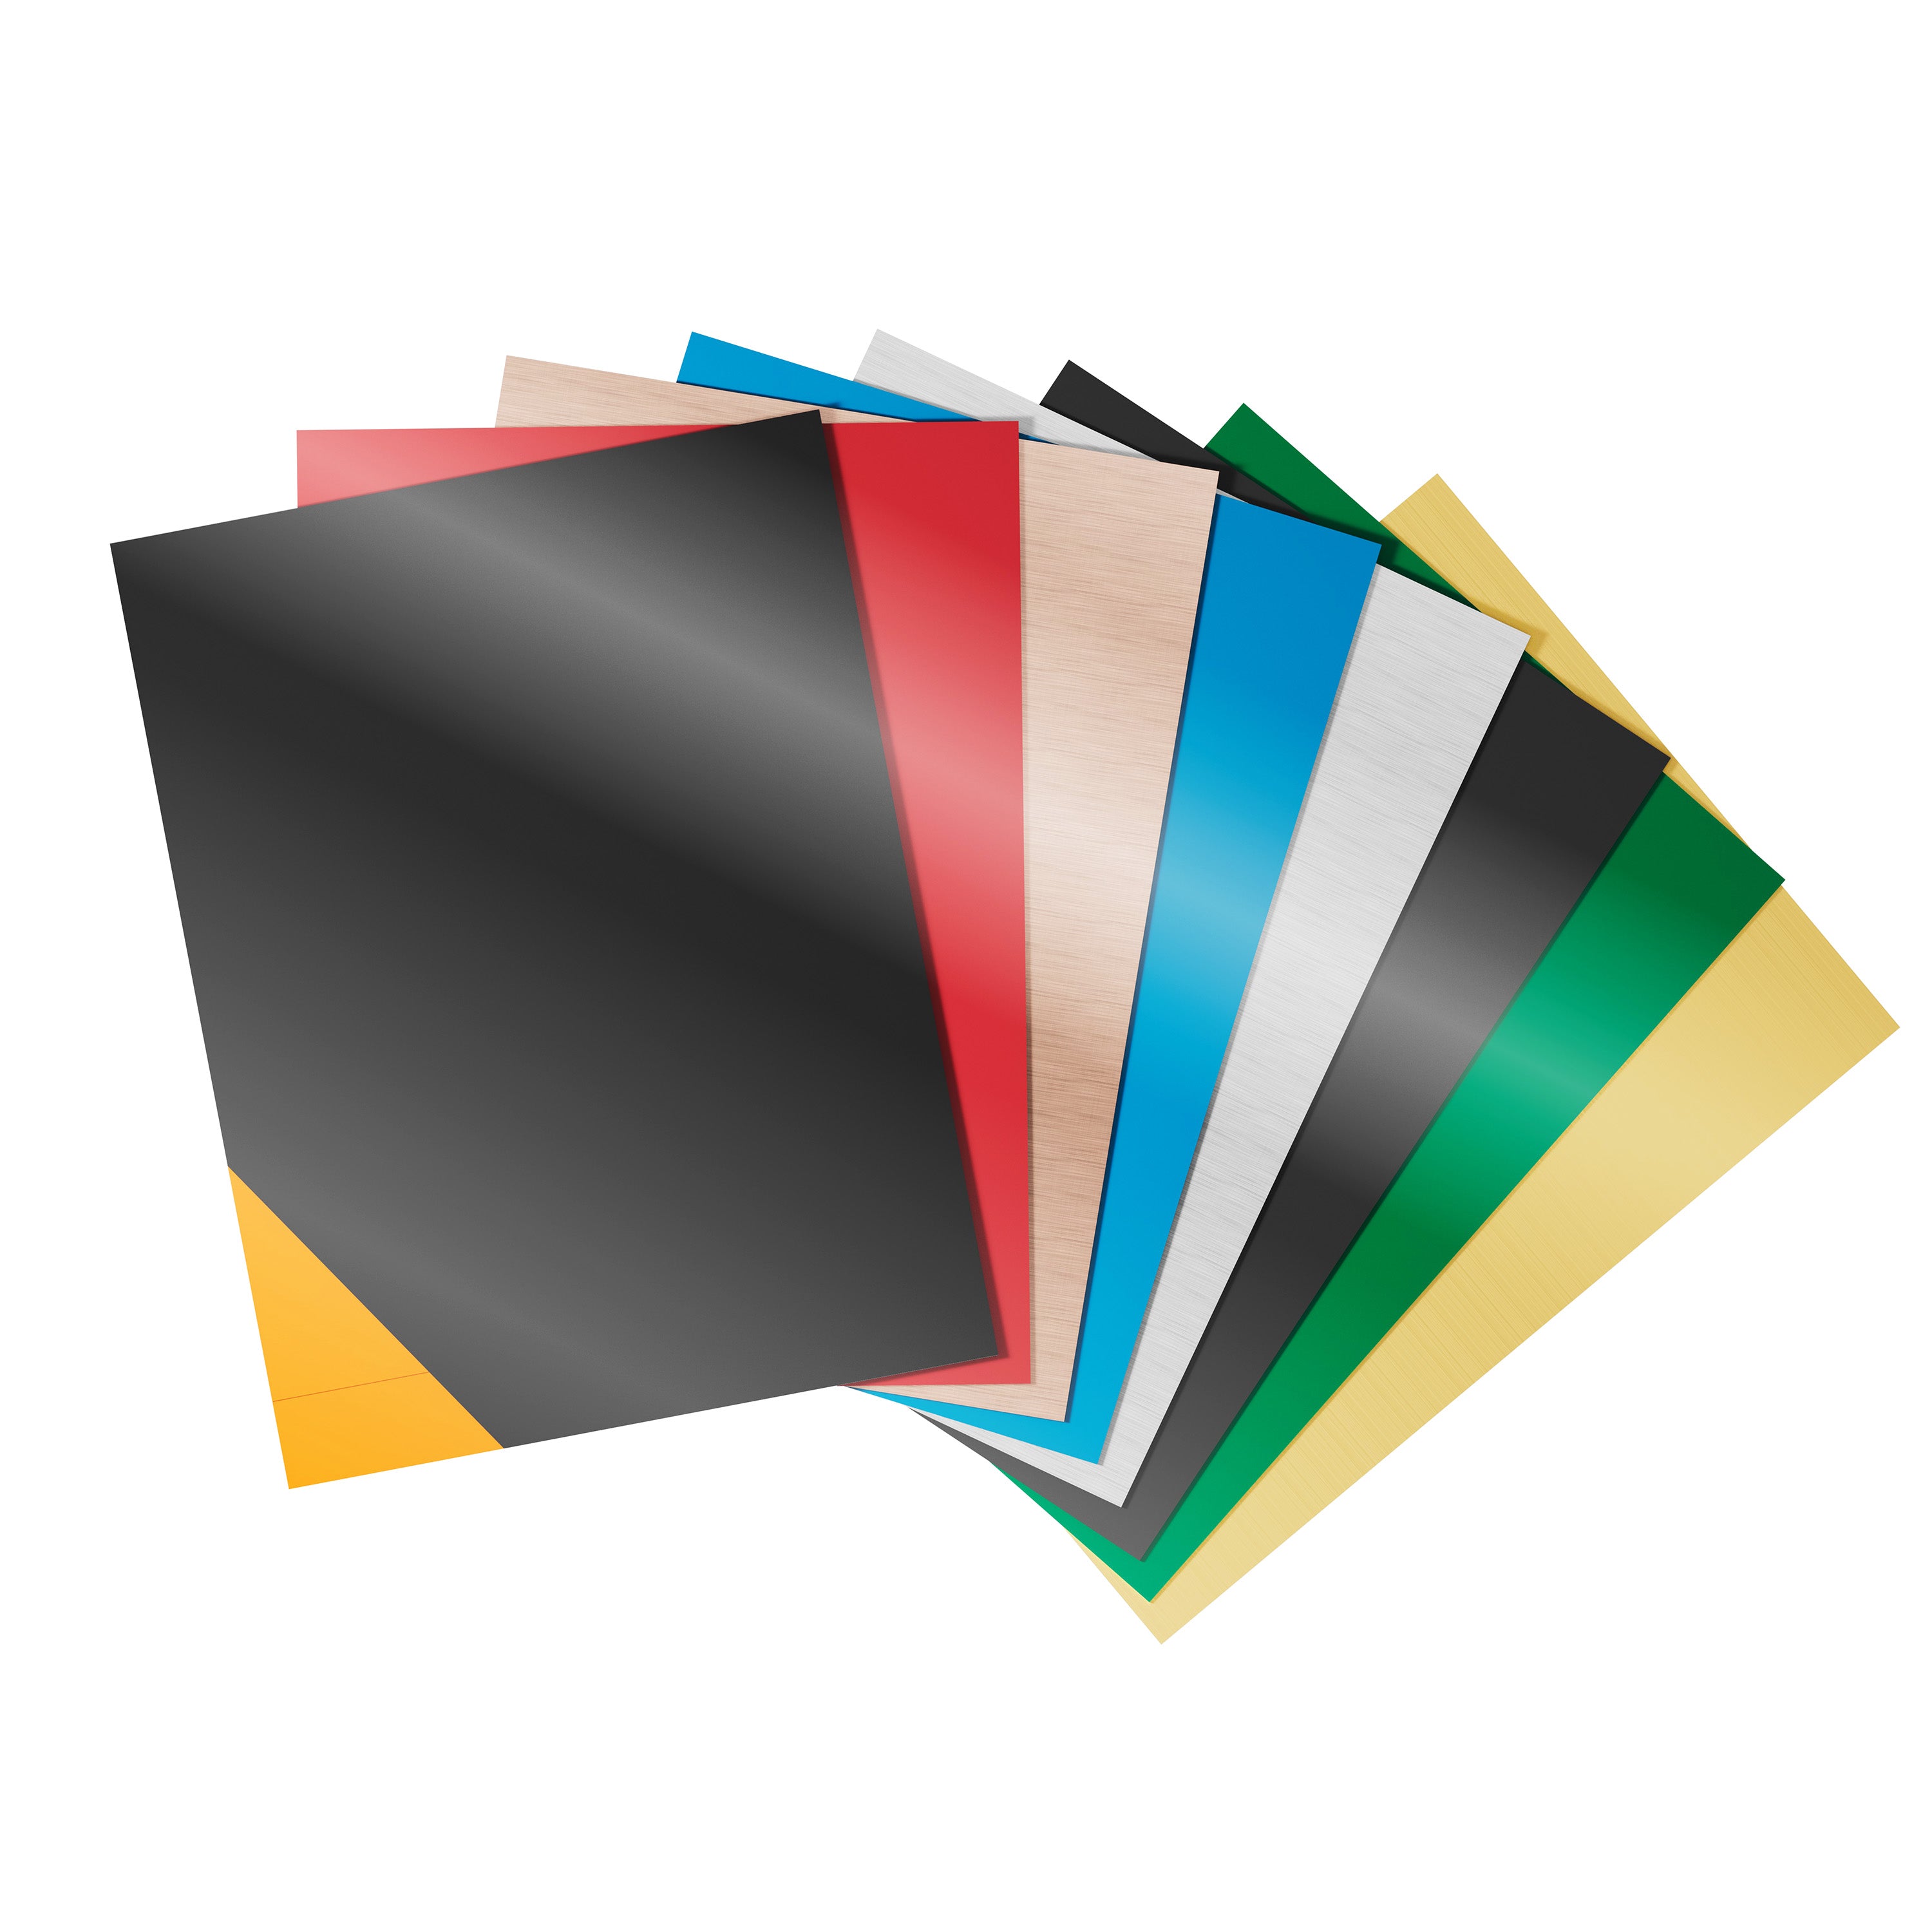

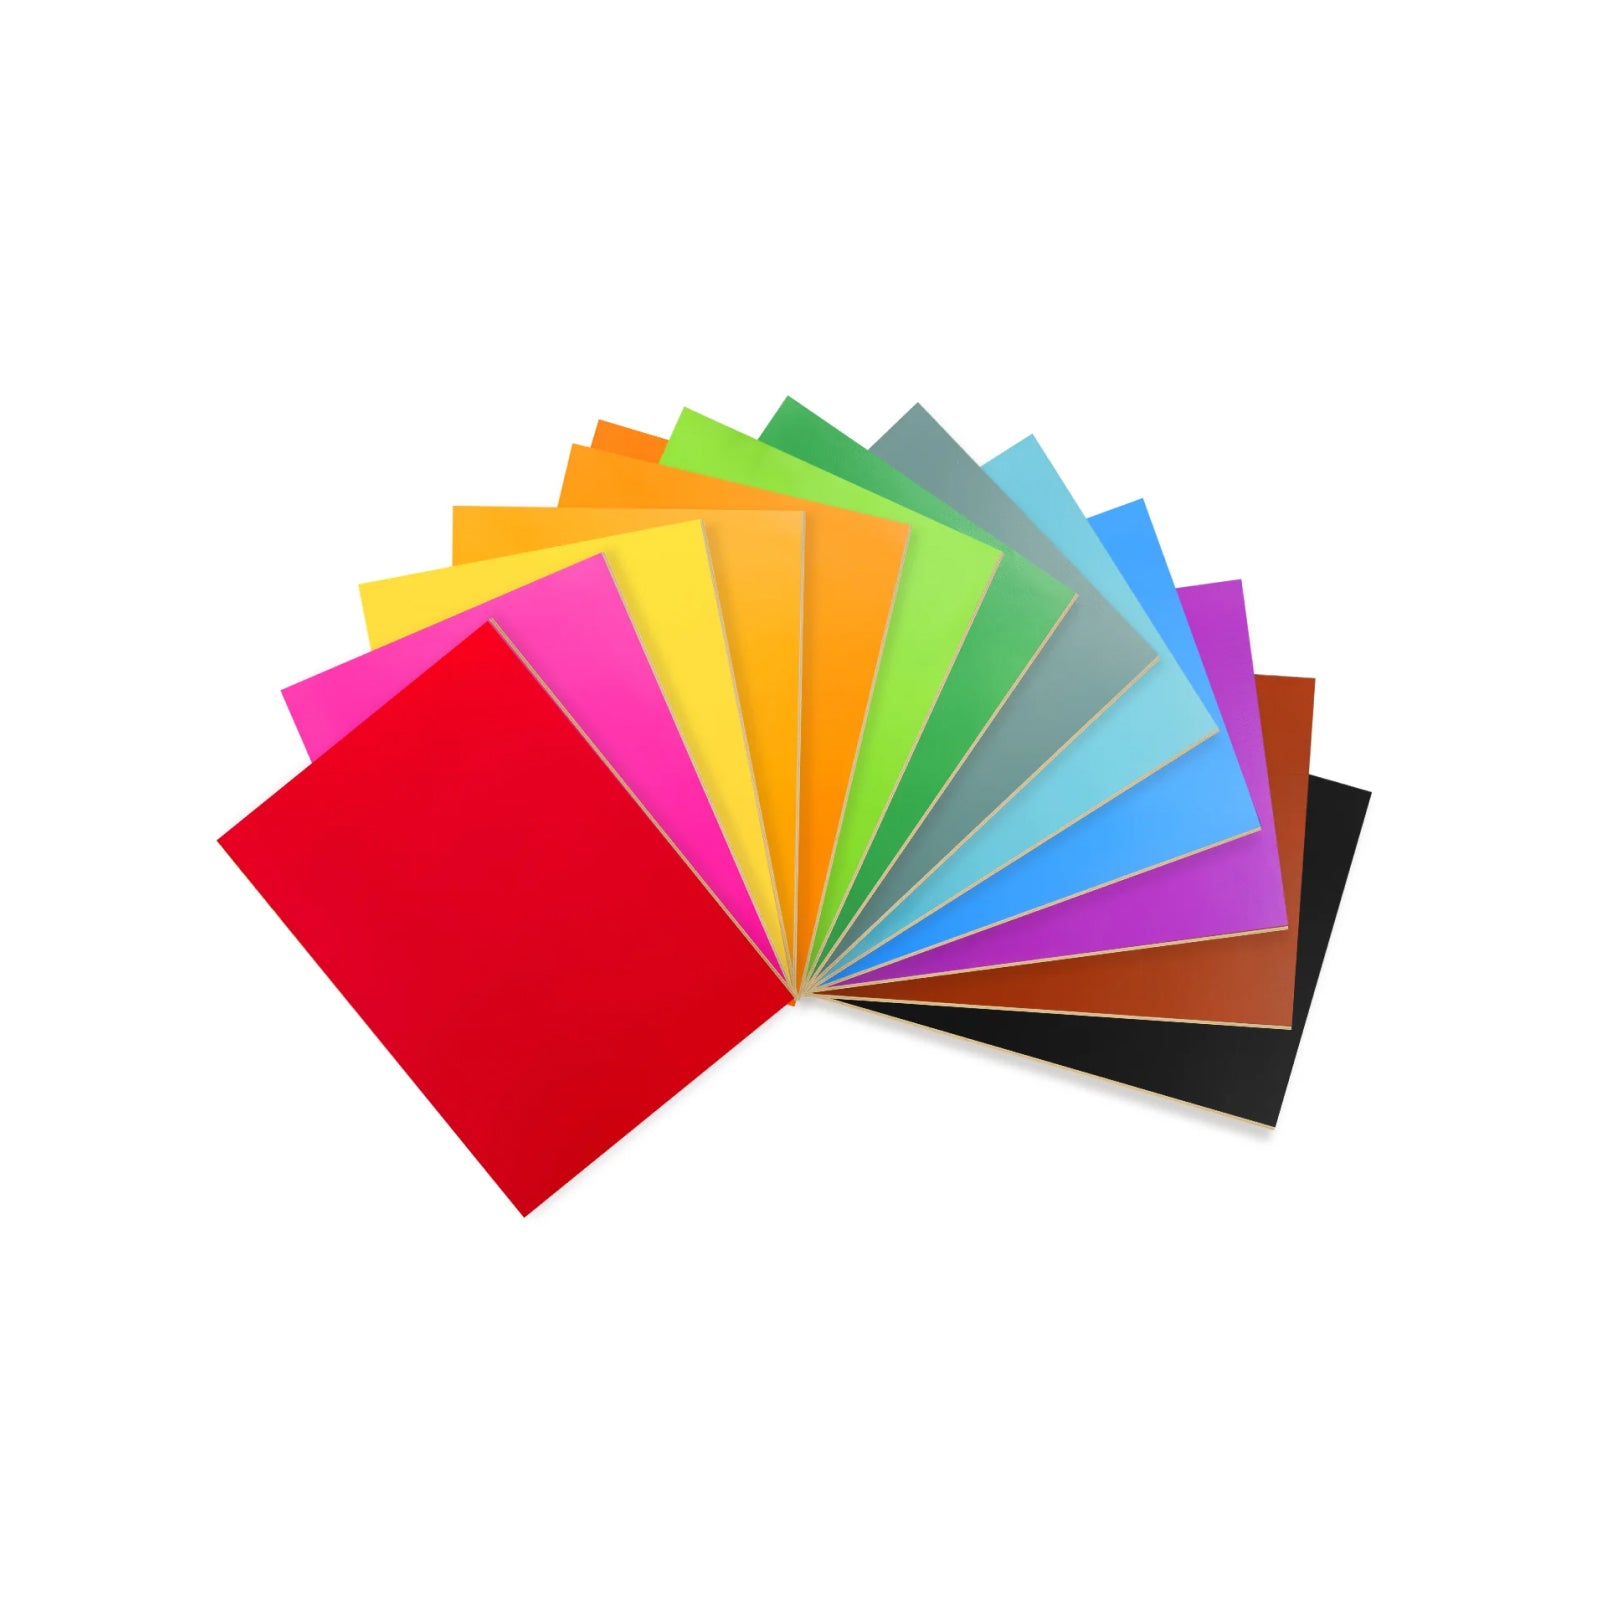
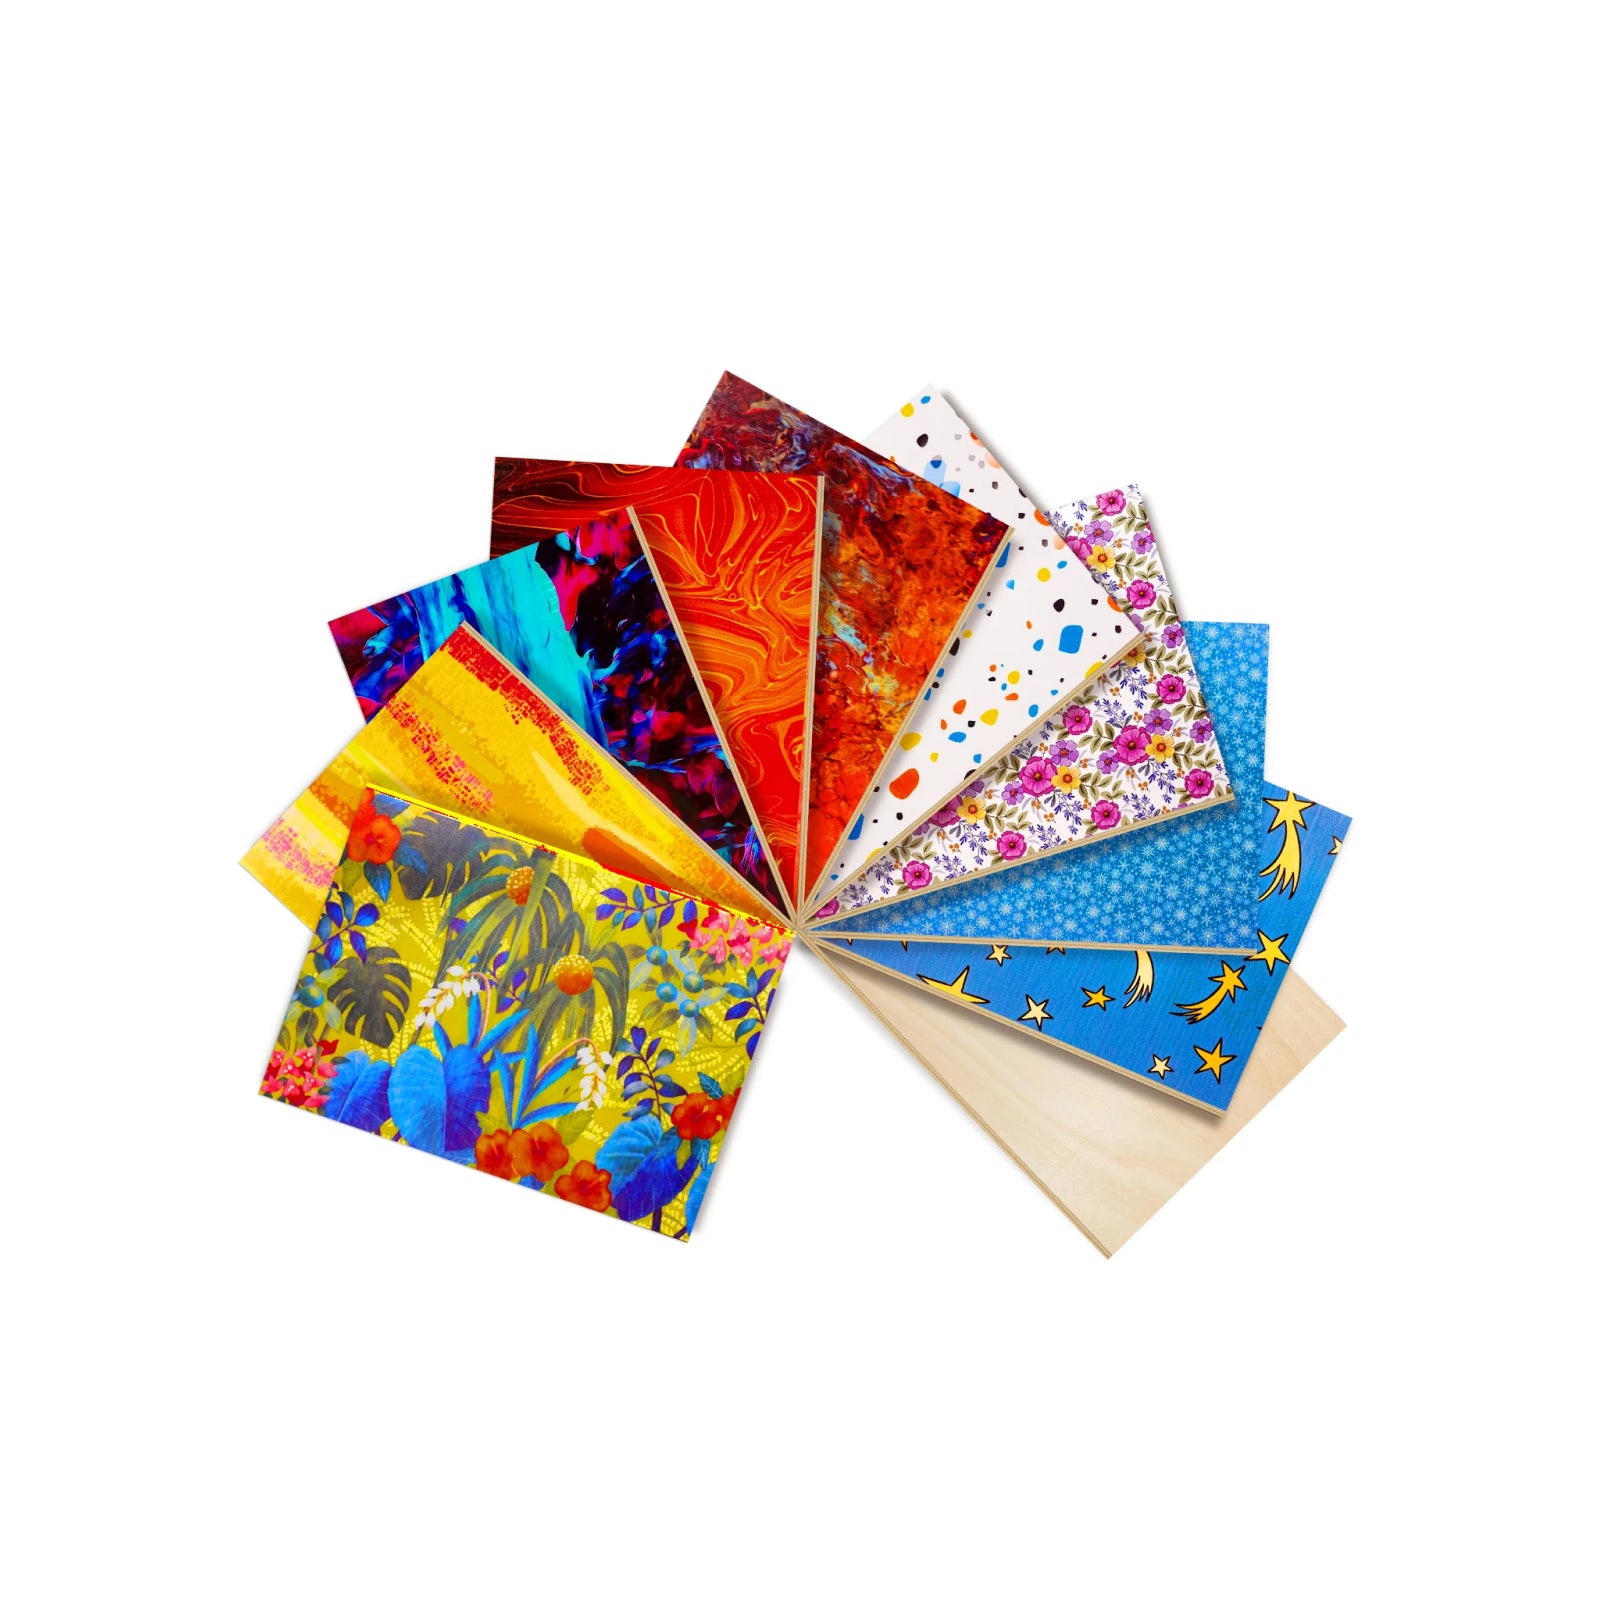


At first glance, laser engraving might seem limited to shades of black, gray, and white. Many creators assume that a laser can only burn or etch a surface, leaving behind monochrome results. Yet with the right combination of wavelength, temperature control, and material properties, laser engraving can produce vivid and lasting color.
This process, known as color laser engraving, transforms the way materials interact with light. By manipulating heat and oxidation, certain metals and surfaces can display a full spectrum of hues without the use of pigments or paint. In the following sections, we'll break down what color laser engraving truly is, why it matters, how the process works, which materials deliver the best results, and what types of machines and creative applications can help you bring vibrant, lasting colors to life.
What Is Color Laser Engraving
Color laser engraving refers to the process of producing visible color changes on a material's surface through controlled laser energy. Rather than adding ink or dye, the laser modifies the surface structure or chemical composition, altering the way it reflects light. The colors result from precise temperature and wavelength control during engraving.

Three Primary Mechanisms
Thermal Oxidation (on Metals): When a laser heats the surface of metals such as stainless steel or titanium to specific temperatures, it forms a thin oxide layer. This layer changes light interference patterns, resulting in color variations from gold and purple to blue and green.
Material Charring (on Organic Materials): On wood or leather, the laser's heat causes carbonization at different intensities. Adjusting the power and engraving speed produces a range of tones from light brown to deep black, creating natural gradients.
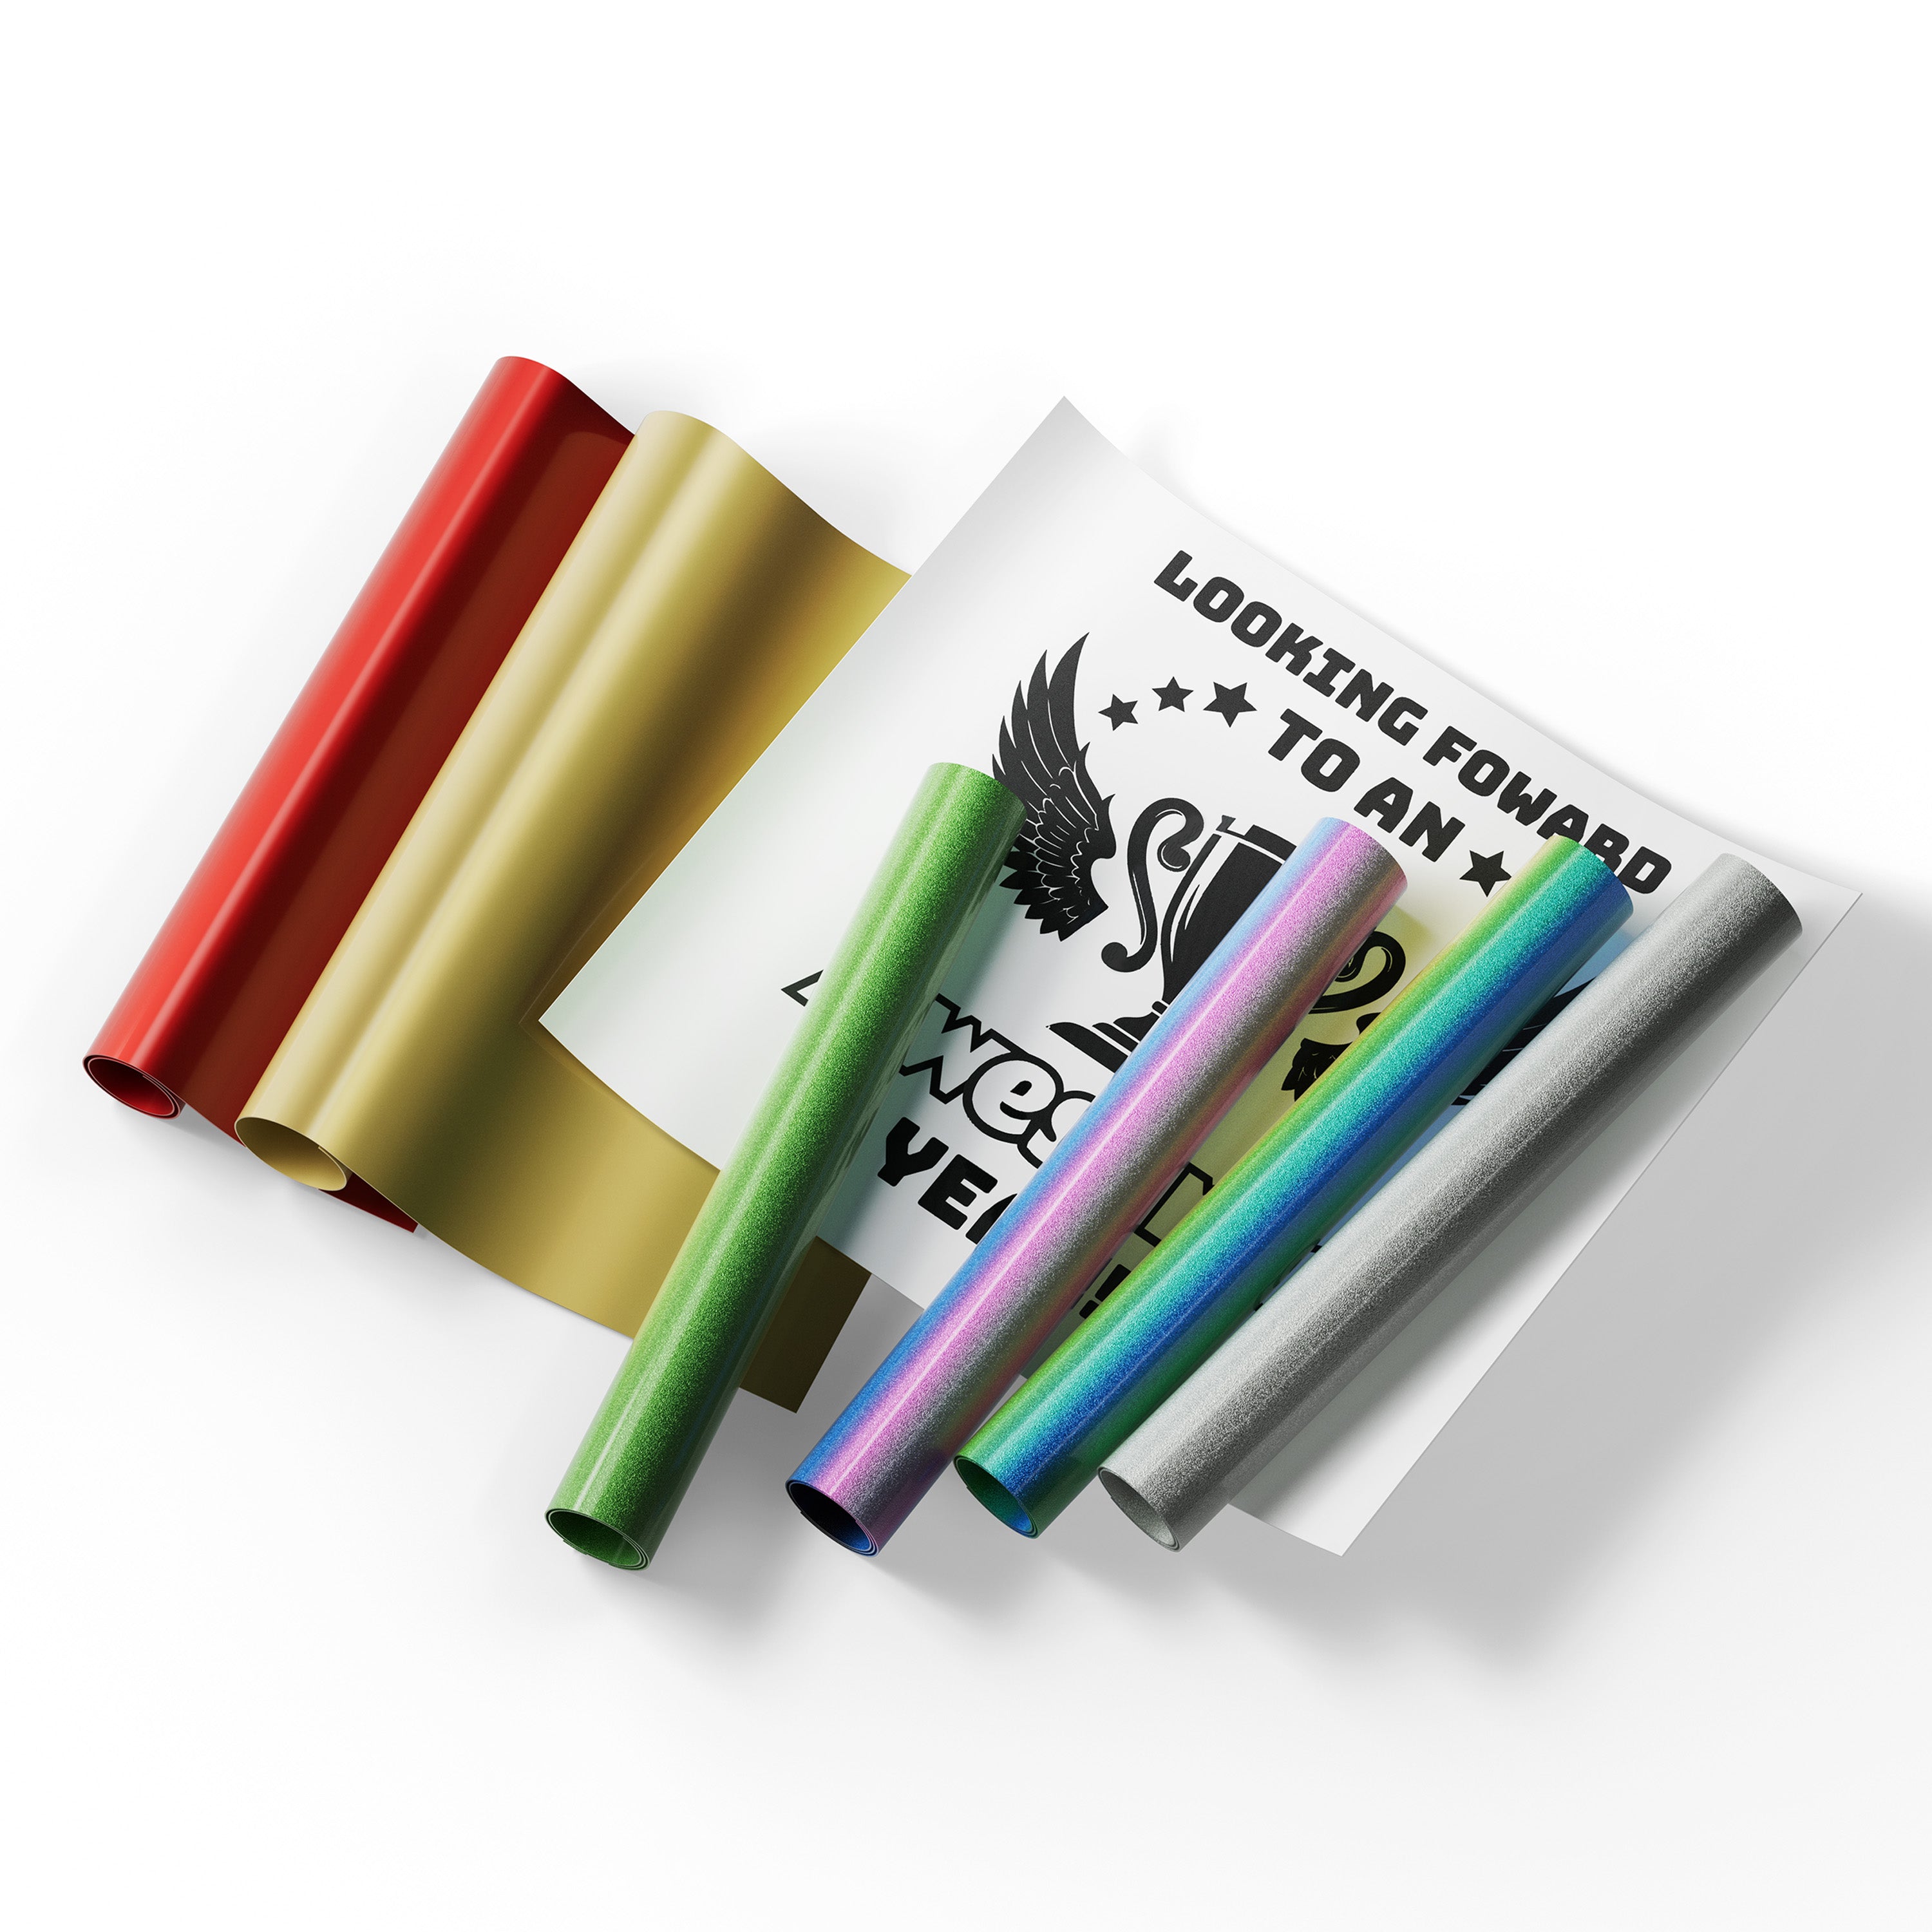
Post-Coloring (on Non-reactive Surfaces): For materials like acrylic or glass that don't inherently react to laser light, color can be introduced after engraving. The most common methods include filling engraved areas with epoxy resin mixed with pigments, or spraying the back of transparent acrylic with paint before engraving.
Selecting the Right Laser Engraver for Color Results
Not every laser can bring colors to life — the secret lies in how the laser interacts with the material's surface. When choosing a laser engraver for color results, understanding the core differences between laser types is key.
1. MOPA Fiber Laser — Best for True Metal Colors
If you want to create vivid colors on metals like stainless steel or titanium, a MOPA fiber laser is your best choice. By precisely adjusting pulse width, frequency, and power, it forms oxide layers on the metal surface that reflect different wavelengths of light — revealing real, stable colors such as blue, gold, and purple.
2. Diode Laser — For Light Color Effects and Versatility
Diode lasers can produce limited color variations on coated or anodized materials, but they can't achieve the full oxidation-based color range of fiber lasers. Still, they're great for engraving wood, leather, and plastics, offering flexibility for creative makers on a budget.
3. CO₂ Laser — Ideal for Non-Metal Materials
CO₂ lasers work beautifully on wood, acrylic, and leather, producing deep contrast and natural tonal effects. However, they can't generate color on metal surfaces due to their longer wavelength and lack of direct interaction with metal.
4. Dual-Laser Systems — Best of Both Worlds
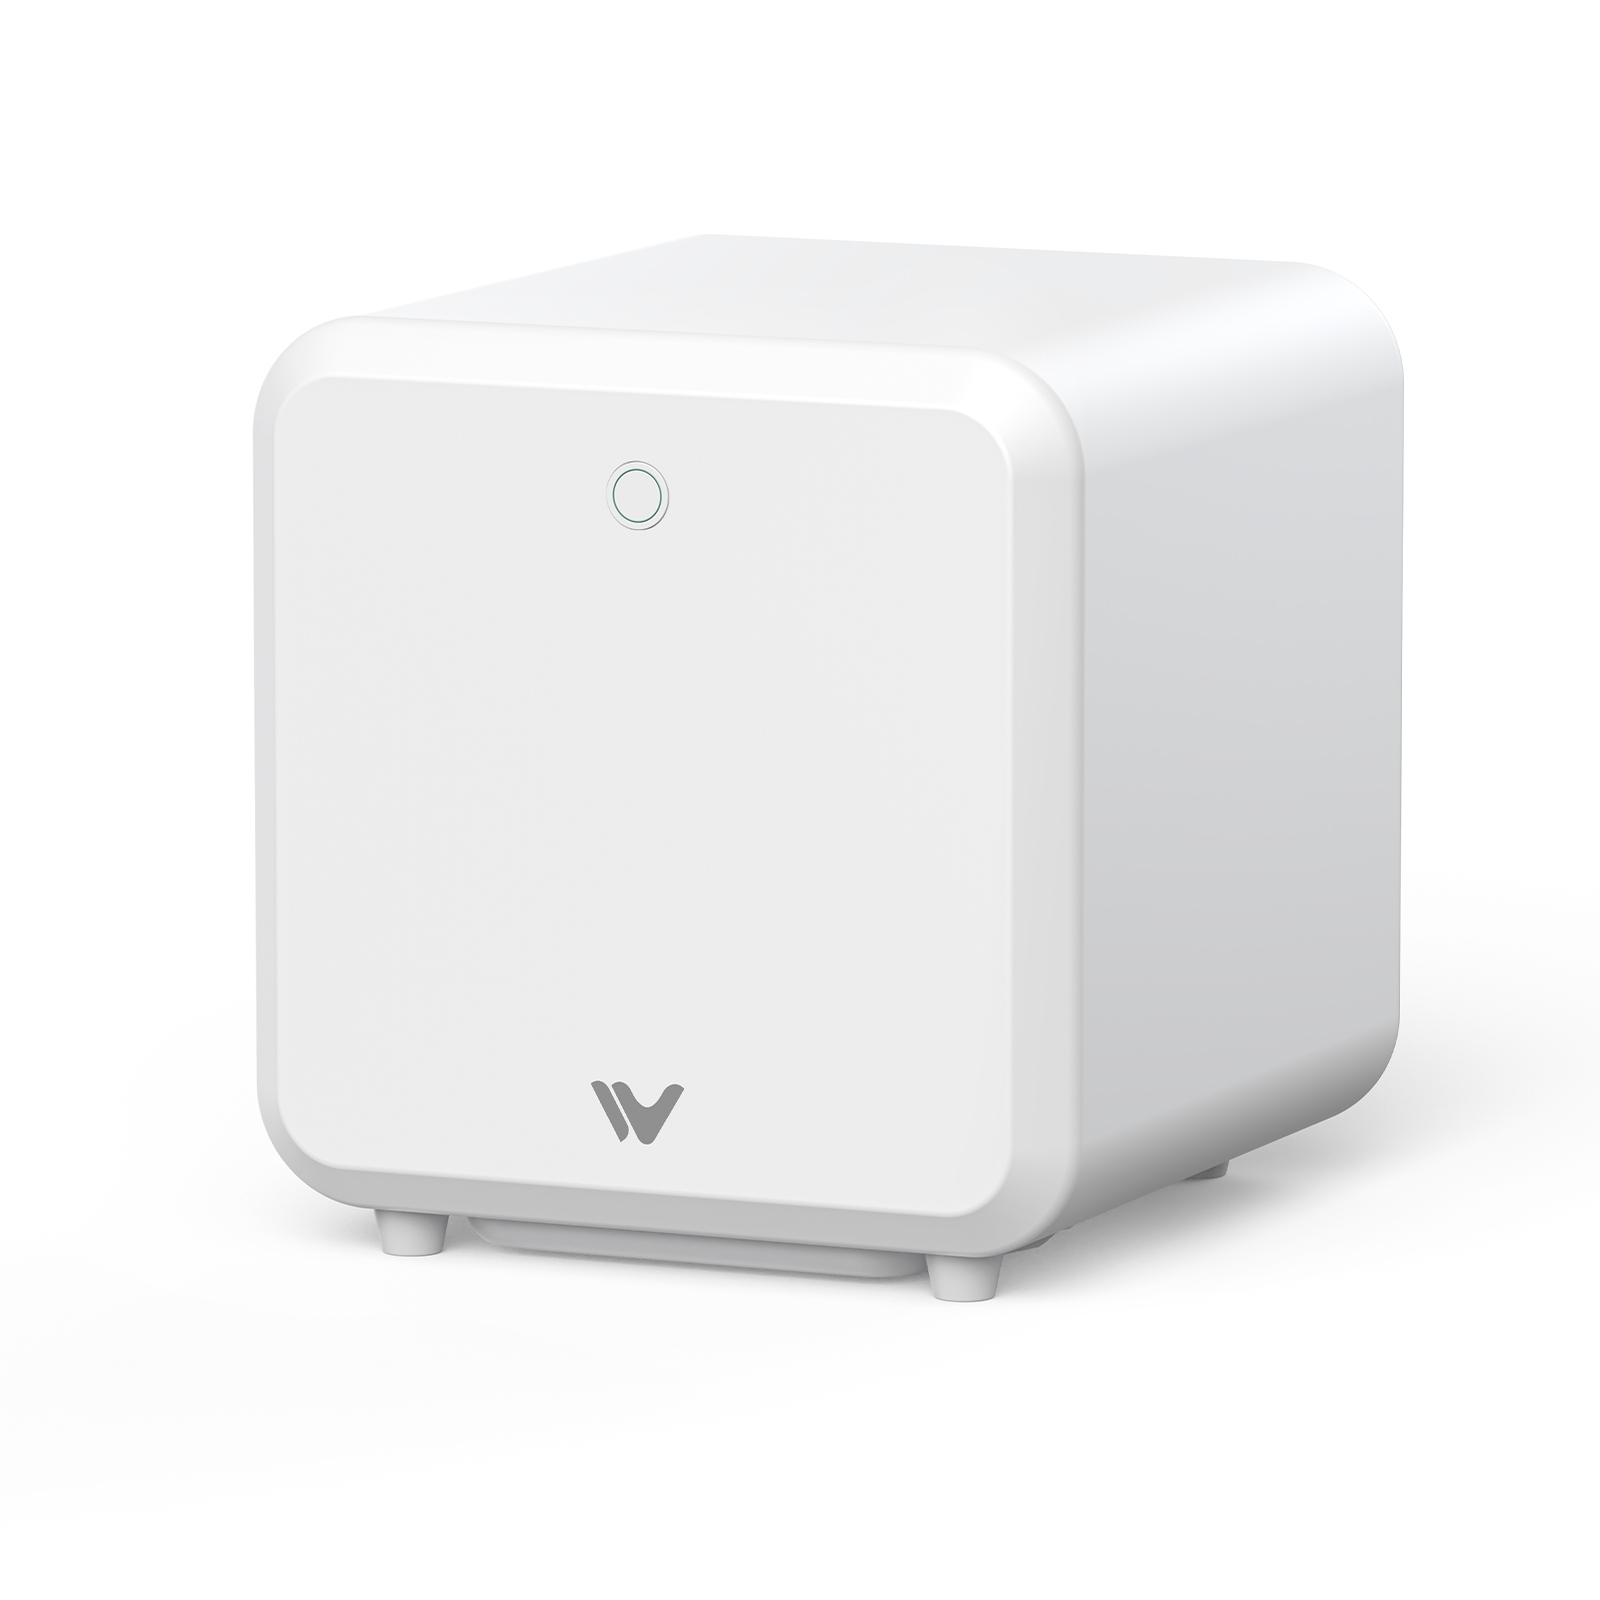
If you want the flexibility to engrave color on metals and also work with non-metal materials, a dual-laser engraver offers the best of both worlds. WeCreat offers two options here, depending on how far you want to push color results:
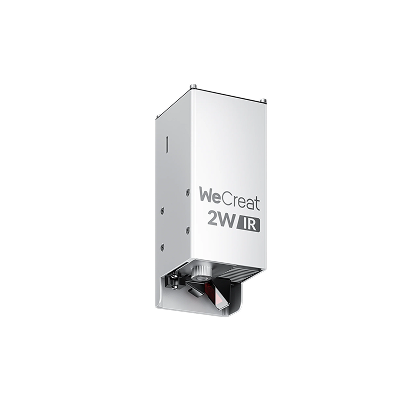
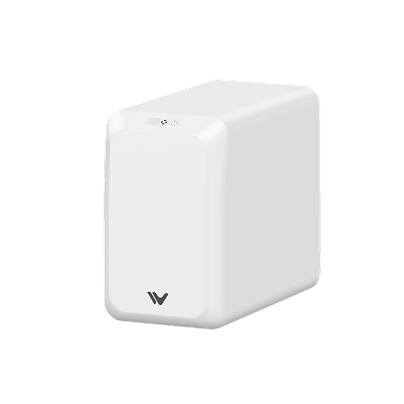
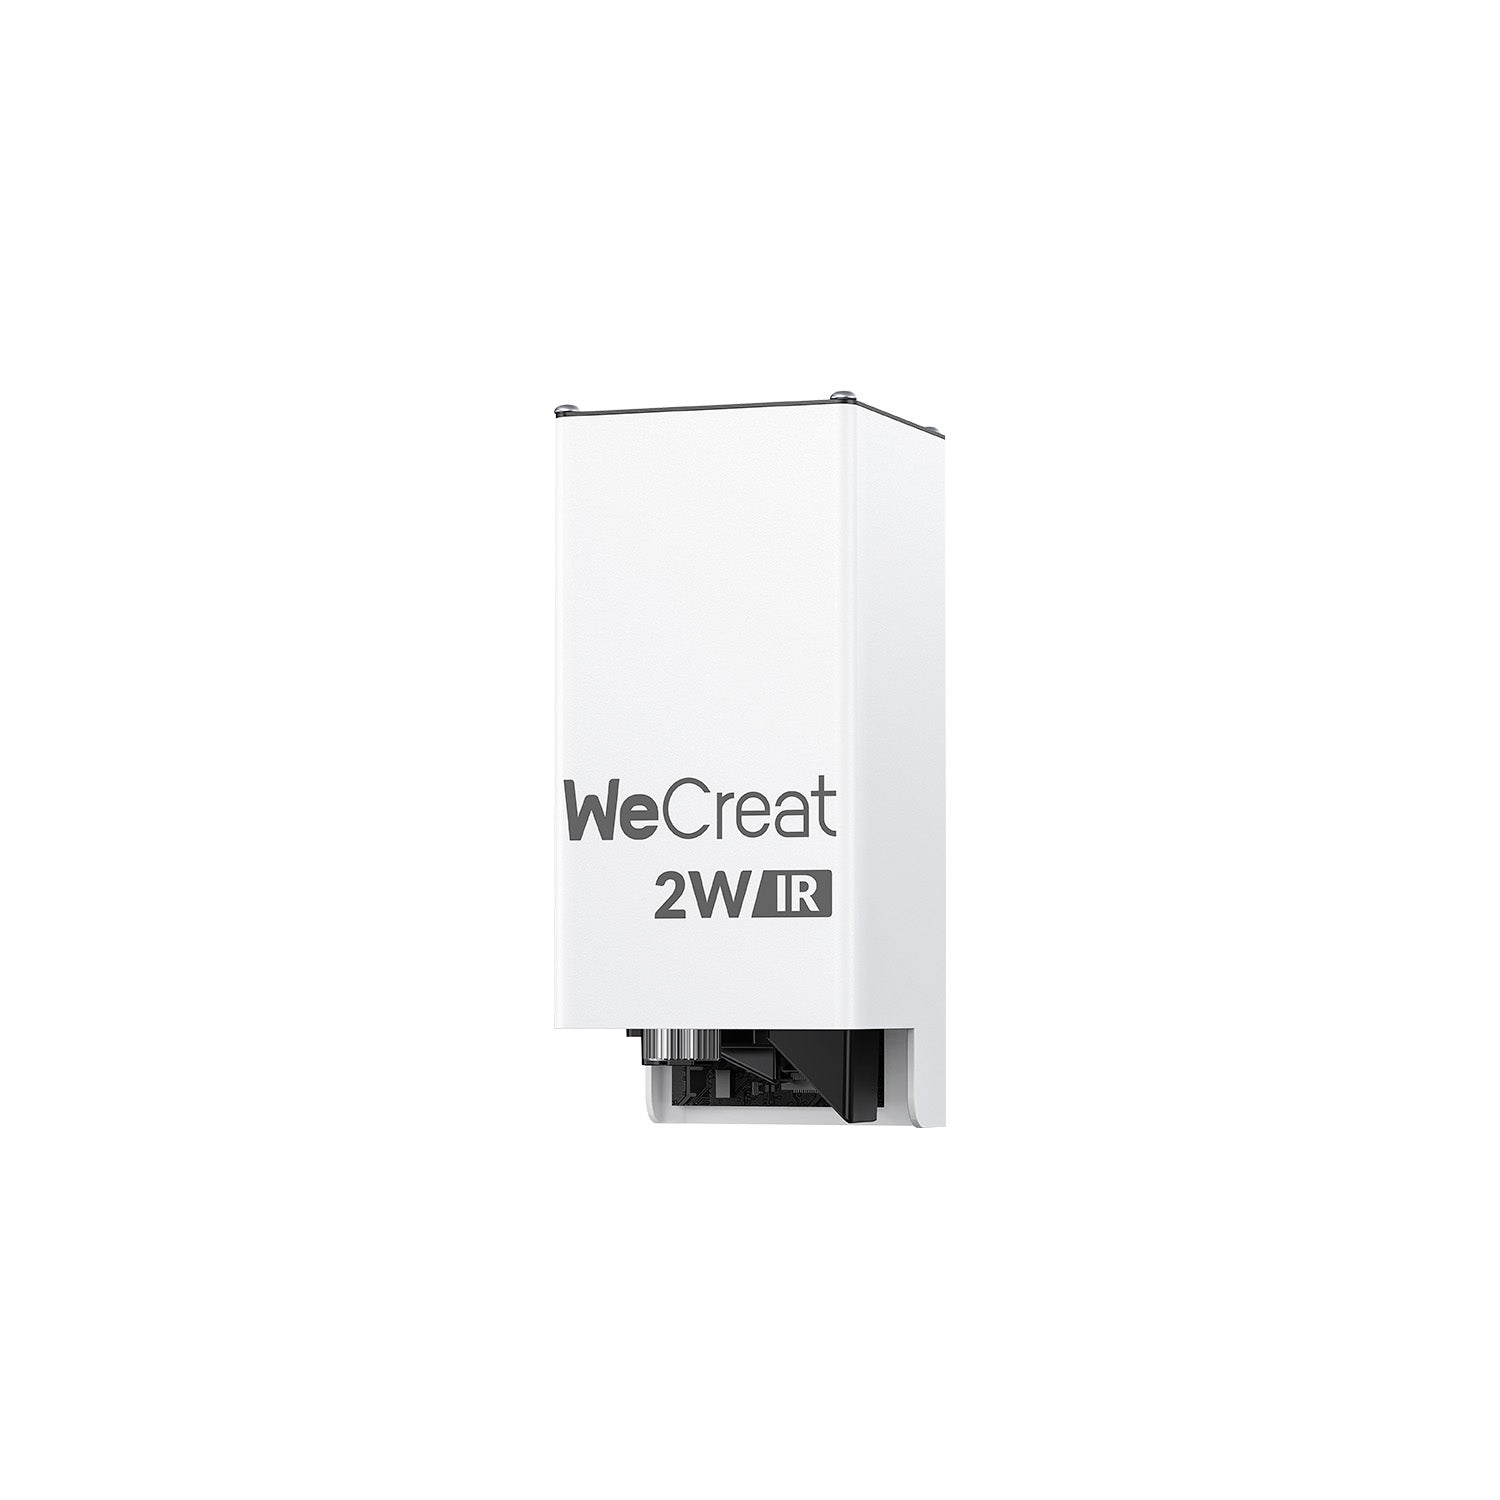
Take the WeCreat Lumos, for example — it combines a fiber-grade IR laser and a diode laser in one compact system. What makes it stand out is its BeamFocus 2.0™ technology, which uses an Nd:YAG crystal to condense laser pulses for precise, high-energy delivery — similar to how a MOPA fiber laser controls pulse width. This allows Lumos to reproduce fine, repeatable color results on metals that rival those from high-end fiber systems, while still letting you engrave wood, leather, or plastic with the diode laser. With one click, you can switch between laser modes for different materials — no recalibration or machine swap needed — ideal for studios, small workshops, and creative businesses looking to explore color engraving with precision.
If you're ready to go beyond entry-level, WeCreat Lumos Flex steps up to a true 15W fiber laser paired with a 15W diode. Because it's a genuine fiber source rather than a diode emulating MOPA-style pulses, Lumos Flex delivers more vibrant, higher-contrast color on metal, faster and with greater consistency — a meaningful step up for creators scaling toward small-business production volume, not just occasional color projects.
Materials Suitable for Color Engraving
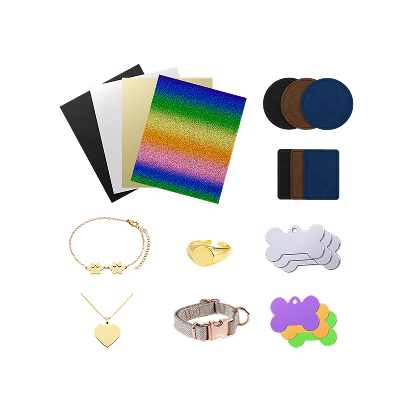
Color laser engraving relies heavily on how different materials react to heat and light. While metals can produce true color changes through oxidation, non-metal materials create visual depth and tonal contrast in other ways. Understanding these distinctions helps you select the right material for your creative or commercial goals.
Metal Materials: True Color Through Oxidation
Metals such as stainless steel and titanium are ideal for achieving authentic color laser engraving. When precisely heated by an infrared laser, their surface forms an oxide layer that reflects light at different wavelengths, revealing blue, gold, purple, and green hues. This process requires fine control of temperature and speed, allowing stable and repeatable color effects without using any pigments or coatings.
- Stainless Steel: Precise oxidation creates vibrant blues, purples, and golds, highlighting fine detail and depth. Color laser engraving on stainless steel is the most common starting point for makers, since it oxidizes cleanly and predictably at controlled temperatures.
- Brass: Warm golden tones emerge along the engraved design, giving the piece a rich, elegant finish with subtle color gradients.

- Silver: Cool iridescent colors appear on silver surfaces, creating elegant and high-contrast designs.
-
Gold: Oxidation produces soft color variations that enhance luxury items without damaging the metal.

- Aluminum: Lightweight aluminum responds with subtle blues and purples, suitable for signage and small custom parts.
-
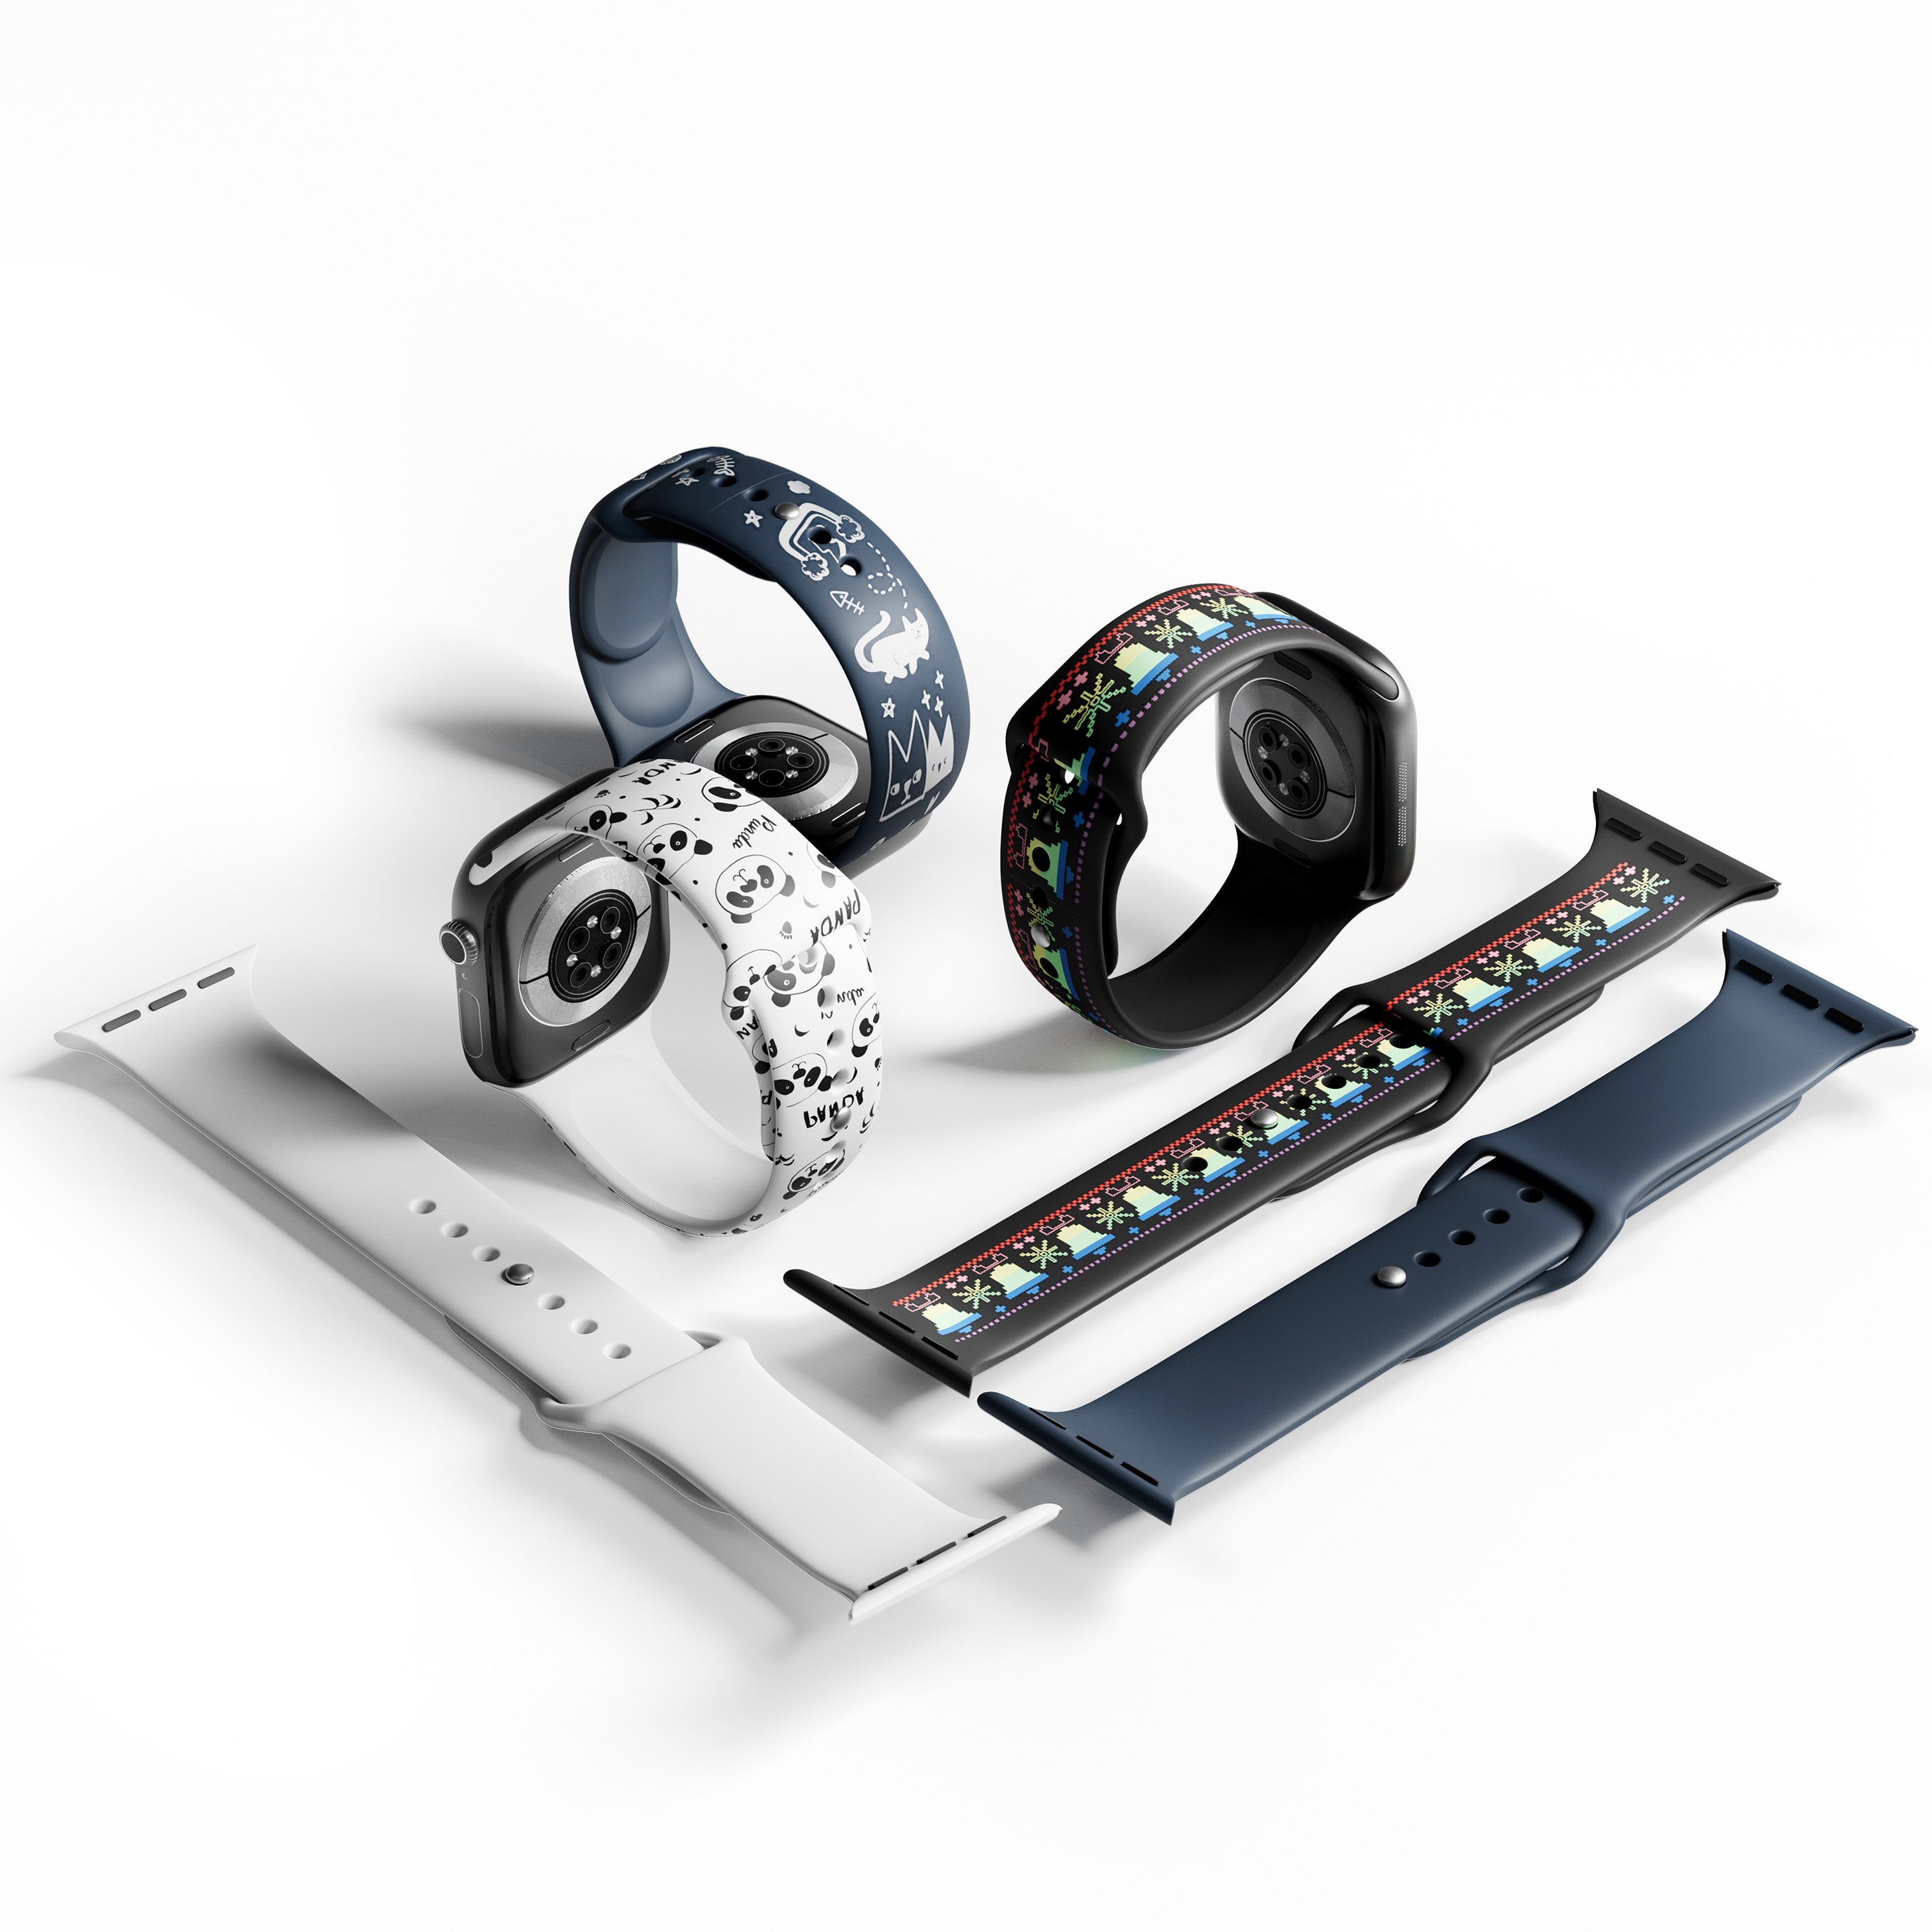
Plastic: Although not metal, certain coated or treated plastics can show vivid color effects, offering versatile creative options.
Non-Metal Materials: In-Situ Color vs. Post-Engraving Color Fill
Color laser engraving on non-metal materials works differently than on metals. Organic and non-metal materials — such as wood, leather, paper, and stone — don't develop oxide layers, so they can't display metallic hues. However, with a high-quality laser engraver and careful control of power and speed, you can create stunning tonal effects that bring designs to life. There are two main approaches for adding color and depth to non-metal surfaces:
1. In-Situ Color / Tonal Engraving
This method uses the laser engraving machine itself to produce color and shading directly on the material. By adjusting laser power, speed, and passes, you can achieve natural gradients and layered tones without any additional pigments.
- Wood: Controlling burn depth and laser speed creates natural gradients reminiscent of aged artwork.
- Leather: Fine-tuned diode laser settings produce subtle shadows and highlights, adding contrast and a tactile quality.
- Stone: With precise thermal control, a laser can produce high-contrast markings with fine artistic detail — see the FAQ below for a step-by-step look at how this works on stone specifically.
This approach suits makers who want fast, simple results or need deep, high-contrast engraving for intricate non-metal designs, all while keeping materials uncoated and the workflow straightforward.
2. Post-Engraving Color Fill (Non-Metal Materials)
Post-engraving color fill adds vibrant colors to your laser-engraved designs. There are two main approaches, each with a distinct workflow and visual effect:
Method 1: Surface Color Removal (Pre-Colored Material)
This method starts with a colored or painted surface. The laser removes the top layer of color to reveal the material underneath, creating high-contrast designs.
Prepare the surface: Apply a thin layer of paint, dye, or other colorant to wood, acrylic, or other materials. For richer color, apply multiple thin layers and let each dry.
Optional — protect the surface: For delicate surfaces like wood, cover areas with transfer tape to prevent dust or air bubbles during engraving.
Engrave: Use a diode laser or color laser engraving machine to cut through the colored layer following your design. The laser exposes the underlying material, forming crisp, high-contrast patterns.
Finish: If transfer tape was used, seal with varnish or polyurethane and remove the tape once dry to reveal the final design.
This approach is ideal for projects where you want a fast turnaround on a pre-colored surface and crisp, vivid designs without any additional coloring steps after engraving.
Method 2: Post-Fill Color (Engrave First, Color Later)
This method involves engraving the design first, then filling the grooves with colorant — allowing multi-color designs and precise control over color placement.
Engrave: Carve the design into the material, creating recessed areas for color.
Apply colorant: Spread paint, colored powder, or paste over the engraved areas.
Remove excess: Scrape away any surplus colorant from the surface using a plastic card or similar tool, leaving color only in the engraved grooves.
Optional — re-engrave: Lightly re-scan the colored area to help the color adhere and increase durability.
Finish: Clean the surface of remaining loose colorant to reveal a crisp, colorful design.
This method works well for adding vivid logos, multi-color illustrations, or custom patterns to wood, leather, acrylic, or plastic.
💡 Tips: For non-metal surfaces, Method 1 gives high-contrast designs with minimal coloring steps, while Method 2 allows more freedom in color selection and multi-color designs. Using a diode or color-capable laser engraver ensures precision and clean edges when filling color into grooves.
What Makes a Good Color Laser Engraver
Many manufacturers claim their laser engraving machines can perform color engraving. However, achieving true color results isn't simply about having more power or higher energy output.
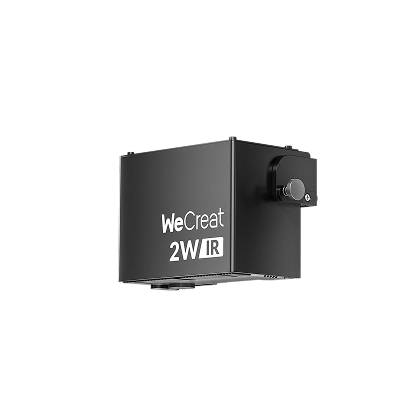
Low-power lasers (around 2W) often deliver unstable power output, making it difficult to form a consistent oxide layer. The result is dull or uneven colors with limited tonal range.
High-power fiber lasers, on the other hand, are primarily designed for deep engraving or metal cutting. Even when their power is reduced, their intense energy tends to overheat the surface, causing burnt or yellowish spots instead of clean color gradients.
To achieve precise, repeatable color engraving, a laser needs to deliver stable, controllable energy pulses at the right frequency and duration — something few compact machines do well. This is the specific gap WeCreat Lumos and WeCreat Lumos Flex are built to close, at two different levels:
- WeCreat Lumos: its BeamFocus 2.0™ system uses an Nd:YAG crystal to condense and stabilize laser pulses, delivering MOPA-like precision for consistent, vibrant color engraving — the most accessible entry point if you're starting to explore color work.

- WeCreat Lumos Flex : a true 15W fiber laser paired with a 15W diode, built for creators who want more vivid, higher-contrast color at faster, more consistent speeds — a better fit once color engraving on metal becomes a core part of your product line rather than an occasional project.

Conclusion
Color laser engraving isn't just a high-end industrial technique — it's an accessible and creative process that any maker can master with the right setup. By understanding how different materials react to heat and light, selecting a laser engraver suited for your goals, and applying the right engraving parameters, you can transform ordinary surfaces into vibrant, lasting designs.
Whether you're aiming for true color oxidation on metal or layered tonal effects on wood and leather, today's advanced dual-laser systems like WeCreat Lumos and Lumos Flex make it easier than ever to bring your ideas to life.
Frequently Asked Questions
Q1. Can you laser engrave with color on metal?
Yes. Metals like stainless steel, titanium, and brass can display true color through thermal oxidation — the laser heats the surface to form a thin oxide layer that reflects light at different wavelengths, producing blues, golds, purples, and greens. This works best with a MOPA fiber laser or a dual-laser system with stable, controllable pulses. WeCreat Lumos uses BeamFocus 2.0™ technology to deliver this at an accessible entry-level price, while WeCreat Lumos Flex uses a true fiber laser for even more vivid, consistent color at higher volumes. Low-power or uncontrolled lasers, by contrast, tend to produce dull or inconsistent color.
Q2. How is laser engraving with color done on stone?
Stone doesn't oxidize like metal, so color on stone comes from tonal contrast rather than true hue changes. By precisely controlling laser power, speed, and number of passes, the laser creates variations in surface texture and depth that show up as light-to-dark tonal gradients, producing high-contrast, artistic markings. This is an in-situ engraving technique — no coating or fill is applied, the effect comes entirely from how the laser interacts with the stone's surface.
Q3. How do you fill laser engraving with color?
There are two common approaches.
In Method 1 (surface color removal), you start with a pre-painted or dyed surface, then laser-engrave through the colored top layer to reveal the material underneath.
In Method 2 (post-fill color), you engrave the design first, then apply paint, colored powder, or paste into the engraved grooves, scrape away the excess, and optionally re-engrave lightly to help the color adhere before sealing the surface.
Method 1 is faster and gives high contrast with minimal steps; Method 2 allows multi-color designs and more control over color placement.