


Few builds are as satisfying — or as crowd-pleasing — as a wooden American flag. The mix of natural grain, crisp stars, and a rustic burnt finish makes these pieces look custom and expensive, even when they're quick to make. That's exactly why american flag wood projects are a favorite for wall decor, patriotic gifts, and 4th of July markets.
The best part? These are some of the easy american flag wood projects to start with. If you have a laser engraver and an afternoon, you can finish one. Beginners love the fast, repeatable results; seasoned makers love how easily the design scales into a sellable product line. Whether you're decorating your own home, honoring a veteran, or testing a side hustle, this guide walks you through every step.

What You'll Need

Materials
- Wood blank — ¼" Baltic birch plywood, or a solid walnut, maple, or pine board
- Wood stain or oil — Minwax stain or Watco Danish Oil for natural tones
- Sealant — Minwax wipe-on polyurethane (indoor) or spar urethane (outdoor)
- Painter's/transfer tape (to prevent smoke stains)
- 220-grit sandpaper and a tack cloth
- Acrylic craft paint (only if you want a painted flag)
- Titebond wood glue (for layered/3D versions)
Tools & Equipment
- A laser engraver — any diode or CO₂ model will work
- A computer with laser design software (LightBurn, your machine's native app, etc.)
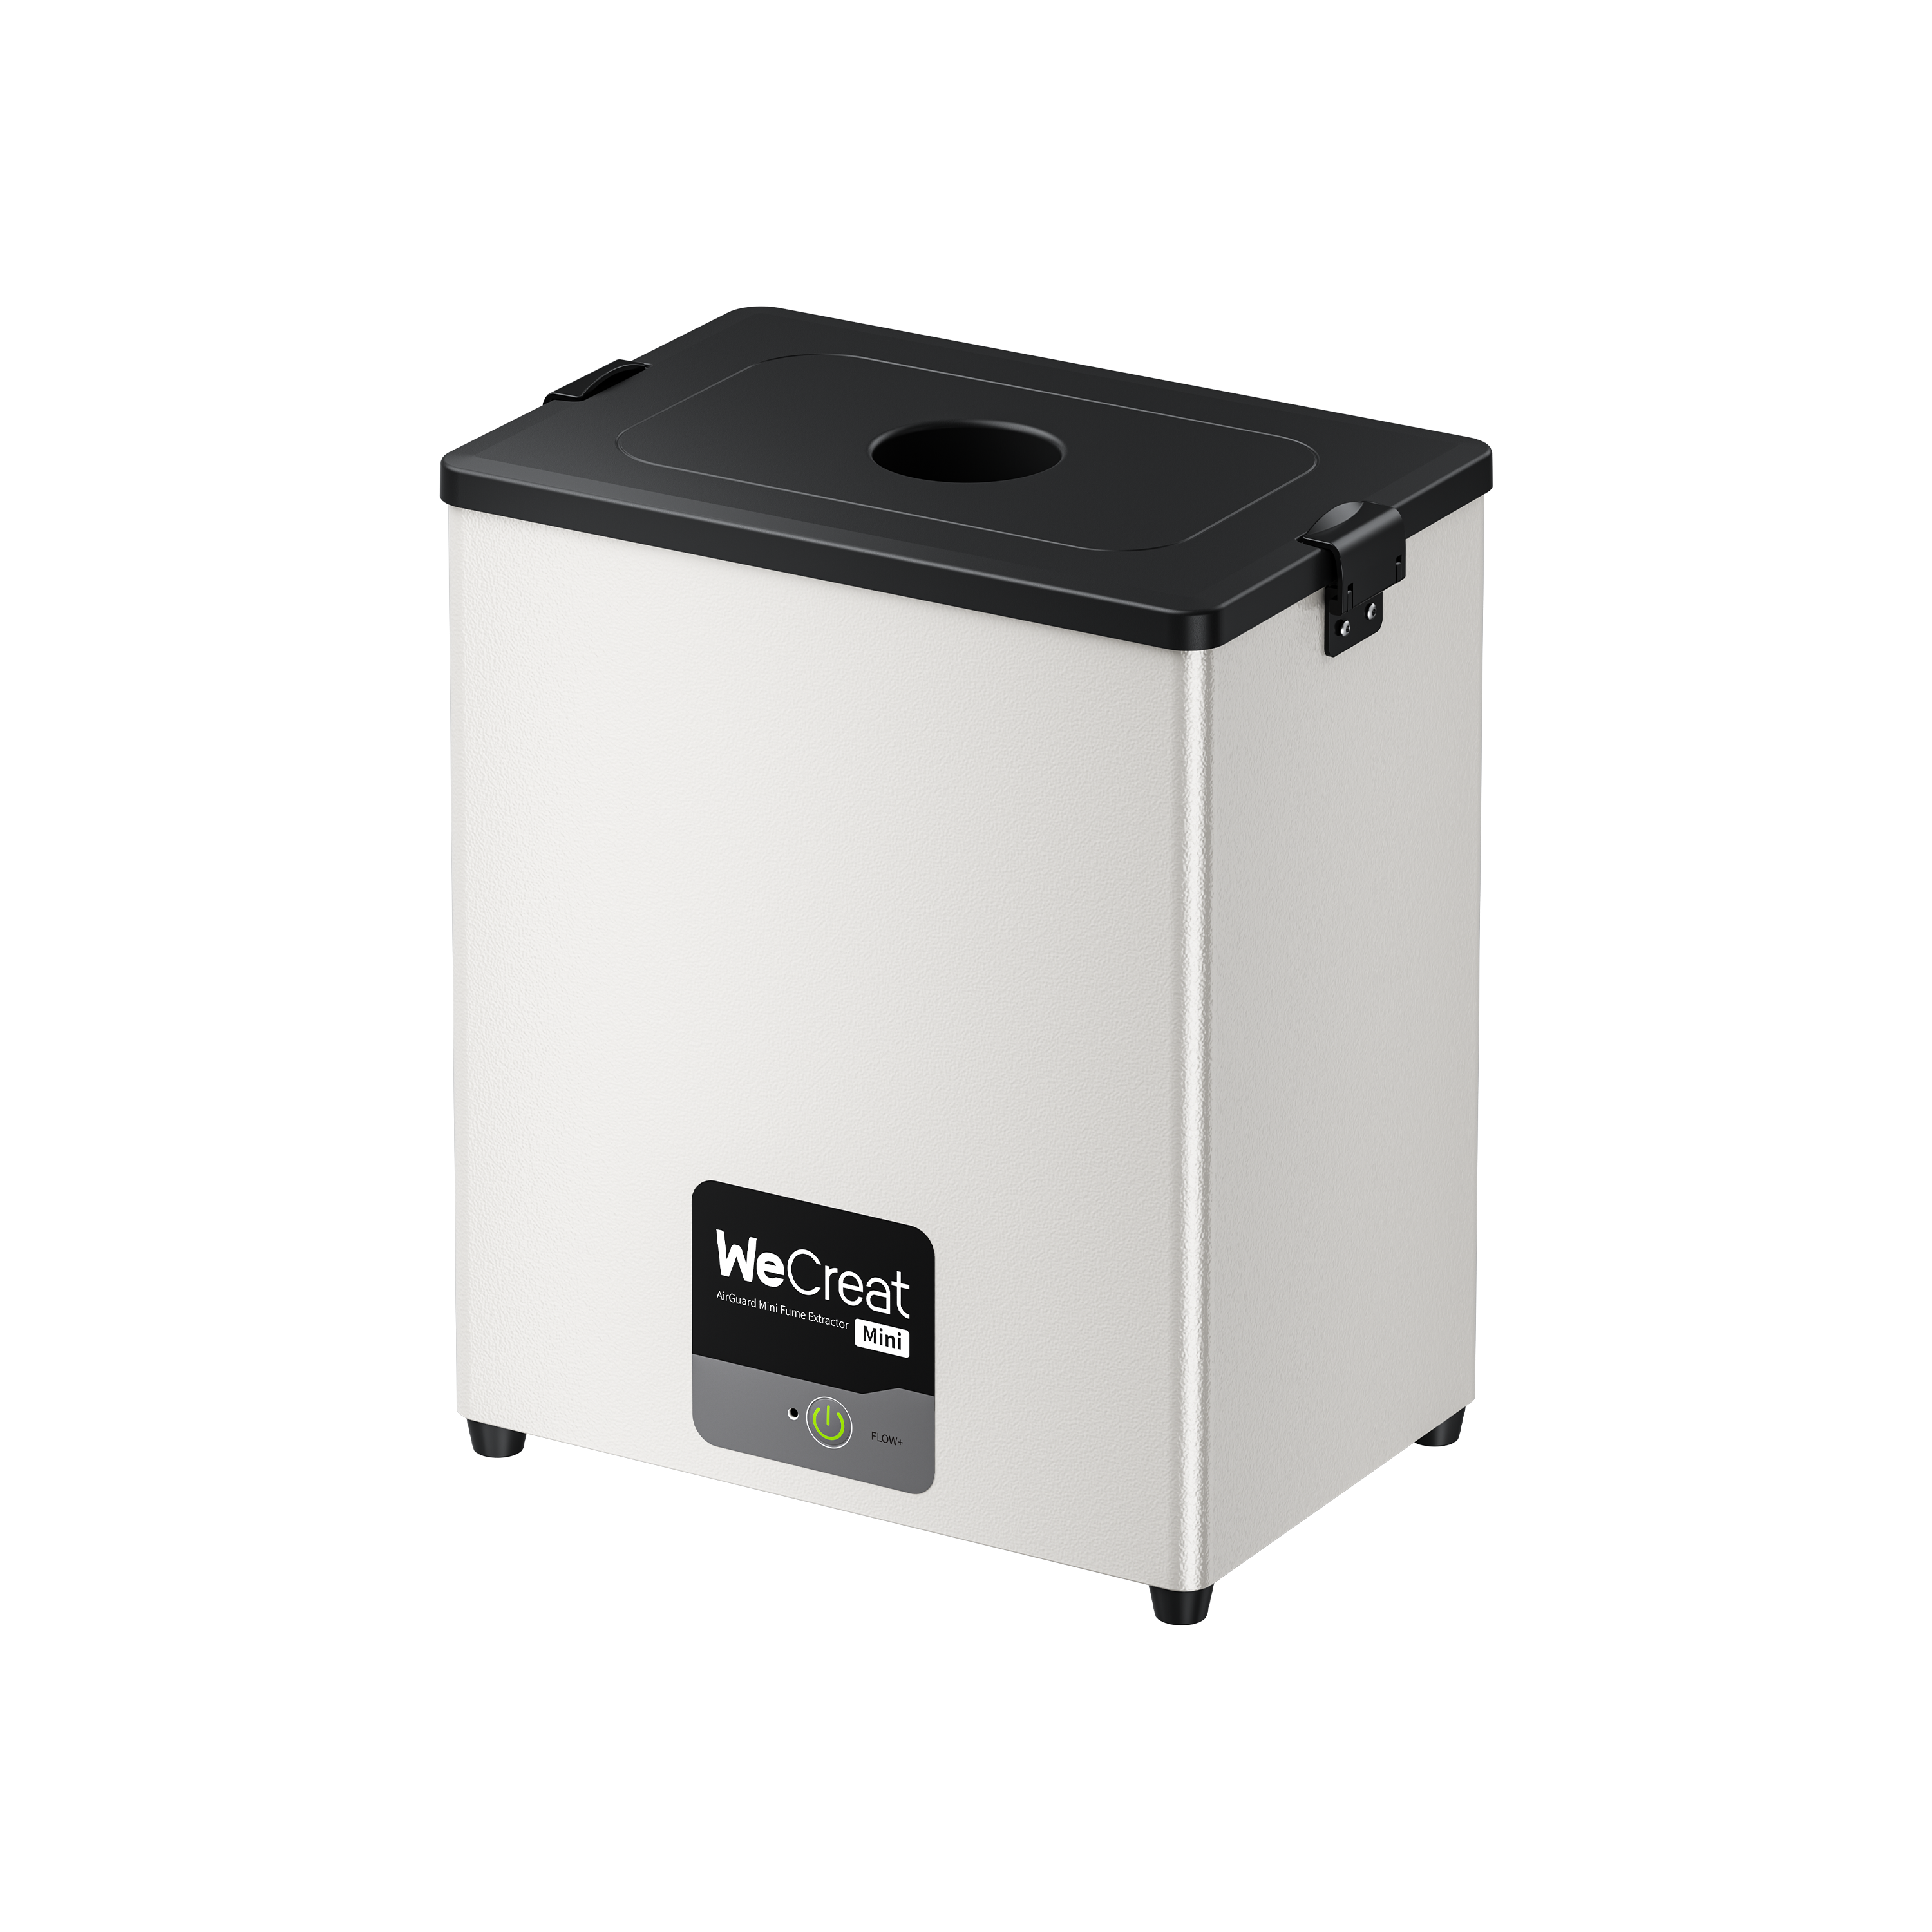
- Nitrile gloves, a lint-free cloth, and proper ventilation or a fume extractor
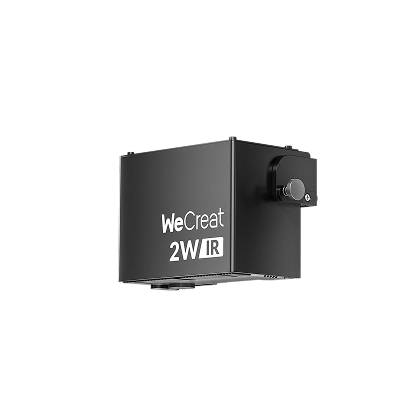
A note on laser power. This project works on virtually any laser — what changes is speed and how thick you can cut. A 10W diode engraves crisp detail and cuts thin plywood (just slower, with more passes). A 20W laser is the comfortable sweet spot for both engraving and cutting ¼" stock. Higher-wattage machines simply cut thick hardwood faster and fit oversized flags. Start with whatever you already have.
Choosing the Right Wood
Wood choice changes everything — the color, the contrast, and how the engraving reads.
- Pine — Cheap and widely available, with a light, knotty, country look. Soft and easy to engrave, but its resin and uneven density can scorch unpredictably. Great for a rough rustic vibe.
- Oak — Hard and durable with a bold, open grain that gives flags a premium, textured feel. Slower to cut, but the finished look is striking.
- Birch (especially Baltic birch plywood) — Smooth, pale, and remarkably consistent, so engravings come out clean and even. The most forgiving choice and the best starting point for beginners.
- Walnut — Rich chocolate-brown with gorgeous natural contrast. Stars and stripes pop against it with no stain at all. Pricier, but ideal for heirloom and premium pieces.
Thickness guide: Use ⅛" (3mm) for layered or small ornaments, ¼" (6mm) for sturdy wall signs you'll cut all the way through, and ¾" solid boards for chunky rustic flags you only engrave (don't try to cut through these).
Design Preparation
You don't have to draw anything from scratch.
Start with free, laser-ready files to spark ideas. Vecteezy has hundreds of free flag vectors, Craft House SVG offers files with a commercial-use license, and 8SVG and FreeSVGPlanet both have free SVG/DXF downloads. Always check each file's license before you sell finished pieces.
Prefer to design your own? Use Inkscape (free), Adobe Illustrator, or Affinity Designer to build a clean vector, then import it into your laser software.
Design tips: Stick to the flag's official 10:19 proportion so it doesn't look stretched. The star field (the blue "union") spans seven stripes tall, and the 50 stars sit in nine offset rows alternating six and five. Keep star detail simple on small pieces — tiny stars can blur or burn together below a few inches.
Want to see how far a laser can take a wood project? WeCreat's laser woodworking guide showcases everything from engraved signs and layered 3D art to batch-made decor — useful inspiration as you finalize your own design.
Step-by-Step Laser Engraving Process
Step 1 — Prepare your wood. Sand lightly with 220-grit, wipe with a tack cloth, and apply painter's tape across the surface to keep smoke from staining the wood.
Step 2 — Set laser parameters. Import your SVG, assign engrave layers (stripes, stars) and cut layers (outline), and always run a test on scrap first. As a rough starting point on ¼" birch with a 20W laser: engrave at high speed/low power, and cut in two passes. Dial in from there. Most laser software ships with material presets — if yours has one for plywood, use it as a tested starting point to cut down the trial and error.
Step 3 — Engrave the stripes. Raster-engrave the 13 stripes and the union. Deeper passes create more dimension and shadow.
Step 4 — Cut the stars. For a single-layer flag, engrave the stars into the blue field. For a layered look, vector-cut separate star shapes from a contrasting wood and inlay them.
Step 5 — Burn / shade for rustic effect. Add a light defocused pass, or a low-power raster, over areas you want darkened for that weathered, aged appearance.
Step 6 — Apply finish. Peel the tape, wipe clean, then stain, oil, or seal (next section).
Finishing Techniques
The rustic burnt effect.
This is what makes a flag look hand-aged. After engraving, lightly pass a butane torch along the grain — keep it moving so you scorch, not char. Let it cool, scrub with a brass wire brush to lift loose carbon and reveal grain, then seal with Danish oil. The result is a deep, dimensional, weathered finish.
Painted vs. natural.
Natural finishes let the wood tones do the work — pair a light maple field with walnut stripes for contrast and skip paint entirely. Painted flags (mask, then fill red/white/blue) read bolder and more traditional, but require careful taping for clean lines.
Sealant choice.
Danish oil gives a soft matte, natural look. Wipe-on polyurethane adds durability for everyday pieces. For anything going outdoors, use spar urethane, which resists UV and moisture.
Common Mistakes & How to Avoid Them
- Burn marks too heavy. The #1 beginner issue. Use masking tape, turn on air assist, and lower your power or raise your speed. Test settings before committing.
- Proportions off. A stretched flag looks amateur instantly. Lock your 10:19 ratio and never scale width and height independently.
- Wrong wood. Resinous or oily woods scorch unevenly, and MDF makes nasty smoke. When in doubt, start with Baltic birch for predictable, clean results.
Variations & Inspirations
Once you've made one, the design opens up. Popular spins on diy american flag wood projects include:
- State flag versions
- Military branch tributes (Army, Navy, Air Force, Marines, Coast Guard)
- Thin blue/red line flags for first responders
- Memorial and personalized family-name flags
- "We the People" Constitution flags
- Distressed / weathered battle flags
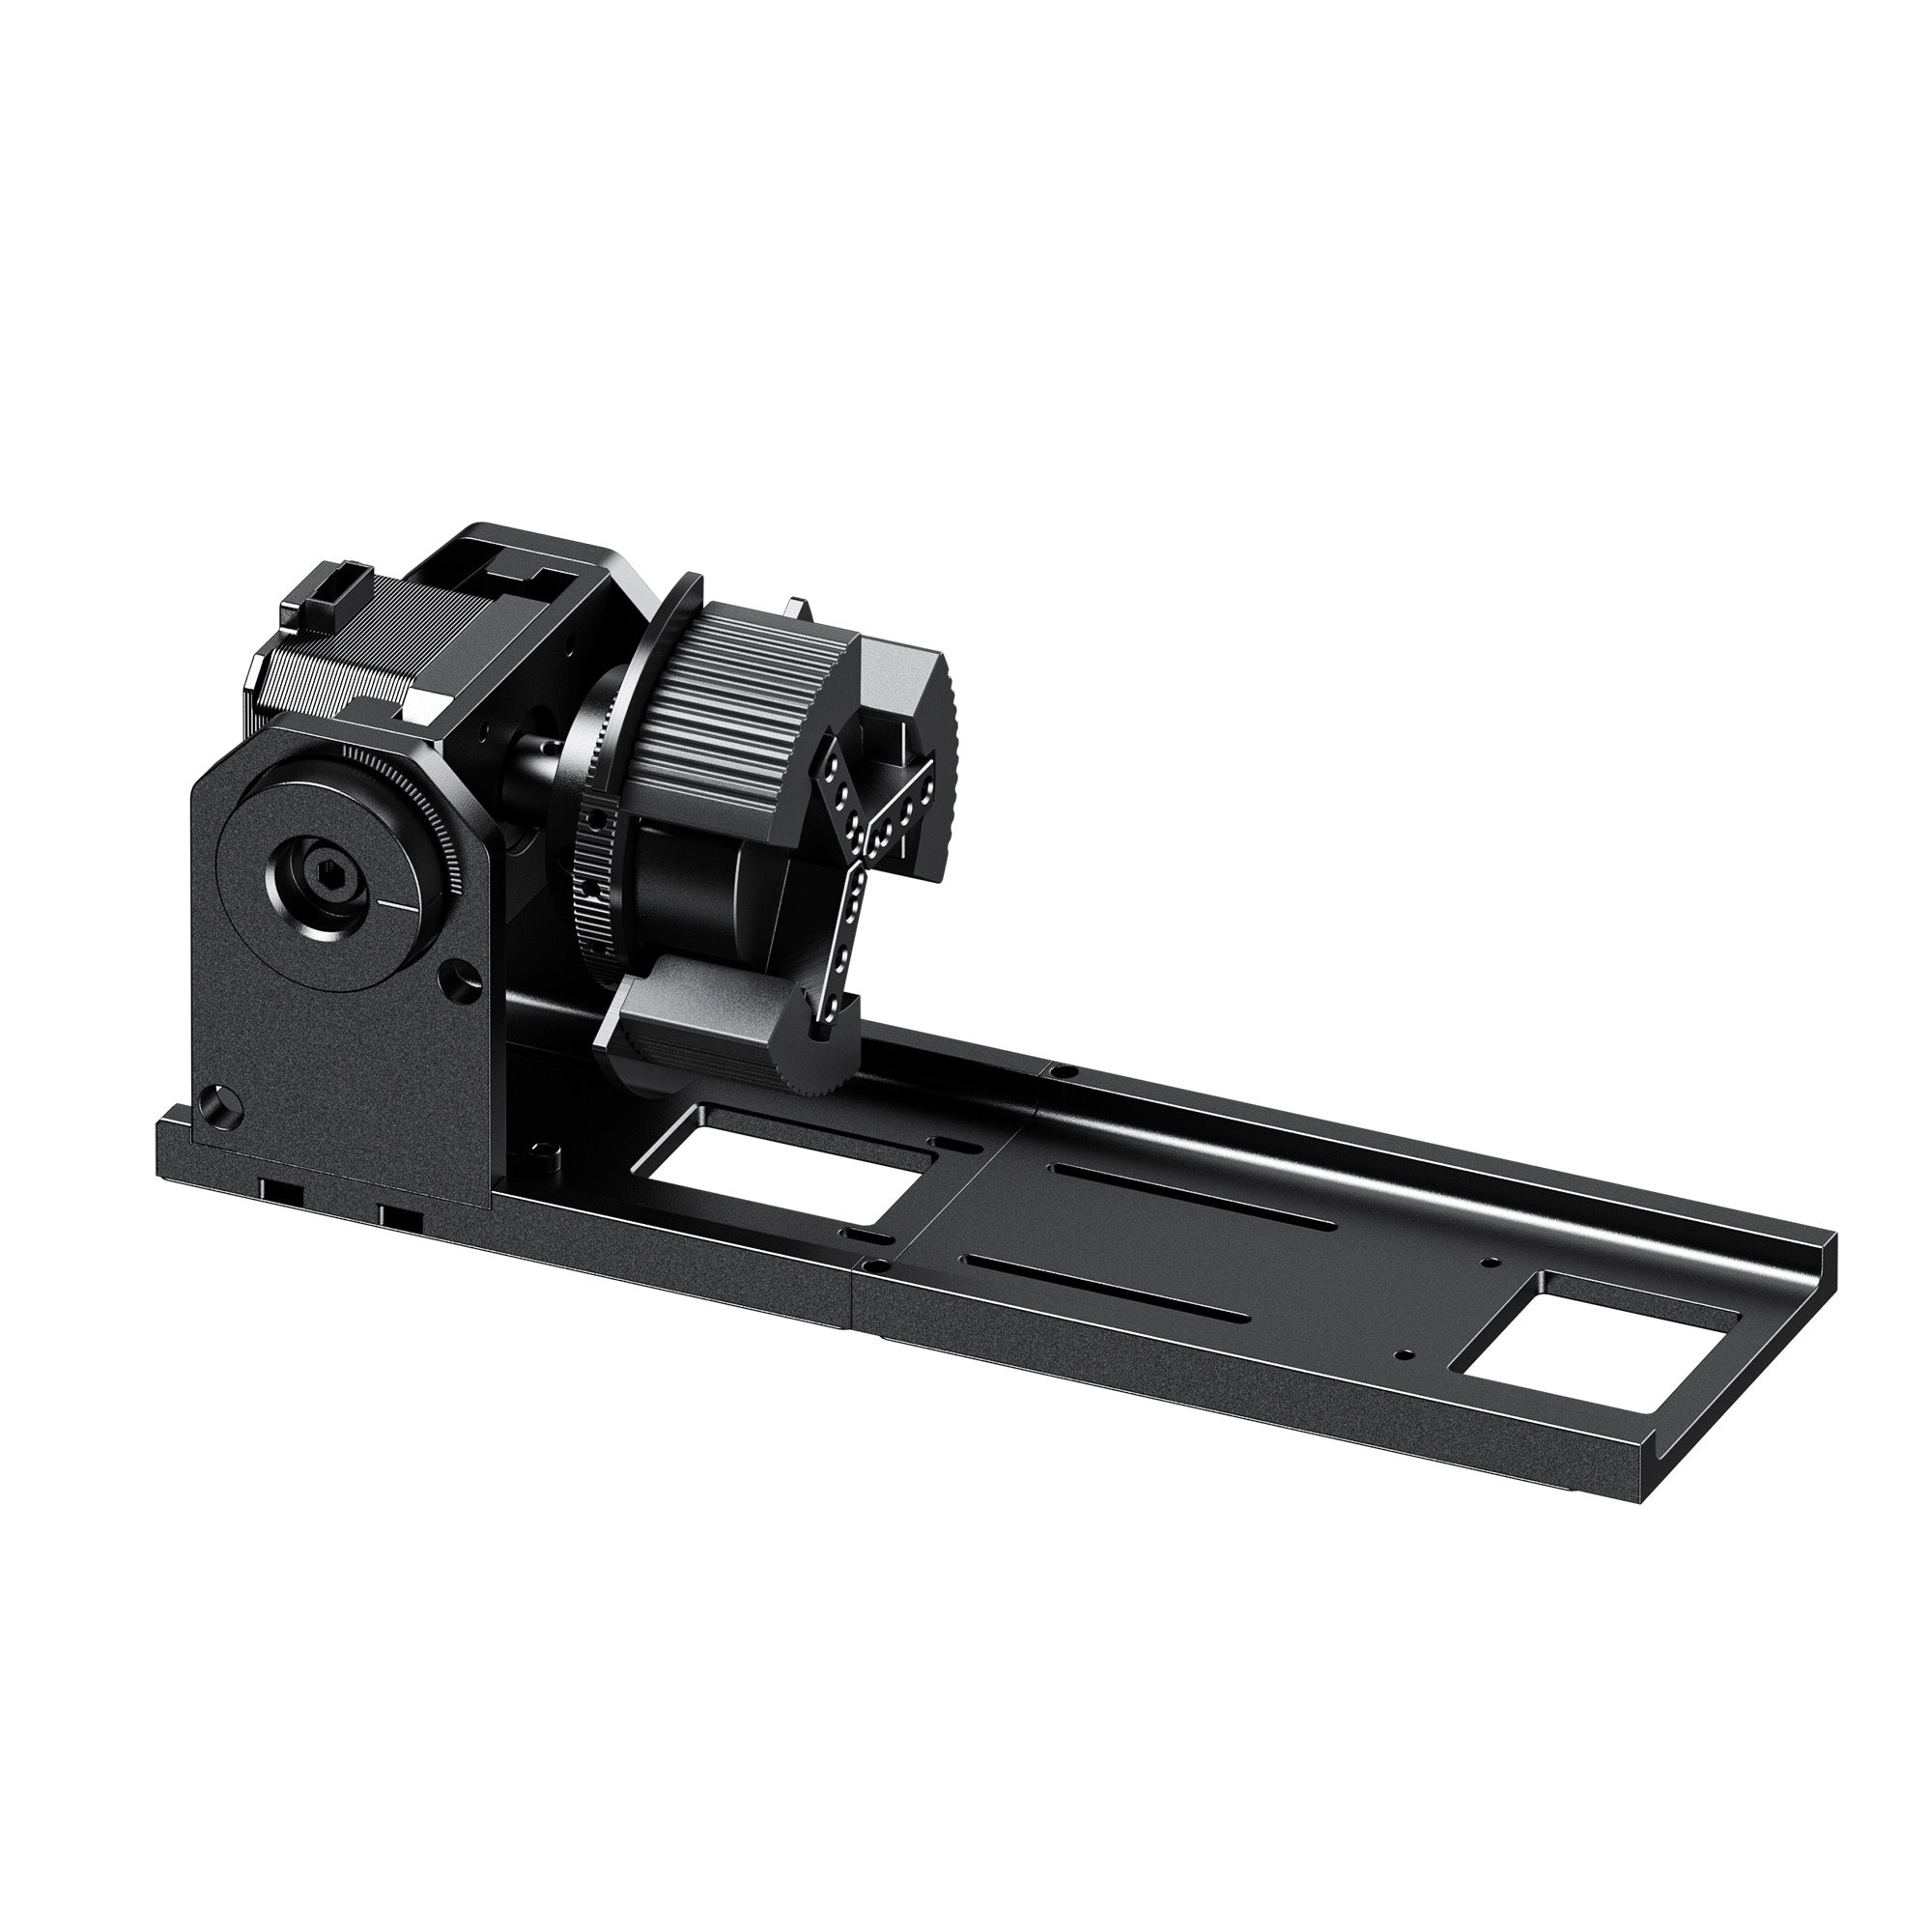
- Layered 3D topographic flags
- Flag-shaped USA maps
- Flag with engraved eagle
- Pledge of Allegiance engraved flags
Where to Sell If You Want to Make Money
These pieces sell beautifully at craft fairs, on Etsy, and around patriotic holidays. If you want a full playbook — pricing, margins, and the best products to scale — read our companion guide, 20 Small Business Ideas for Independence Day 2026.
Want more than flags to stock your table? Our 19 Laser Engraving Ideas for America 250 rounds up DIY projects across wood, acrylic, metal, slate, and leather — engraved tumblers, challenge coins, commemorative plaques, and more — each with a quick note on why it sells in the anniversary year.
Ready to Start Your First Flag?
Wooden flags look far harder to make than they are — and with the 250th anniversary landing in 2026, there's no better time to build one. Pick a design, choose your wood, and you could have a finished piece on the wall by tonight. Still deciding on a machine? Explore our laser engravers. Your first american flag wood project is just one afternoon away.
FAQ
Q1. How long does it take to make one?
Anywhere from 30 minutes for a small engraved plaque to a couple of hours for a large, multi-layer flag with a hand-finished rustic effect.
Q2. What size should I make?
A 12"–24" wide wall piece is the most popular and gift-friendly size. Keep the 10:19 ratio so it stays proportional at any scale.
Q3. Can a 20W laser handle this project?
Yes — 20W is the sweet spot for flag projects, easily engraving stars and stripes and cutting ¼" plywood in a couple of passes. If you're shopping for one, the auto-focusing WeCreat Vision (20W) is a popular all-rounder for exactly this kind of work.
Q4. How do I prevent burn marks?
Mask the surface with painter's tape, enable air assist, and run a quick test to find the lowest power that still gives a clean engrave.
Q5. Can I sell these on Etsy?
Absolutely — patriotic wood decor is a strong seller. Just confirm your SVG carries a commercial-use license first.