










Día de los Muertos laser projects turn a holiday of remembrance into things you can hold and display: a full-wrap Stanley cup, layered wood art, marigold ornaments, memorial keepsakes. Here are 12 ideas for different skill levels and machines.
You'll find materials, design tips, a step-by-step tumbler tutorial, and machine advice. Whether you want Day of the Dead laser cut decorations or sugar skull laser engraving designs, we've kept it practical.
Día de los Muertos is a celebration of remembrance, not a Halloween theme. Use its flowers, papel picado, and other traditional motifs thoughtfully, with respect for the families they represent.
12 Día de los Muertos Laser Projects to Make
Know the symbols. Marigolds (cempasúchil) are said to guide spirits home with their color and scent. Photos and name plates personalize an ofrenda, and papel picado decorates the space around it. If you're making ofrenda pieces for someone else, ask about their family's traditions first.
Each project lists materials, one key laser tip, and who it suits best. One design tip applies to all: sugar skull laser engraving looks best with confident line weights. Hairline petals can disappear on wood or coated steel, so thicken fine details slightly before you export your SVG.
| Project | Difficulty* | Main process | Best use |
|---|---|---|---|
| Stanley cup | Medium | Cylinder engraving | Personalized gifts |
| Layered skull art | Medium | Layer cutting, assembly | Wall décor |
| Papel picado | Easy to medium | Cutout cutting | Festive displays |
| Shadow box | Medium | Layer cutting, assembly | Home display |
| Coasters | Easy | Surface engraving | Gift sets, sales |
| Memorial ornaments | Easy | Cutting and engraving | Keepsakes |
| Keychains | Easy | Cutting and engraving | Small batches |
| Earrings | Medium | Fine cutting | Jewelry |
| Ofrenda centerpiece | Medium | Cutting, assembly | Remembrance displays |
| LED lantern | Medium | Cutting, assembly | Atmosphere |
| Slate décor | Easy | Surface marking | Gifts |
| Name signs | Easy to medium | Engraving and cutting | Custom orders |
*Our estimate for a first-time maker. Your machine and materials will change it.
Laser-Engraved Tumblers and Statement Décor

1. Día de los Muertos Stanley Cup. A full-wrap design of sugar skulls, marigolds, and vines turns a plain cup into a keepsake. A cup like the Stanley is a big canvas, but the wrap only works when the artwork meets cleanly at the seam.
- Materials: powder-coated stainless tumbler, rotary attachment.
- Laser tip: plan the seam before you engrave. The full walkthrough is below.
- Best for: personalized gifts.
2. Layered Sugar Skull Wood Wall Art. Stack wood layers to build a dimensional skull with petals and geometric detail.
- Materials: 3mm basswood plywood, wood glue, stain or paint.
- Laser tip: cut alignment holes into every layer, and test-fit before gluing.
- Best for: home décor and gifts.
3. Laser-Cut Papel Picado Banners. Traditional papel picado is cut tissue paper. A laser version recreates the skulls, flowers, and borders on sturdier stock.
- Materials: cardstock or thin wood veneer. Tissue tears and burns too easily.
- Laser tip: keep the bridges between cutouts wide, and avoid overly dense patterns.
- Best for: beginners and batch runs.
4. Layered Sugar Skull Shadow Box. A central skull, a floral background, and a frame create depth in one display piece.
- Materials: 3mm plywood layers, spacers, optional battery LED strip.
- Laser tip: build the layer spacing into the design, and assemble from back to front.
- Best for: home display and craft fairs.
Small Laser-Engraved Crafts to Make and Sell

5. Sugar Skull Engraved Coasters. Make coordinated sets of four or six, each with a different skull and marigold design.
- Materials: birch plywood, water-based sealer.
- Laser tip: use a jig so every coaster sits in the same spot, then seal the surface.
- Best for: small-batch sales.
6. Personalized Memorial Heart Ornaments. A heart outline, a marigold border, and a name or date make a quiet keepsake.
- Materials: 3mm basswood or birch plywood.
- Laser tip: keep fine strokes thick enough to read, and run a scrap test first.
- Best for: personalized gifts.
7. Sugar Skull Keychains. Compact skulls with different colors, names, and patterns.
- Materials: 3mm plywood or black acrylic.
- Laser tip: simplify detail at small sizes, and leave enough material around the hole.
- Best for: markets and batch production.
8. Día de los Muertos Earrings. Miniature skulls, flowers, and symmetrical folk-art patterns.
- Materials: 2–3mm plywood or thin acrylic.
- Laser tip: choose bold cutouts, sand the edges, and check the weight before you sell.
- Best for: craft sellers.
Ofrenda and Home Decorations

9. Wooden Ofrenda Centerpiece. An arch-shaped backdrop, a layered base, and memorial plaques for a home remembrance display.
- Materials: 3–6mm plywood.
- Laser tip: test slot-and-tab fit on scrap first. Use cultural motifs with care.
- Best for: home displays.
10. Sugar Skull LED Lantern. Skull and floral cutouts throw patterned light across the room.
- Materials: thin plywood, battery LED light.
- Laser tip: use interlocking panels. Choose a flameless LED, since a wood lantern isn't made for an open flame.
- Best for: seasonal gifts.
Engraving Projects for Different Materials

11. Sugar Skull Slate Décor. Natural slate gives a matte, high-contrast surface for skull and floral designs.
- Materials: natural slate coasters or tiles.
- Laser tip: slate is for marking, not cutting. Test contrast and cleaning on the actual piece.
- Best for: gifts.
12. Personalized Día de los Muertos Name Signs. Combine a name or message with sugar skulls and marigolds for door signs and table displays.
- Materials: birch or walnut plywood.
- Laser tip: pick a typeface that holds up at your engraving size, and save a template for fast name swaps.
- Best for: custom orders.
Best Materials and Laser Settings for Día de los Muertos Projects
Best Woods for Intricate Laser-Cut Designs
- Basswood plywood: good for detailed decorations and layered projects.
- Birch plywood: a versatile choice for signs, coasters, and structural pieces.
- Walnut: ideal for engraved gifts that show off the grain. Its dark color can limit contrast on shallow engravings.
Thicker stock cuts more slowly and scorches more easily. Air assist and masking tape help keep edges clean. For more options, see our guide to top wood types for intricate laser engraving. For bigger flat builds, the WeCreat Vision Pro has the larger bed.
Choosing the Right Laser for Tumblers, Wood, and Slate
| Material | Operation | Recommended approach |
|---|---|---|
| Plywood | Cutting and engraving | Run small cutting and engraving tests first. |
| Black or opaque acrylic | Cutting and engraving | Works with suitable diode lasers. Test your sheet. |
| Clear acrylic | Cutting | Needs a CO2 laser. Diode light mostly passes through. |
| Powder-coated tumbler | Coating removal | Use settings suited to the coating and your laser. |
| Cup with unknown coating | Test first | Don't judge by looks. Test on the base or a spare. |
| Slate | Surface marking | Test contrast on the actual surface. |
We don't list power or speed numbers here. They change with machine and material, so test on scrap.
Which WeCreat Laser Is Best for These Projects?
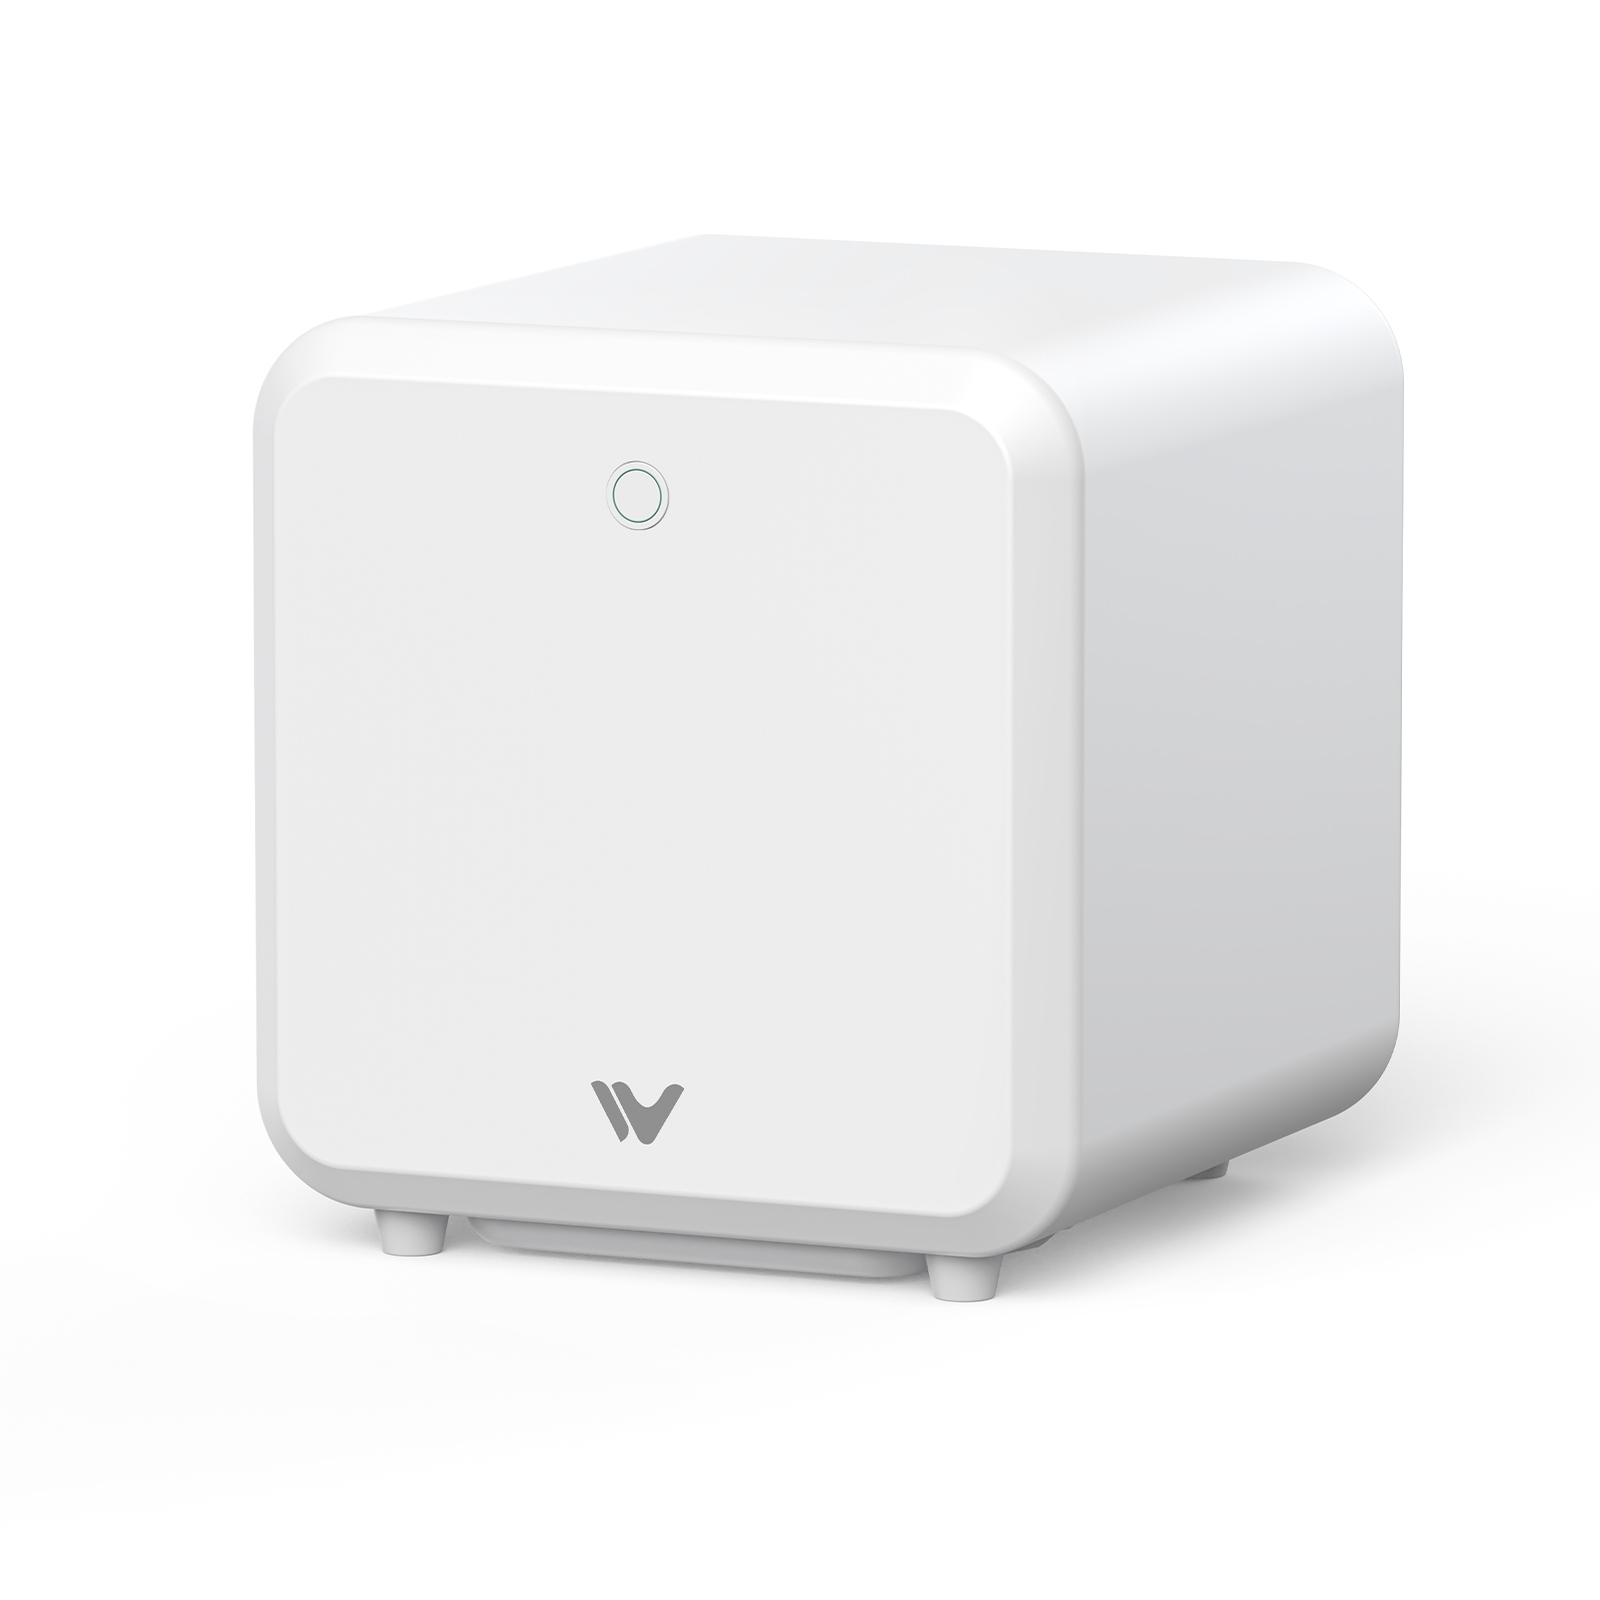
Match the machine to the job. Pick the Lumos if tumblers and small pieces are your main work. Pick the Vision Pro for larger flat pieces or batch cutting. Both offer a rotary option for tumblers.
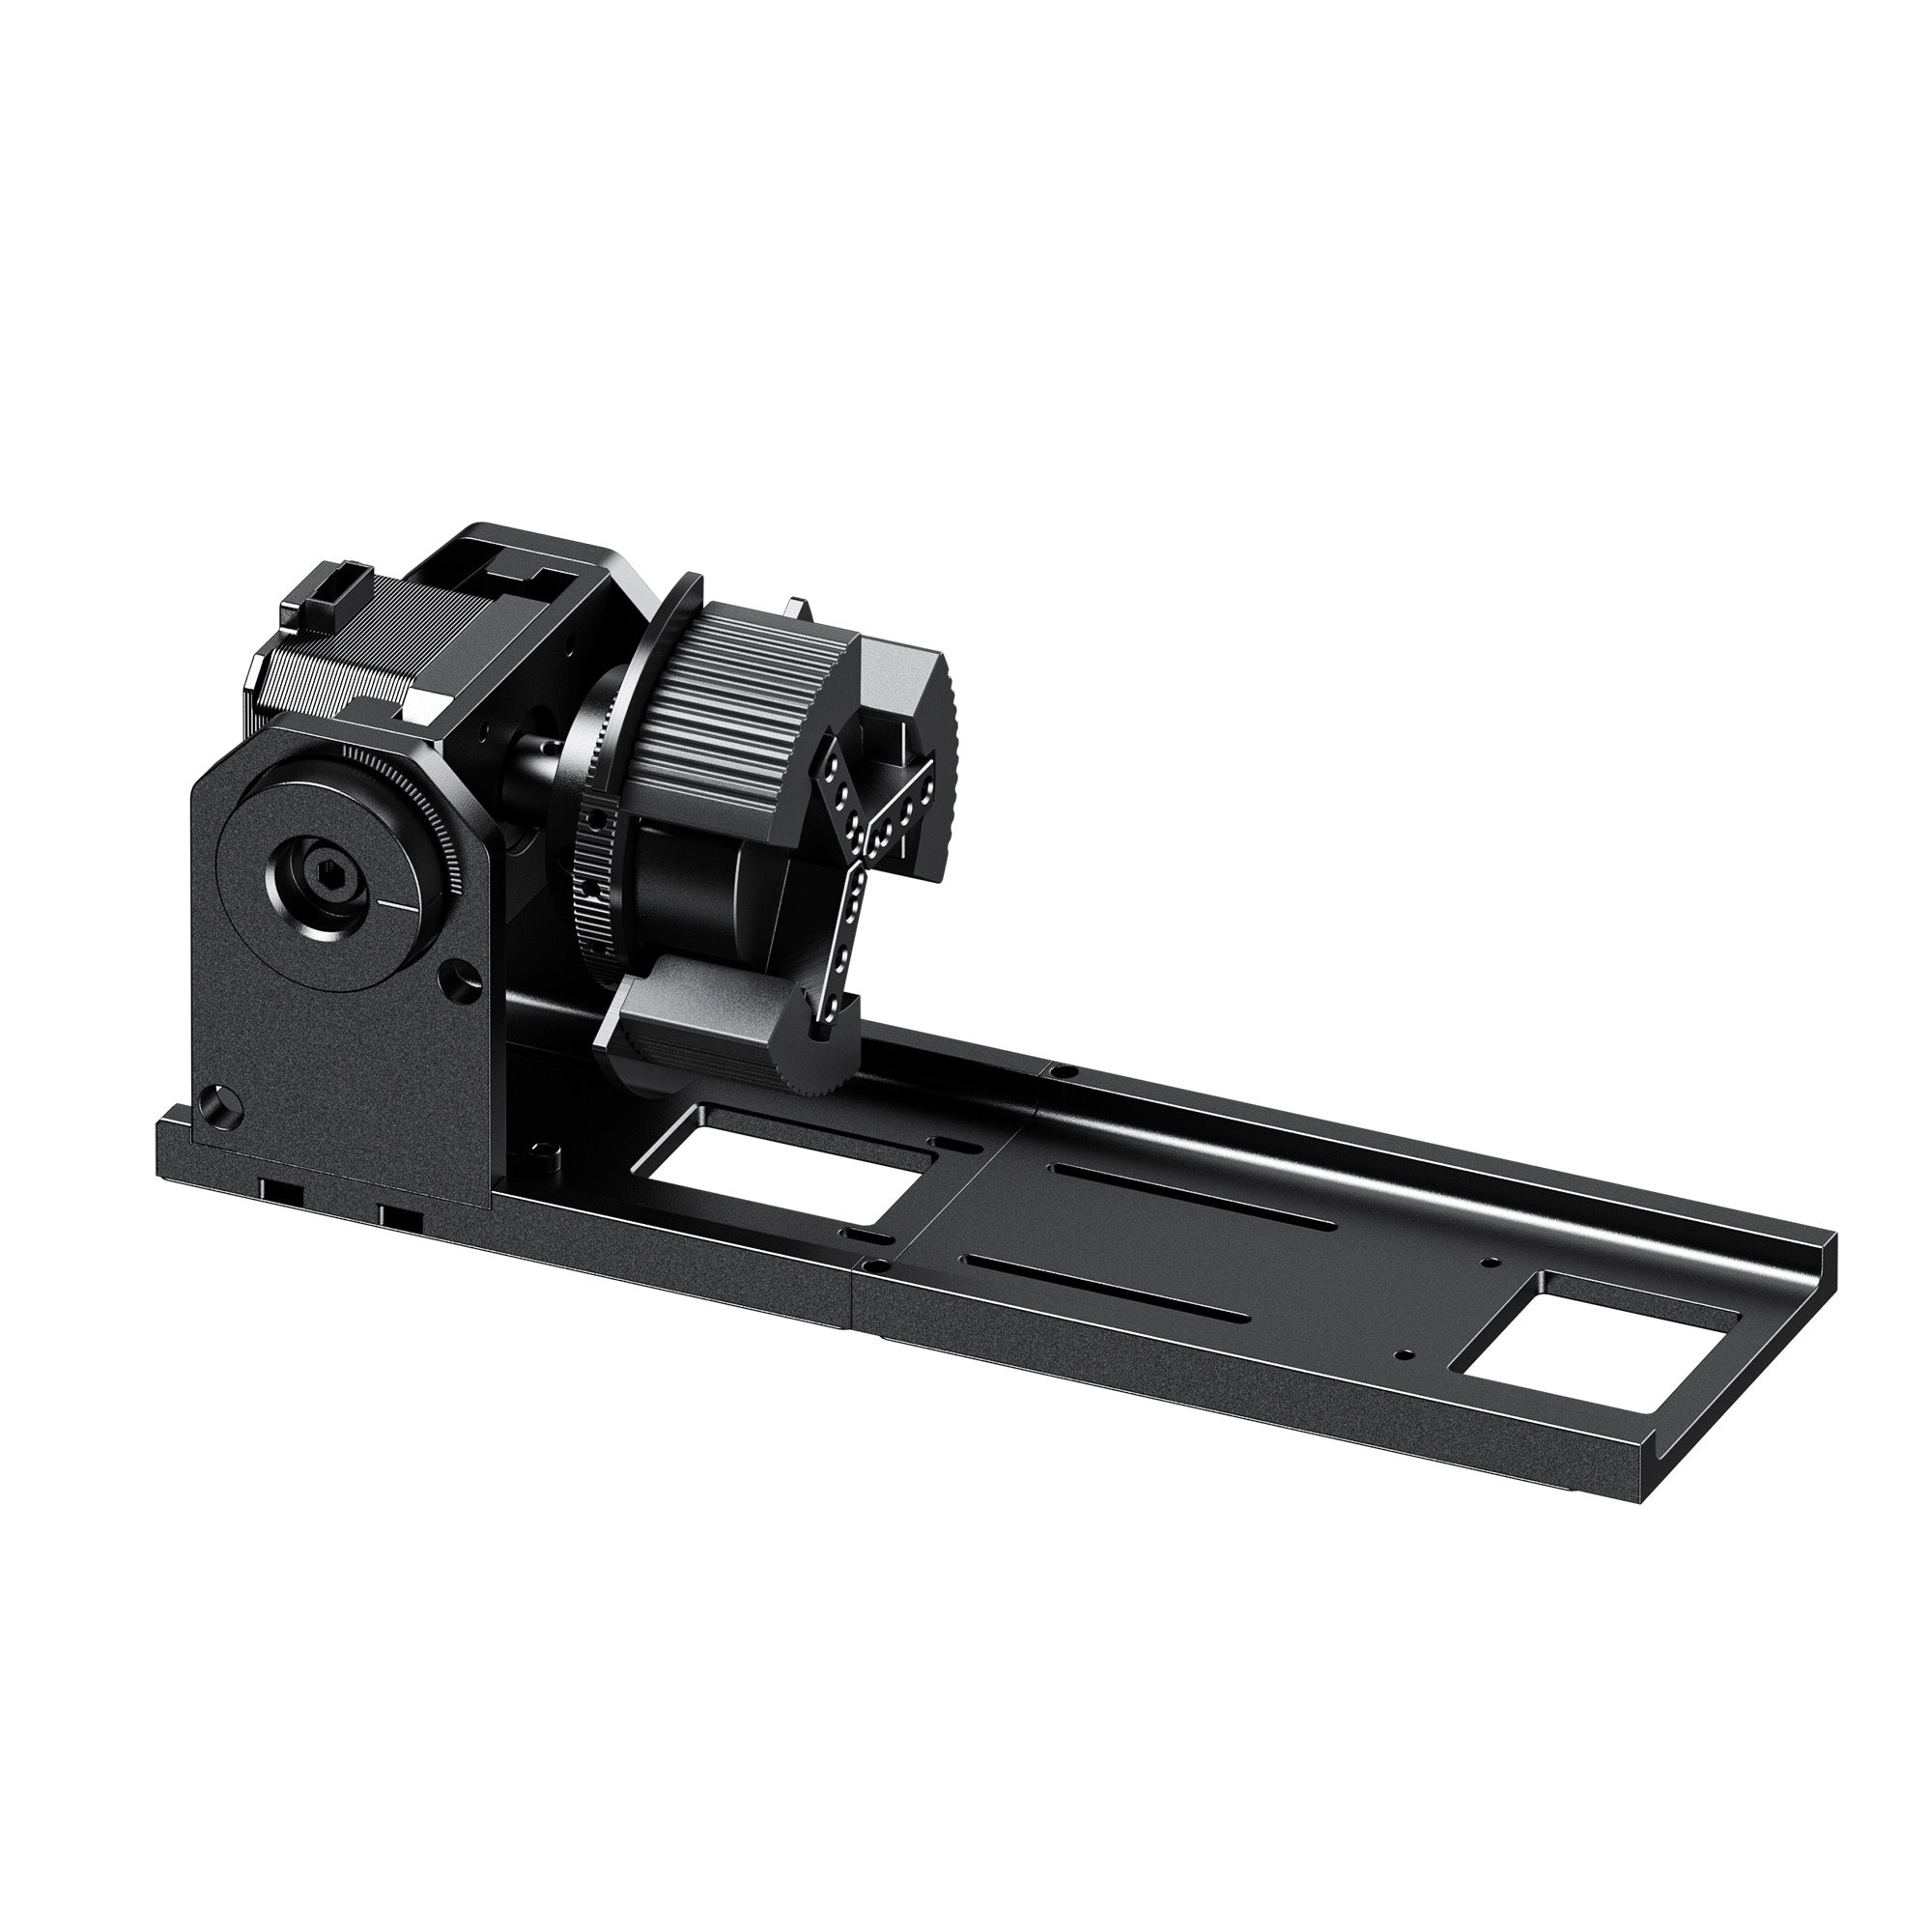
WeCreat Lumos + Rotary Attachment
 |
|
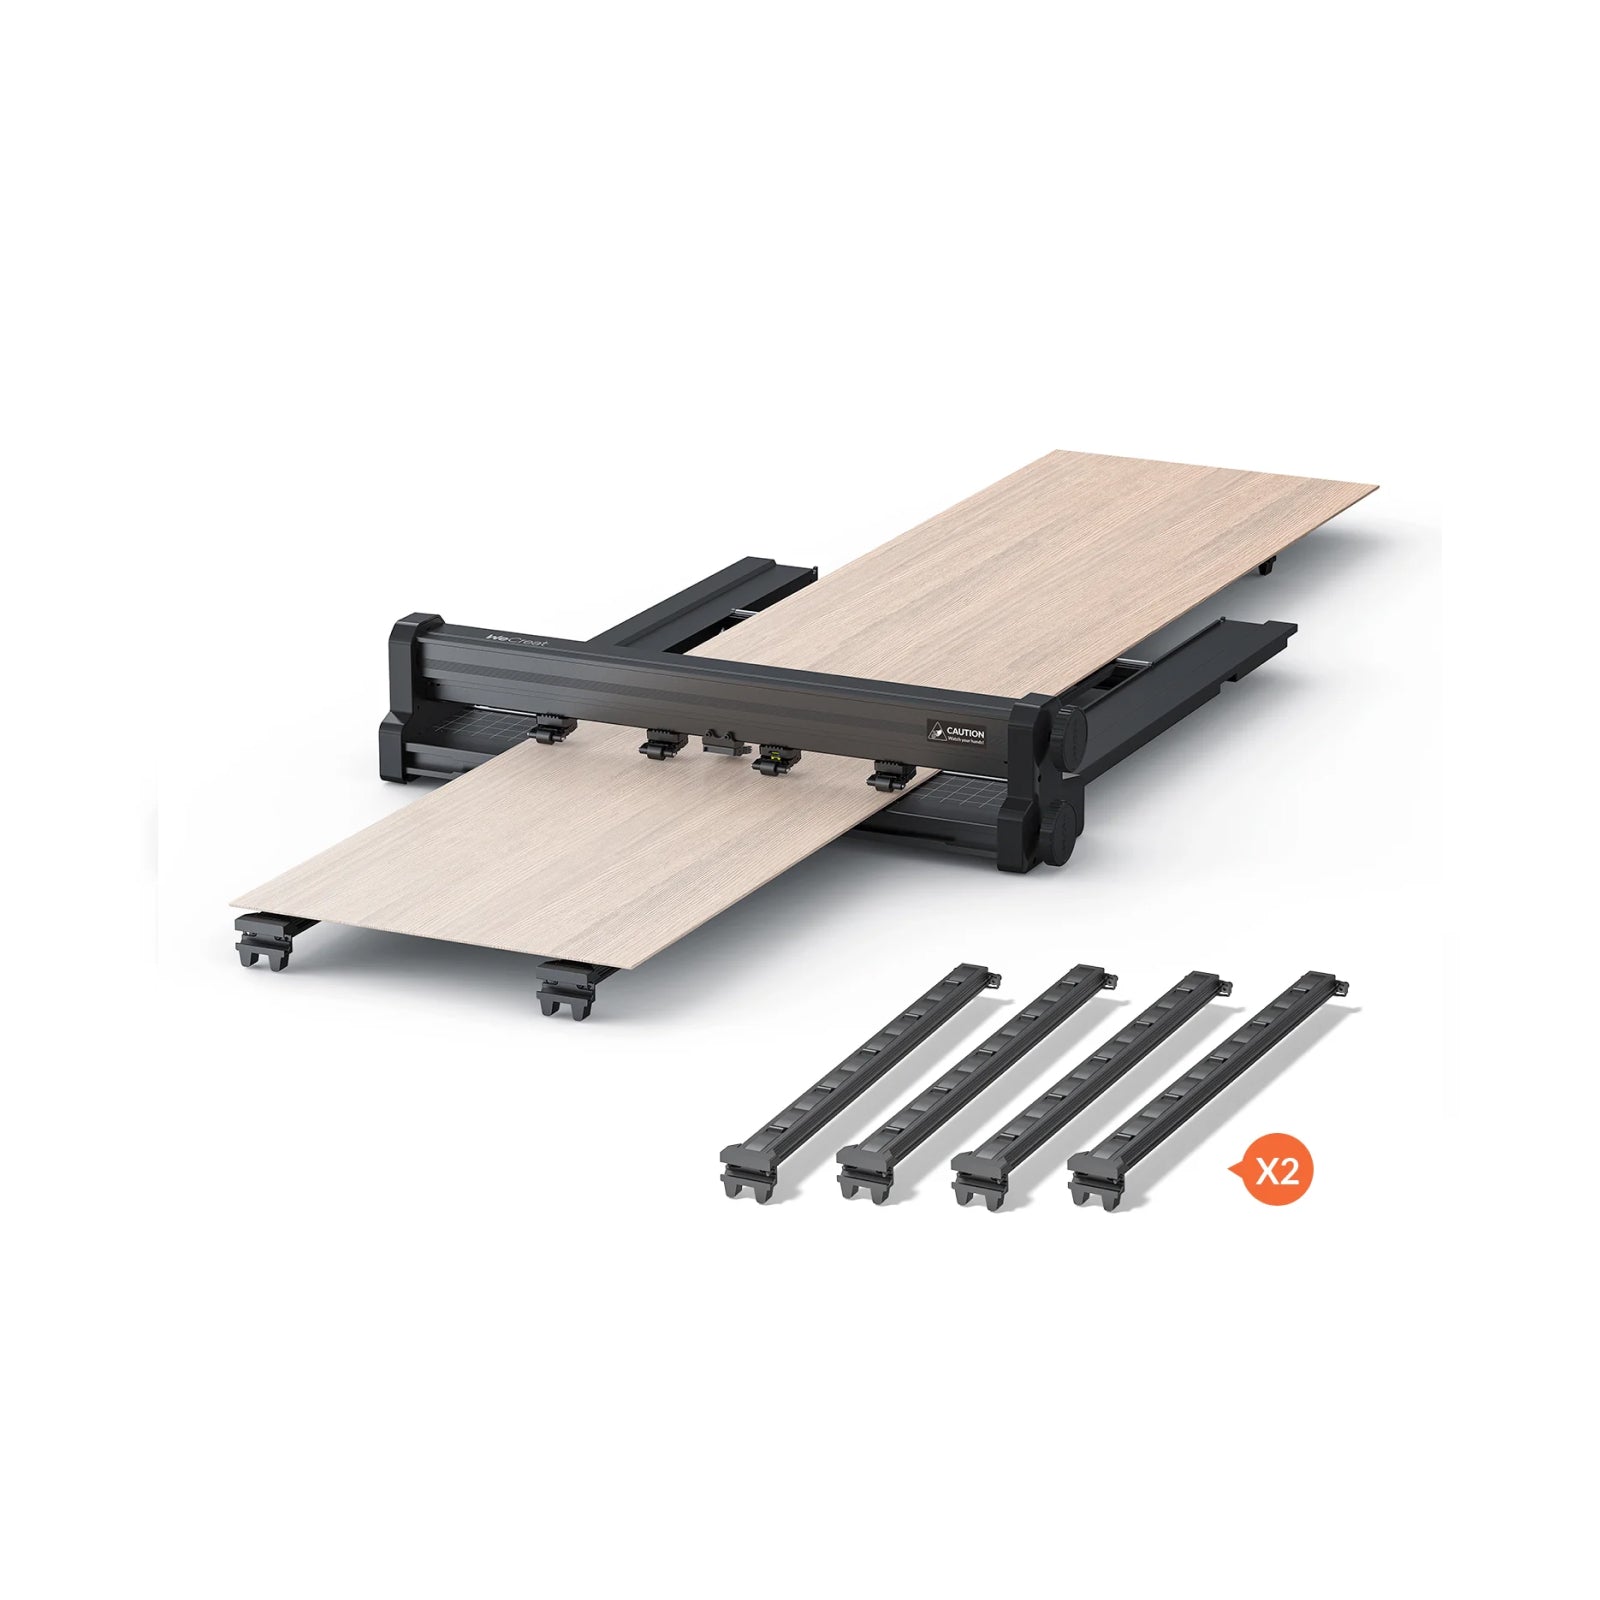
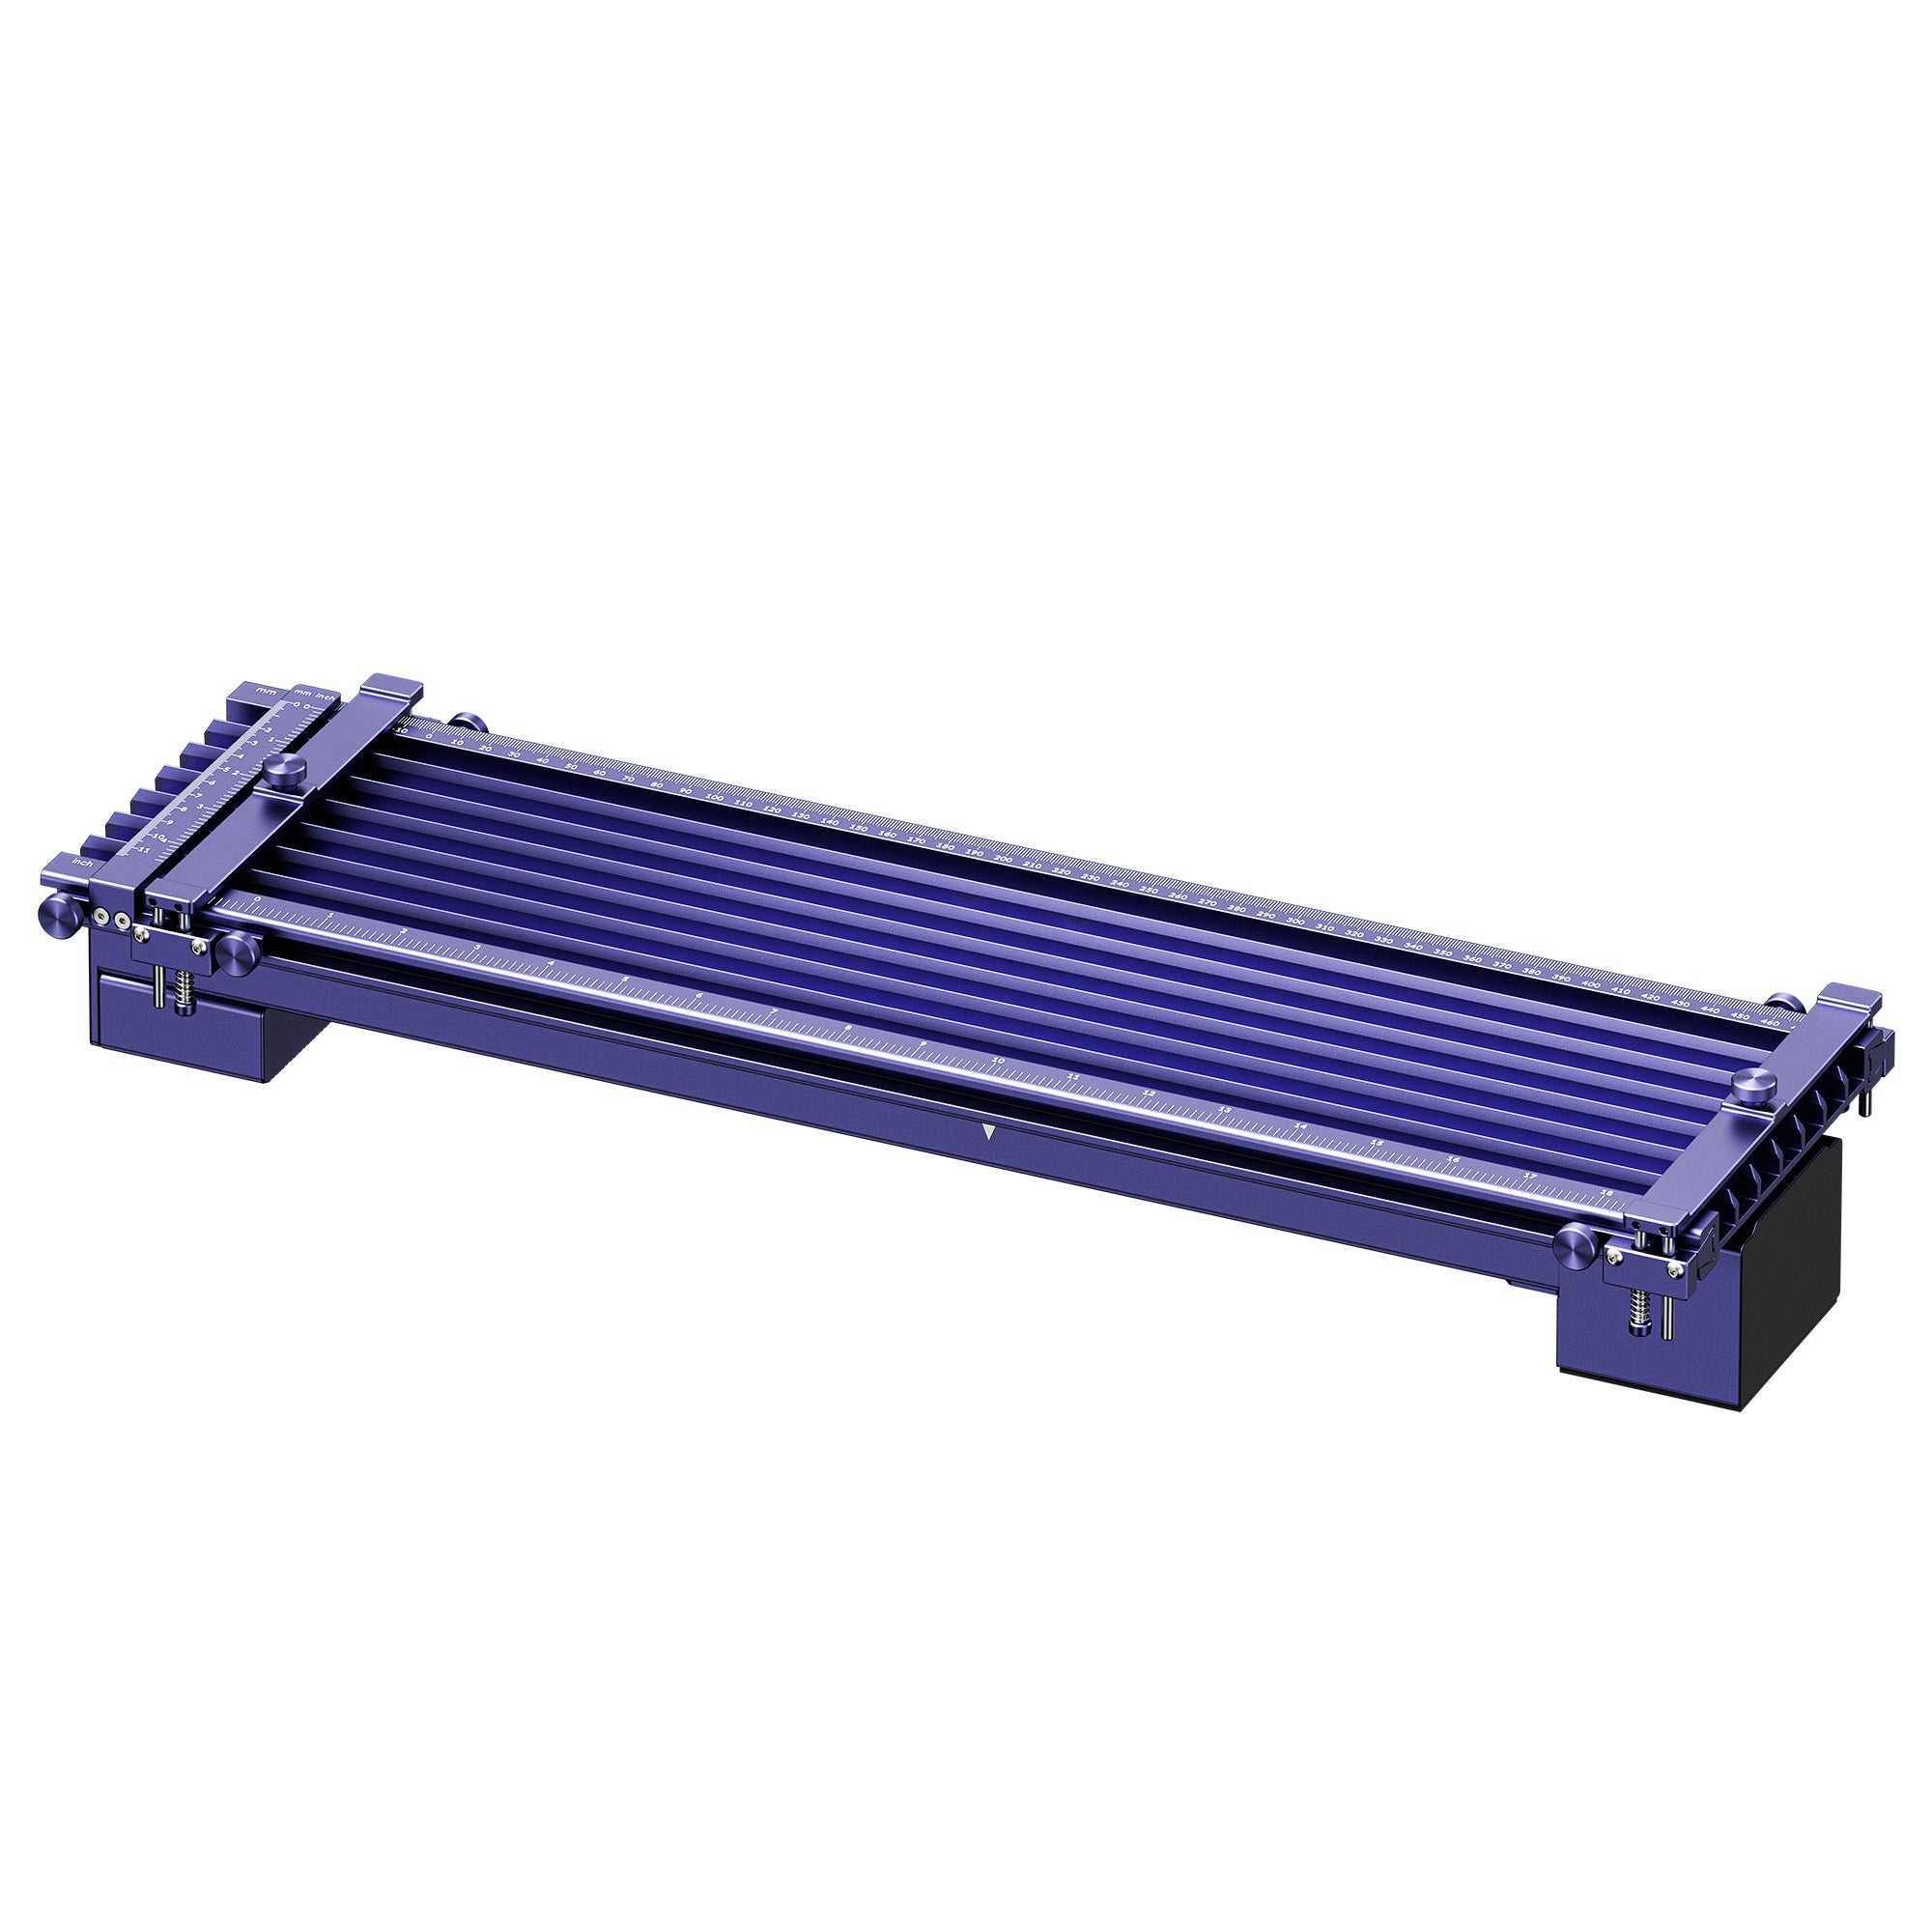
WeCreat Lumos fits the tumbler, ornament, and keychain projects. The trade-off is the small base bed, so skip large wall art. A Slide Extension lengthens the bed for longer pieces.
WeCreat Vision Pro

|
|
WeCreat Vision Pro suits layered wall art, shadow boxes, and ofrenda pieces, and its larger bed fits big parts without tiling. It costs more than the Lumos, and a Rotary Pack is available if you want tumblers too.
How to Laser Engrave a Día de los Muertos Stanley Cup
This walkthrough follows the WeCreat Lumos with its rotary. Other models differ, and settings vary by cup and coating, so test before you commit.
How to Engrave a Tumbler with Lumos Rotary?
Step 1 — Prepare the Tumbler and Design
- Confirm the cup's coating works with your laser, since coatings engrave differently.
- Clean the surface. Measure around the cup at the height you'll engrave, using a flexible tape. Cups taper, so keep the design inside the straight section.
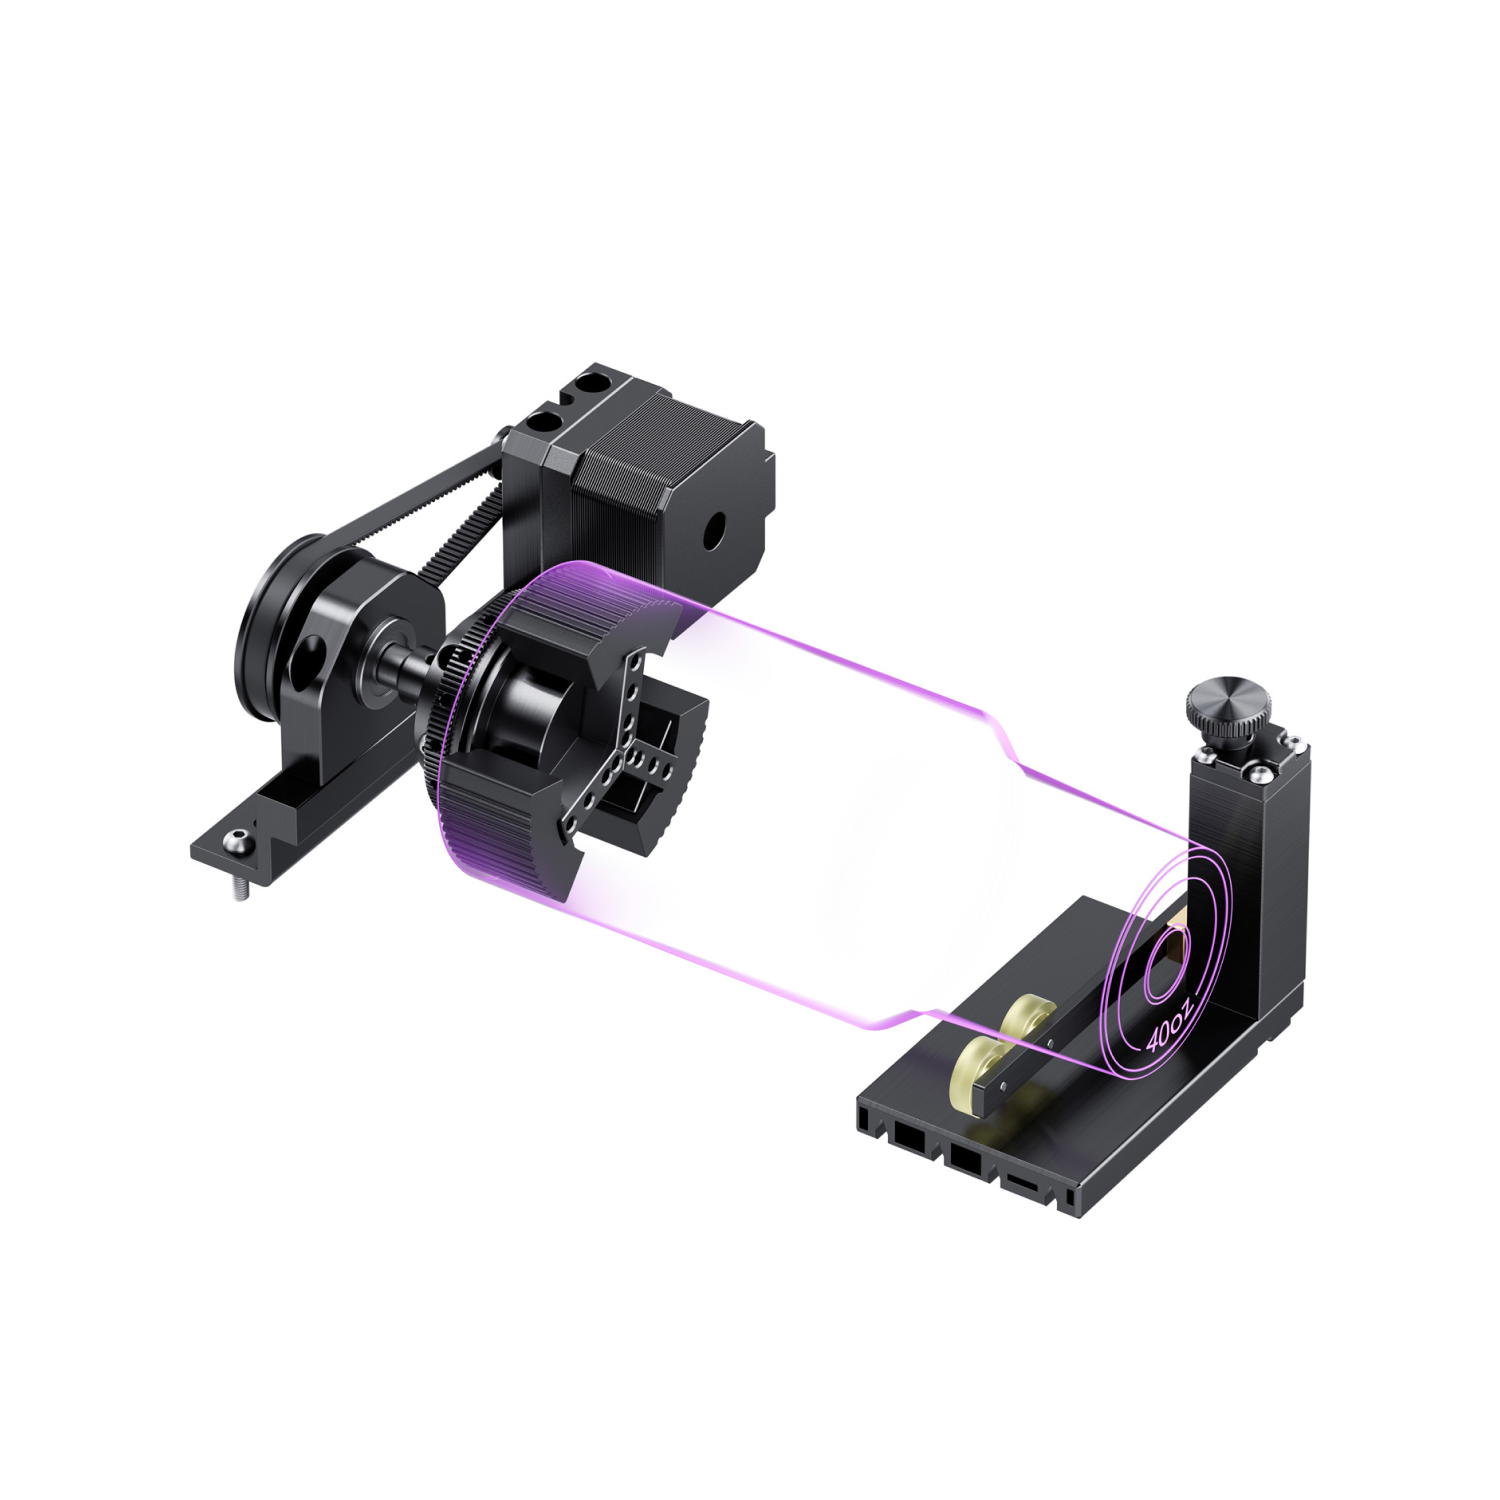
- Check the limits. The Lumos rotary takes objects up to 100mm in diameter, which is about 314mm around, and the engraving area must fit inside the 116mm working area.
- Mark where the design starts and ends.
Step 2 — Set Up the Rotary Attachment
- Lift the lid and screw the base plate onto the bed. Place the rotary on the bed and slide it until its edge meets the white reference line on the frame, then screw it down.
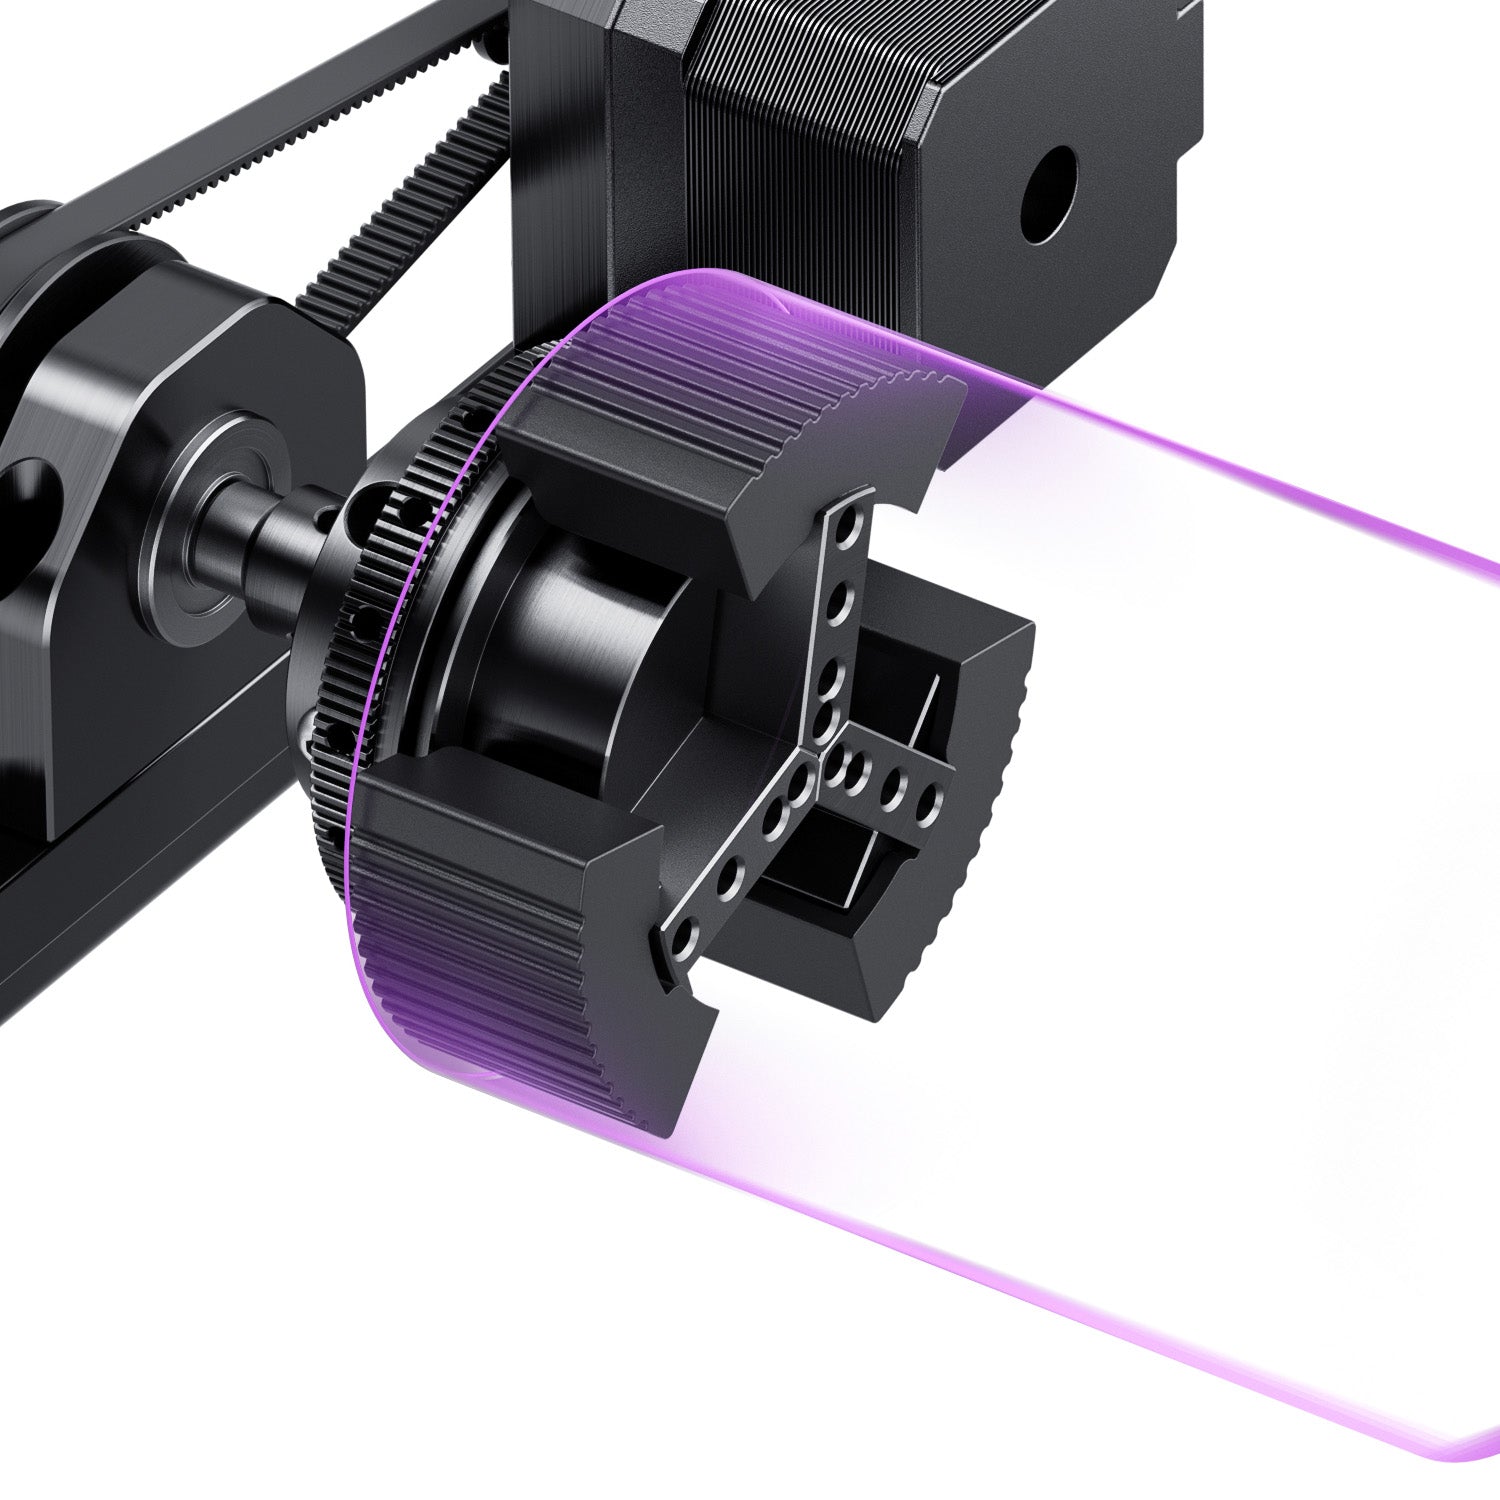
- Fit the studs, set the cup in place, and turn the drive pulley until the studs grip the rim.
- Spin the cup one full turn by hand. Its mouth should stay flat against the base plate. If it wobbles, re-seat it.
- Plug in the rotary motor cable, power on the Lumos, then connect the USB cable.
Step 3 — Align the Full-Wrap Design in WeCreat MakeIt
- Start a new project, pick the USB connection, switch the light source to Blue Light, and set the mode to Cylindrical Mode. Choose your material preset.
- Enter the circumference you measured and click Refresh. Stay under 314mm, or the rotation can lose sync and distort the design.
- Turn the focus knob until the red and blue spots merge into one on the cup's highest point, then click Confirm.
- Import your SVG and scale it to wrap the cup. Artwork width should match the circumference, so a cup that measures 24cm around needs artwork about 24cm wide. Put the seam where it's least visible, such as behind the handle.
- Click Framing and watch the blue dot trace the area on the cup. Then open the 3D Preview to check that the start and end edges meet without overlaps or gaps.
Step 4 — Test, Engrave, and Finish
- Engrave a simple test band on a comparable coated surface first. A gap that stays the same size every run usually points to the circumference value. A gap that changes usually points to slipping or rotary alignment.
- Adjust power, speed, and line spacing from your results, and don't copy settings between machines.
- When you're happy, click Start, review the settings, and click Send. Then short-press the Start button on the Lumos.
- Check the result: edges should be clean, and the coating should clear evenly to show bare steel.
- Clean the finished cup as the coating maker advises.
| Problem | Likely cause | What to try |
|---|---|---|
| Gap or overlap at the seam | Circumference doesn't match artwork width | Re-measure, re-enter, click Refresh, then match the two |
| Design drifts or slants | Cup slipping or rotary misaligned | Re-seat the cup and check it sits flat against the base plate |
| Faint or patchy marks | Focus or coating differences | Refocus until the two spots merge, then test again |
Common mistake: skipping the seam check. Even a small overlap or gap shows on a cylinder, so frame the job and preview it before you press start.
Want more on rotary types and powder-coating basics? Our guide on how to choose a laser engraver for tumblers covers both.
Where to Find Free Día de los Muertos SVG Files
Want to skip the drawing? Public-domain libraries are the safest place to start. Openclipart releases its artwork under CC0, so you can use it commercially without credit. Search for "sugar skull," "calavera," and "marigold." For papel picado, this free set on Printables was made for a 10W diode laser on cardstock. Its page doesn't state a license, so treat it as personal-use until you've checked with the designer.
Before you sell anything, check three things on every file: whether commercial use is allowed, whether you must credit the designer, and whether you can share the file itself (usually you can't). Then open it in WeCreat MakeIt, close any open paths, and test-cut on scrap.
Conclusion — Start Creating Your Día de los Muertos Projects
These 12 projects cover tumblers, wood décor, small gifts, and ofrenda displays. Pick one small project, test on scrap, and build from there. Where to next?
- Making a cup: read our tumbler laser engraver guide.
- Making wood décor: see our wood types guide.
- Need artwork: start with the free SVG sources above, and check each license first.
Día de los Muertos Laser Projects FAQs
Q1. Can you laser engrave a Stanley cup?
Yes, if it's powder-coated stainless and you use a rotary. A diode laser vaporizes the coating and leaves bare steel in the design. Coatings vary, so test on the base or a spare cup first. The Lumos rotary takes objects up to 100mm in diameter.
Q2. What laser do I need for Día de los Muertos projects?
A diode laser covers most of this list: wood, black acrylic, slate marking, and coated tumblers with a rotary. Clear acrylic is the exception, since diode light mostly passes through it. That job needs a CO2 laser.
Q3. What's the best wood for laser-cut sugar skulls?
Basswood plywood is a good start for fine detail and layered pieces. Birch plywood suits signs and coasters. Walnut looks great on engraved gifts, though its dark color can reduce contrast on shallow engravings.
Q4. Can I sell crafts made from free Day of the Dead SVG files?
Sometimes. Check each file's license for commercial use, credit, and file sharing before you sell. CC0 files, such as those on Openclipart, are the safest. For ofrenda pieces, ask the family about their traditions first.