
1Laser engraving has become one of the best ways to create custom signs, gifts, decorations, and crafts. Wood is by far the most popular material for laser engravers —Chances, almost every laser owner has tried engraving on wood at least once. But with so many types of wood out there, not all of them are great for laser work. Picking the right wood makes a huge difference.
In this article, we’ll break down seven of the most common and best-performing types of
wood for laser engraving. We’ll cover the pros and cons of each one, plus a few tips to help you choose the perfect wood for your next project.
Why is choosing the right wood for laser engraving so important?
Not all wood is the same. The texture, density, and resin levels of the wood influence whether your laser engraving will result in a smooth and accurate finish, or a charred and coarse appearance.
3 important factors to weigh when selecting your wood:
- Wood Grain: Wood grain matters for laser engraving because it affects how evenly the laser cuts and how clearly the final design shows.
- Hardness: Softwoods are easy to engrave with low power, but they can burn if the power is too high. Hardwoods need more power to engrave cleanly and show fine details.
- Resin/Oils: Woods with rich resin and oils burn unevenly, create excess smoke, and leave sticky residue, making them less suitable for laser engraving.
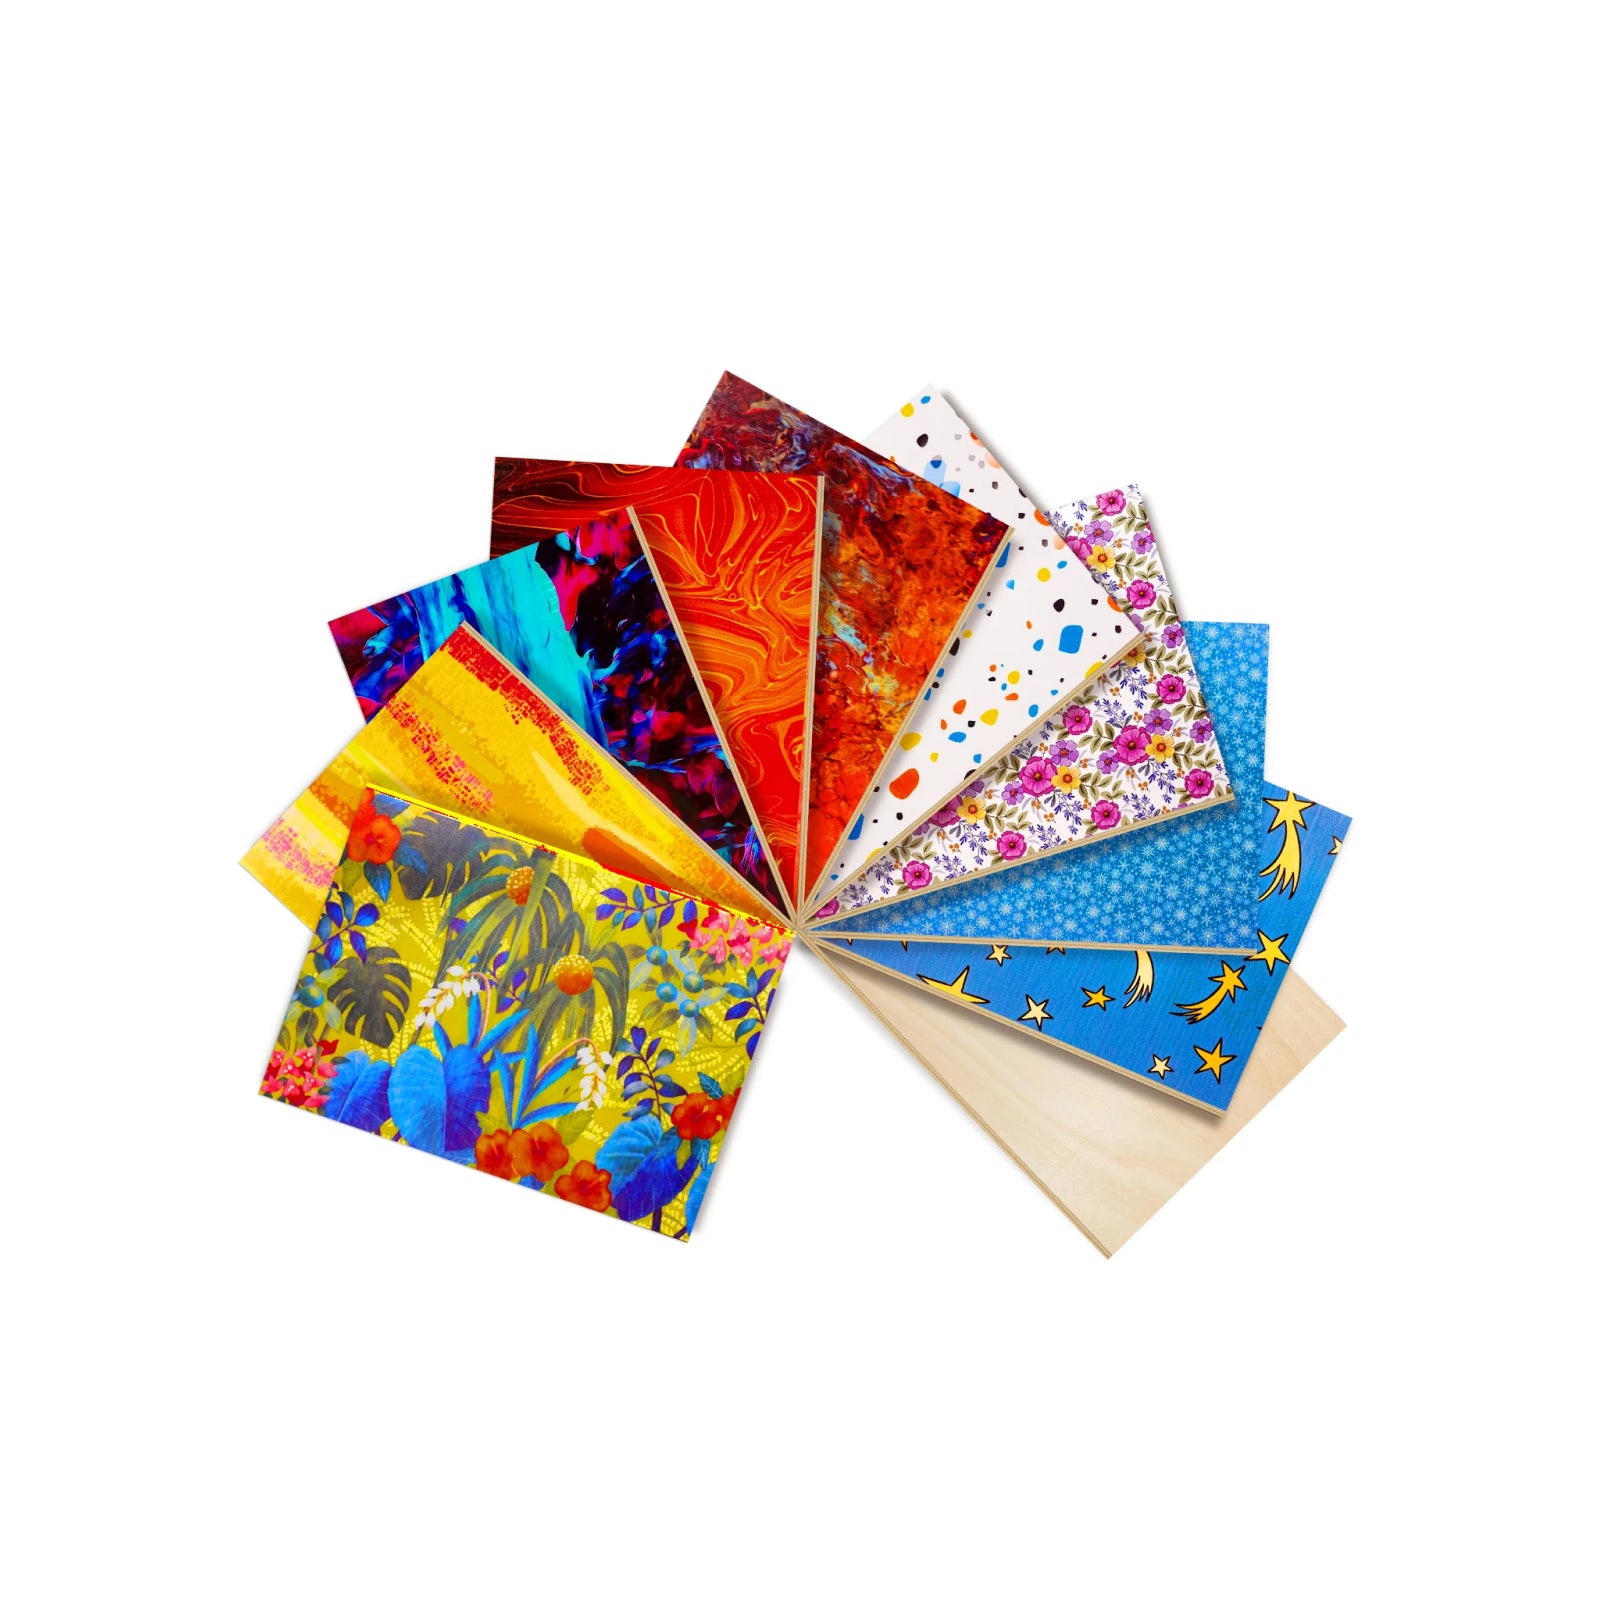
The 7 Best Woods for Laser Engraving
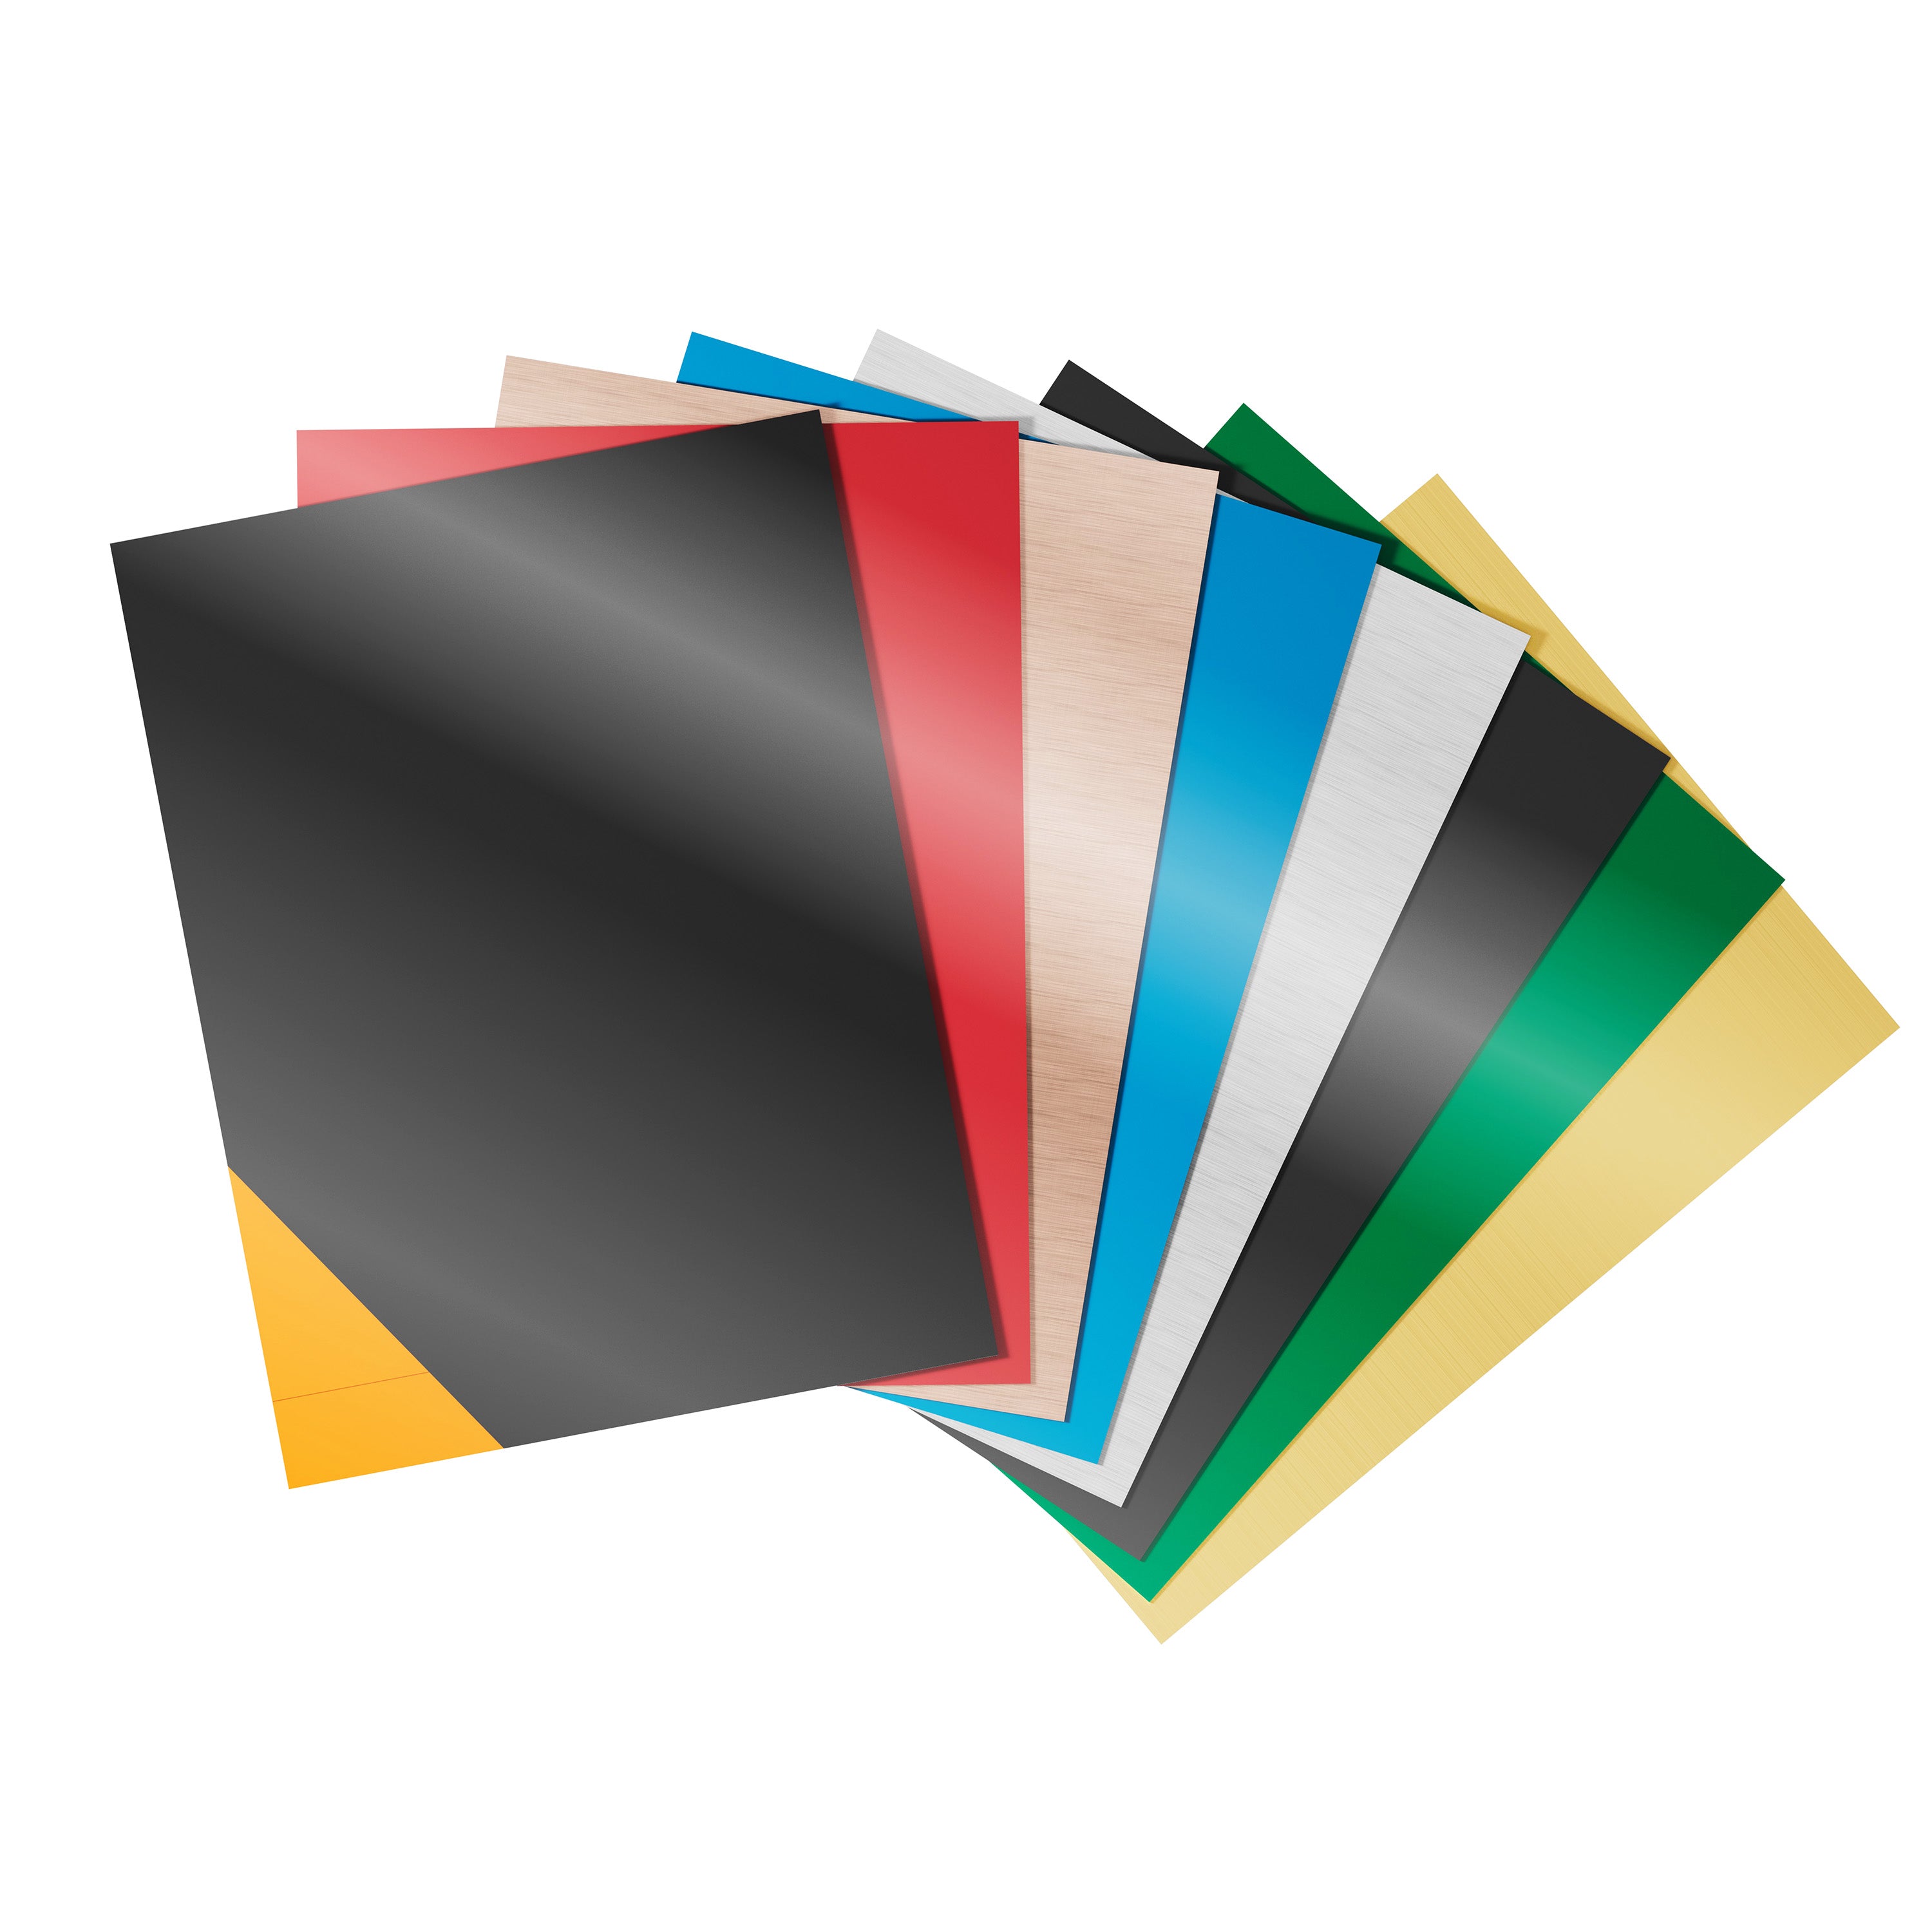
Before we explore each wood type in detail, here are the most popular woods we’ll cover in this article. From the photo above, you can clearly see the basic differences between these popular woods for laser engraving. These differences help you quickly pick the right wood look for your design. But why are these woods good for engraving? What should you watch out for when using each one? Let’s break them down one by one!
Basswood
Basswood is soft, lightweight, and has a tight, even grain. It contains almost no resin or oils, so it cuts and engraves cleanly. Affordable, easy to find, and beginner-friendly, it offers plenty of room for experimentation without breaking the bank. It’s a wood type most laser engraving enthusiasts will encounter early on.
Important Points
- Because basswood is soft and easily dented, it’s not suited for heavy-duty furniture or structural pieces like tables, stools, or doors.
- Large basswood projects tend to warp, so reinforce bigger pieces for stability.
- Its softness, poor water resistance, and susceptibility to rot mean basswood isn’t suitable for outdoor use.
- Basswood can easily scorch if your laser settings aren’t correct. Use lower power and higher speed settings to avoid burning details.
Basswood Engraving Tips
- Starting at low power and high speeds to avoid burning or scorching.
- For more depth in your engravings, make several lighter passes instead of one heavier one - this will result in more defined lines.
- Line your surface with transfer tape to save it from the smoke residue and peel it off after.
- Use Air Assist to decrease scorch and buildup.
- Light sanding after engraving wood burning on wood so well also makes the coloring or sealing work more smoothly.
- Do not stand large panels upright; store them in a dry location flat. Reinforcing on the back with board or a support will keep it in place.

Projects Made with Basswood
Alder
Alder is medium in density, with even texture, moderate hardness and low stiffness. It offers excellent color contrast and clear, dark engraved images after being laser engraved, and is used as a popular woodcraft and engraved gift option. Alder, slightly harder than basswood, and offers a bit more distinct and crisper engraving. It’s priced affordably and works well on small to medium-sized laser engraving projects.
Important Points
- Alder is medium-hard — a bit less so than basswood — but it’s still not great with heavy loads or rough use, so steer clear of it for high-stress furniture members like tabletops or cabinet doors.
- Large alder plates can take a little warping while engraving due to its even grain and soft texture. Work large projects on backing boards or in frames for additional support.
- Alder is not terrific for extended outdoor use— it will quickly soak up moisture, staining and rotting in the elements.
- While alder are medium-hard woods, too much laser power is causing slight burning on the edges. Focus the laser precisely and engrave in multiple passes.
Alder Engraving Tips
- Begin at medium-low power for engraving and adjust the speed of engraving to avoid scorching.
- Multiple Lighter Passes For deeper engravings (cuts) make a number of lighter passes to keep the details sharp.
- Protect the surface from smoke residue by covering with masking tape / low-tack transfer tape and then peeling it after engraving.
- Use Air Assist to reduce scorch marks and debris.
- The edges of light sand after engraving will be out of details to have a better effect and improve the natural wood use.
- Keep larger alder panels flat and dry. Use frames or multi-layer boards for extra stability.

Projects made with Alder_Image credit: jpplus.com
Maple
Maple is a traditional hardwood, dense, light in color, with a fine grain. It is also a wood that provides crisp edges and clean, precise cuts, making it excellent for fine detail work and small lettering. It sands and finishes well and has great dimensional stability and durability over time. The downside of maple is it is more expensive, but for high-end projects requiring crisp detail and a long-lasting finish, it is a great choice. Because maple is so dense, a higher power and slower speed is required to engrave, but if the power level is too high, the wood can scorch.
Important Points
- Density of maple requires higher power or slower speeds, but excessive power may scorch the wood.
- Smoke and residue are expected from hardwood engraving, so be sure to ventilate the engraving area to prevent residue marks.
- Maple boards are dimensionally stable, but should be well-secured during engraving as vibrations can damage an engraving.
Maple Engraving Tips
- Test smaller samples and multiple lighter passes to calibrate the best settings and avoid scorched or fuzzy lines.
- Wipe scorch marks from the engraving after the job with alcohol wipes or a fine-grit sandpaper.
- Lightly sand before finishing with a paint or sealer for a smoother, cleaner result.
Cherry
Cherry is medium hard, so it can be engraved slow. It also stains beautifully and adds a nice finish to cut engraving. Typically used in high end custom projects for commemorative plaques, giftboxes, nameplates and upscale home decor.
Cherry Engraving Tips
- Cherry is medium hard—harder than basswood or alder so it requires more power and engraves more slowly. Please use higher power and slower speed than softwoods to get clear lines.
- The natural deeper color means shallow engraving can lack contrast so consider deeper engraving or color fills.
- Cherry has natural oils so remove smoke residue immediately after engraving.
- Cherry’s color deepens over time which also darkens the engraving and changes contrast. So it’s best to keep this color change in mind when planning your design.

Project Made with Cherry
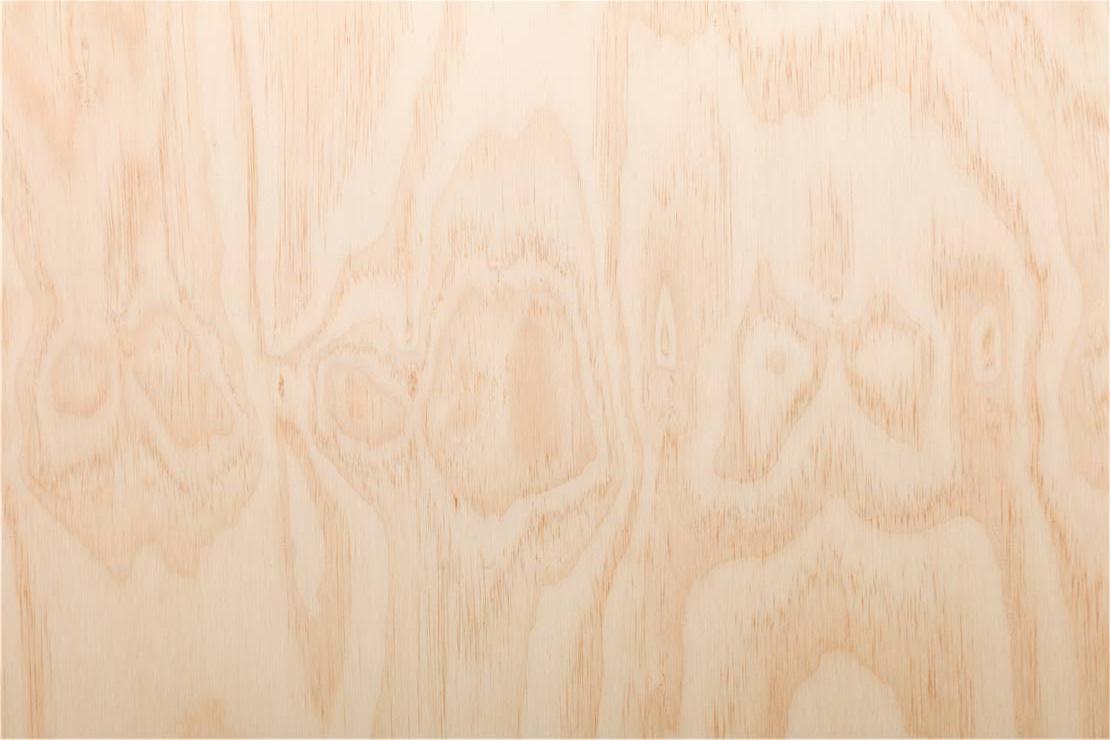
Plywood
One of the most commonly used laser engraving materials is Plywood because of its flat surface affordability and ease of processing. It’s mainly applied in signs models crafts as well as small batch custom orders. It consists of glued layers of birch veneer, giving it uniform strength, although the glue layers have to be kept in mind during engraving.
Plywood Engraving Tips
- Select plywood without voids or imperfections to prevent uneven results in the engraving.
- Plywood with good uniform density works well, but oo high power will result in charred edges, so please run multiple passes at low-medium power to avoid glue scorching.
- Cheaper plywood may have a very high formaldehyde glue content and emit very bad odors during the engraving process. Proper ventilation is a must, go for the eco-friendly plywoods where available.
- If burrs or darkened edges appear, apply a clear varnish or sealer to seal them. Soaking the board in hot water can help dissolve excess glue — dry it thoroughly afterwards to avoid odors.

Projects Made with Plywood
Walnut
Walnut is a hardwood celebrated for its stunning range of colors, from rich dark brown to a subtle grayish-brown, along with its eye-catching natural grain patterns. It engraves beautifully, lending a touch of luxury that's perfect for high-end personalized gifts, plaques, and home decor. Because of its darker hue, achieving good contrast and visibility may require deeper engraving or some special finishing techniques.
Important Points
- Walnut is dense and hardwood, which means you’ll need to use higher laser power or a slower engraving speed.
- The darker shade can limit contrast for shallow engravings, so deep engraving or color fills are often necessary.
- Since walnut has natural oils, it’s important to clean off smoke residue promptly.
- The premium look of walnut calls for careful finishing and clean engraving lines to prevent a rough or dirty appearance.
Walnut Engraving Tips
- Use higher power and moderate speed, engraving deeper to ensure clear contrast.
- Think about using white or metallic color-fill paste after engraving to enhance the visual contrast against the dark wood.
- After engraving, be sure to wipe off any residue right away, lightly sand the edges, and finish with sealing oil or wax for that premium touch.

Projects Made with Walnut
Bamboo / Engineered Wood
Bamboo board, also known as engineered wood, is created by pressing together bamboo strips or fibers. It’s not only eco-friendly but also boasts a beautiful natural grain and impressive flexibility, making it ideal for larger engraved wall art, unique products, or home decor panels. However, keep in mind that the internal glue layers and natural bamboo nodes can have a big impact on the quality of your engravings.
Important Points
- Engineered boards contain more glue, which can lead to heavy smoke and strong odors—so always opt for eco-friendly options and ensure good ventilation.
- Natural bamboo nodes or joints can disrupt engraving lines, so plan your designs carefully to avoid uneven results.
- Bamboo fibers are tougher, meaning you'll need slightly higher laser power compared to softwoods.
- Large panels can warp easily, so make sure to secure them flat before you start engraving.
Bamboo Engraving Tips
- Begin with medium-high power and a moderate speed, then adjust your settings for clean, burn-free results.
- Multiple shallow passes are more effective than a single strong pass due to the glue layers.
- Right after engraving, use a damp cloth to wipe away smoke residue—bamboo tends to show smoke stains quite easily.
 Wood Comparison Table
|
Category |
Wood Type |
Difficulty |
Pros |
Cons |
|
Softwood |
Basswood |
Easy |
Easy to engrave, affordable, clear detail |
Burns easily, weak structurally, unsuitable outdoors |
|
Alder |
Easy |
Clear engraving contrast, better than basswood |
Not suitable for heavy-duty use or outdoors |
|
|
Hardwood |
Maple |
Medium |
Crisp details, durable, stable |
Requires higher power, edges may scorch |
|
Cherry |
Medium |
Elegant grain, premium look |
Low contrast with shallow engraving |
|
|
Walnut |
Medium-High |
Luxurious finish, great for upscale items |
Low contrast with shallow engraving |
|
|
Engineered |
Plywood |
Easy-Medium |
Affordable, flat surface, versatile |
Glue layers cause smoking, scorching |
|
Bamboo |
Medium |
Eco-friendly, unique grain, durable |
Glue layers cause smoke, bamboo nodes affect engraving |
![]() Final Thoughts
Final Thoughts
Picking the right wood makes all the difference between a crisp, clean result and a burned or uneven finish. Always consider the wood’s grain, hardness, and resin levels, and match them with the right laser settings for the job.
Hardness is the most important thing to consider when choosing wood. Just remember: softwoods are easy to cut with lower power but can burn easily if overpowered. Hardwoods need a high power laser engraver to handle dense grain and deliver fine details — that’s where our Ppowerful laser engraver really shines.
No matter what you pick, test your settings first, work in light passes when needed, and finish with proper cleaning for a polished final piece.
Leave a comment
This site is protected by hCaptcha and the hCaptcha Privacy Policy and Terms of Service apply.